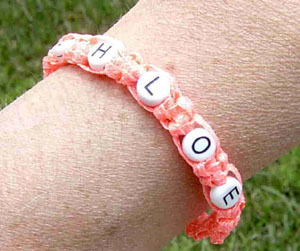
Glow in the Dark Name Bracelet
This funky glow-in-the-dark bracelet is a great project for a youth group, camp or as an after-school activity. Older kids will love learning how to tie these knots to create a personalized bracelet.

Materials:
- Kreinik 1/8” Ribbon 055F and 052F
- Letter beads for your name
- Two #3 embroidery needles
- Scissors
- Tape measure
- Masking tape
Instructions:
-
To make a 6-inch bracelet, cut a 72-inch length of 055F Ribbon. This will be your knotting cord. Cut a 36-inch length of 052F Braid. This will be your filler cord. Fold both cords in half. Place folded ends together and tie an overhand knot 1/2-inch from end. (See diagrams A and B)
-
Place knotted end of cords on a flat surface like a table. Tape the knot to the surface with masking tape. Make sure that knotting cords lay on the outside and filler cords on the inside.
-
Tie a series of square knots to measure 2 inches in length. (See diagram for square knot. Bring knotting cord on left across filler cords and under right knotting cord as in “C”. Then bring right knotting cord under filler cords and then through and over the loop made by left knotting cord. Now grasp the end of knotting cord that is on the left. Bring this cord under the filler cords. Grasp the end of knotting cord that is on the right. Bring it over the filler cords. Bring knotting cords through loops on both sides, pull snuggly.)
-
Thread the two center, filler cords through the needles. Add the bead for the first letter of your name to the two filler cords by threading the needles and cords through the hole of the bead. Tie two more square knots and add the next letter of your name. Repeat this process for all the letters in your name.
-
After all of the letter beads have been added, tie another series of square knots measuring two inches in length. (Note: depending on the number of letters in your name, you may want to make the series of square knots before and after your name, either longer or shorter than two inches. The overall length of the bracelet should be the same as the measurement of your own wrist.)
- To finish the bracelet, tie the cords into three overhand knots. Trim the ends of the cord. To fasten the bracelet, push the ending knot through the beginning loop.
Kreinik threads available through needlework stores or www.kreinik.com.
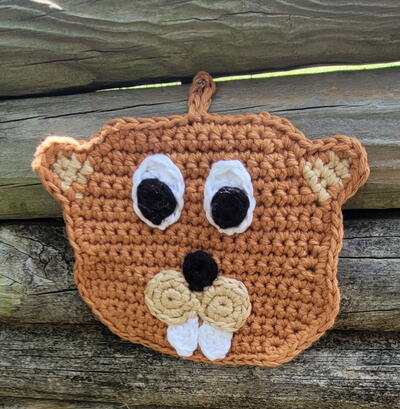
Read NextBeaver Potholder

Thanks for your comment. Don't forget to share!
chack1work 4569656
Jul 07, 2013
Dear Brilliant & Angeleyes, If you look at old macrame instructions it'll be easier to understand her instructions. Here is a video with instructions: http://www.youtube.com/watch?v=t8_QcbDUG24
imsobrilliant
Jun 18, 2013
Where are the diagrams? I can't even begin to imagine this correctly.
Report Inappropriate Comment
Are you sure you would like to report this comment? It will be flagged for our moderators to take action.
Thank you for taking the time to improve the content on our site.