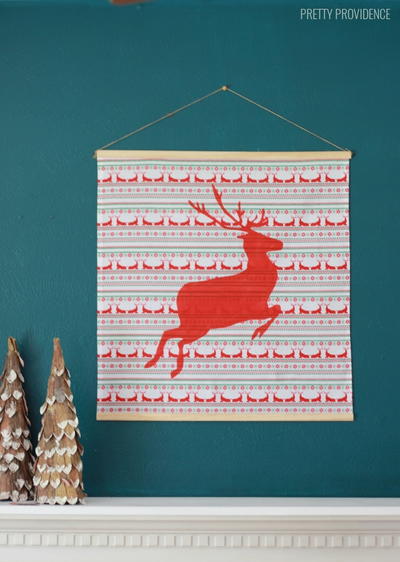
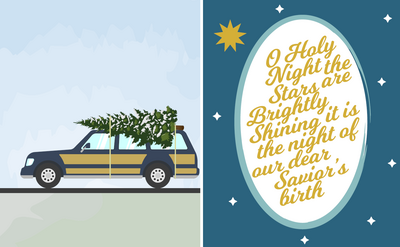
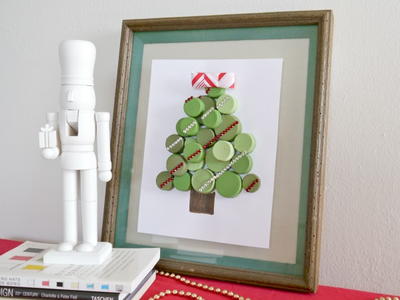
Oh Holy Night Wall Decor
It's never too early or too late for free Christmas crafts. Make Oh Holy Night Wall Decor from Christy Tomlinson any time of the year - you'll love hanging it up during the holiday season.

Materials:
- Scarlet lime December Tartan Plaid Kit
- 6”x12” Canvas
- Acrylic Paints (red, green, turquoise, white, gold)
- Mod Podge Matte finish
- Glitter: white or iridescent
- Brayer
- Pens for doodling and shading: I like Fiber Castell pens and Ranger Adirondack Markers- the blend well if you want to use them to shade..
- Bubble wrap
- Black Ink Pad/Acrylic Block
- A piece of book paper from an old book
Instructions:
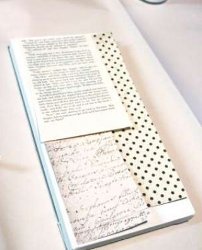
- First step is to cut 3 or 4 pieces of paper from your stash to cover the 6”x12” canvas. You can use any of the papers, but I like to use ones that are light in color. I also tore a page from an old book I had and used it. You don’t have to cover the canvas completely, but get close to the edges without going over.
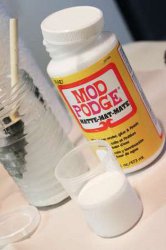
- The next step is to Mod Podge them on. If you haven’t ever used Mod Podge before.. You are going to think you are in HEAVEN! It is one of my favorite glue mediums.. You can buy it in smaller bottle.. But seriously.. Just get the big one. You are going to end up loving it so much.. You are going to wish you had the big one. I like to use the Matte finish because it’s easier to apply rubons to and to write onto, but it also comes in Satin and gloss. In the next photos I will show you how to apply it!
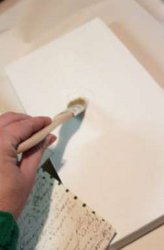
- The rule with Mod Podge is.. Always apply a layer UNDER what ever it is you are adhering and ON TOP.. It dries clear.. So give it a nice coat on top.. So apply mod podge over the entire blank canvas them immediately layer your papers down and apply the top coat. I also use my fingers to just kind of rub out the bubble under the papers.. Don’t worry about creases.. They add to the texture of the canvas. So you want to adhere all three pieces.
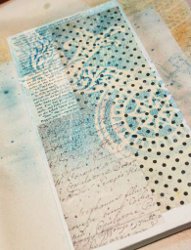
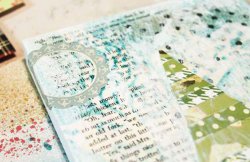
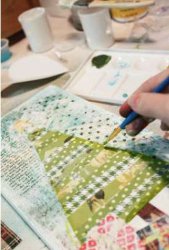
- Next we want to use the Glimmer Mist Spray from Tattered Angels and the two Screens: Bird and Compass. I overlapped the screens onto my canvas . Then just spray the mist over the entire top area.. You can blot it with a paper towel when you are done, or let it dry on its own. Blotting it helps it not to bleed (remember to blot BEFORE You take the screens off). Then remove the screens and let it dry for a bit. If you are nervous to do it on the canvas.. Try it on a scrap piece of paper first.
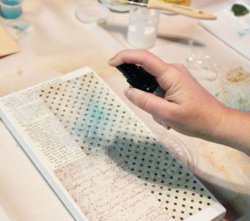
- You are left with the images of the two screens.. And have created a “masking” effect.. And a great “background” to put the tree on.. About the color of sky! If you want.. You can mask the images again.. And cover the entire canvas.. It’s all up to you and what preference you like! You can also use paint or ink pads with these screens.. So fun and versatile!
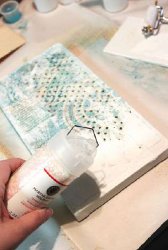
- Next Step is to apply white pain to the bottom of our canvas.. To create “snow”. Just pour a little bit of white pain onto a flat surface (paper plates work good, or use the “packaging” cardstock from one of your stickers).. Then roll your brayer into the paint. As you can see, I just simply applied the brayer onto the bottom of the canvas and went kinda here and there.. So it wasn’t uniform. Don’t worry about getting a “too” uniform look.. The way the canvas is.. And how your papers are placed, will automatically skip bits and pieces.. And look more messy. If you don’t like how much paint is on your canvas, use a paper towel to dab some off.
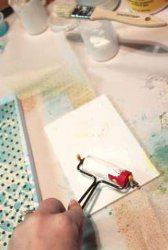
- While the paint is still wet, sprinkle glitter onto the paint.. For added texture (remember to blow off excess) Also note.. I still had some paint left on my brayer, so I dabbed a little bit here and there at the top of my canvas as well.. To give the effect like it was snowing.
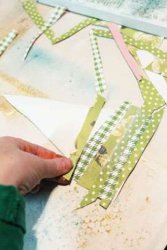
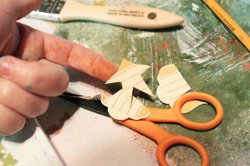
- Next, find a piece of scrap paper (I like to use a heaver cardstock) and draw a triangle shape that is about ¼ size smaller than your canvas. Then using the green papers from your kits, cut strips of random papers wide enough to go across the triangle.
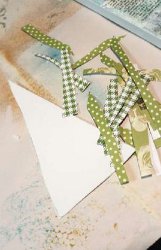
- Next use the Mod Podge to Adhere the paper strips onto the triangle. (remember a layer of Mod Podge over and under each strip) . I layered them uneven.. So it wasn’t so perfect. When you are done, let it dry, and then turn the triangle over and cut off the excess hanging over the edges to form your triangle again.
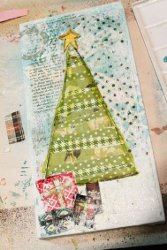
- Cut a rectangle piece from brown paper from your kit (I used the backside of the plaid paper).. To use as a trunk. Using Mod Podge, adhere both the trunk and the tree onto your page. Remember it goes under the tree and then a layer of Mod Podge on top of the tree/trunk. Over and under.. Over and under..
- Now we get to have fun and start to embellish our canvas.. You can use the sticker sheets to add little pieces here and there.. Both on the canvas OR on the tree.
- I cut three presents shapes from patterned paper and adhered them under my tree.. AGAIN using Mod Podge....
- Now I cut a star out of one of the labels on the sticker sheets.
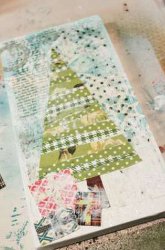
- Adhere the start to the top of the tree. Once the star is dry.. I wanted to create some “depth” to my tree.. I used acrylic paints and watered them down just a bit.. And use a brush to go around the edges of the tree, trunk, presents and star.. Use a color that is darker than the image you are wanting to shade. Sometimes I just use black or brown to shade everything..If I don’t have paint brush handy, I also use my finger.. It works!
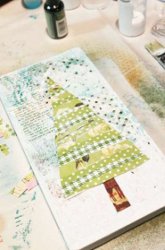
- As you can see, shading gives your paper pieced images a more “painted” look.
- Next comes MY FAVORITE part.. The rubons! I love to add rubons to my canvases.. To just add even more depth and dimension and texture to them. I used the black one at the top of the tree, but I could have easily, cut different pieces of the black one and put them here and there (as I did on the Angle Canvas I did). It’s not shown in these images, but I used the green rubons and just rubbed on images here and there.. On the white part of the canvas, around the presents, on the trunk.. On the edge of the tree.. On the tree it self.. Around the star.. Just wherever you see fit! Once your rubons are all on.. And you are happy with it.. Then apply a layer of mod podge on the top! This= will make sure they stay in place.. And won’t come off!
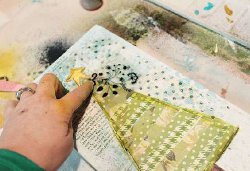
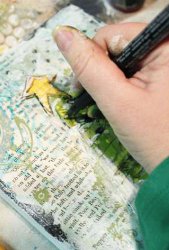
- My Next favorite thing to add to a canvas is stamps.. I normally use lots of different stamps.. But I wanted to stick with what was ONLY in the kit.. So I I decided to just use the “edge’ of the body.. And go around the edge of my canvas.. You can see in the picture on the right, how it only got the edge of the stamp.. And created a kind of fun border. Next I used my pen to out line the edges of all my images.. Including the tree, star, and present. You can even add doodles and stitches.. If you want. JUST REMEMBER though to wait for your Mod Podge to dry all the way before you use your pens. As it will gum up your pens, especially the Fiber Castell ones (and they are expensive)
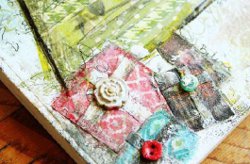
- Next I used the bubble wrap to add another layer to my piece. Basically you just cut a small section out and lightly apply paint to just the “bubble” part. Then turn it over and use it as a stamp onto your canvas! Then I sprinkled glitter on the wet paint.. To make it look like snow! I did this around the presents as well. You can see in the pictures, how I used the rubons and also added buttons and gems to the page.. I painted over the buttons with white.. To make it look like they had been snowed on. If you want a more vivid painting, don’t do so much white.. I also used gold paint on my bubble wrap too.. Just to add another color. Another thing you can do is write words onto your canvas with your pen. if you look at the right side of the trunk, and on the left side of the tree, I wrote Christmas sayings.. It’s more like a doodle, but it just adds more texture. More things to look at, don’t worry about spelling it right.. You won’t be able to read it anyway . It’s just for fun!
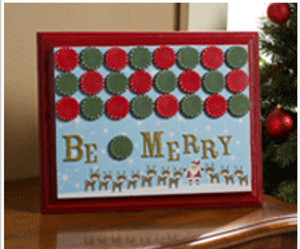
Read NextBottle Cap Christmas Art
Your Recently Viewed Projects

Thanks for your comment. Don't forget to share!
Marilyn B
Nov 11, 2017
This is such a creative and detailed project idea! Thanks for such great instructions! And of course, they are a great inspiration for going in any direction that your creativity will take you! I have quite a bit of very pretty fabric scraps, especially metallics or brocades, that would lend themselves quite nicely to,this project. Add on some three dimensional elements such as small satin or metallic cord, rhinestones or little pearls for ornaments for added whimsy! Super classy!
jayell5
Jul 10, 2013
Love this. Thefinished picture is great and uses such simple shapes and materials. Oh well, one more Christmas project to add to my growing lis
Report Inappropriate Comment
Are you sure you would like to report this comment? It will be flagged for our moderators to take action.
Thank you for taking the time to improve the content on our site.