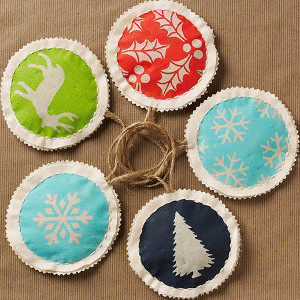
The Prettiest Fabric Ornaments
For great Christmas decoration ideas, try making The Prettiest Fabric Ornaments. These lovely ornaments are so simple to make. Fabric ornaments will give your tree an old-fashioned rustic feel. There's no need for flashiness here, just a little handiwork and a lot of Christmas spirit. Best of all, you won't have to worry about these ornaments breaking if they fall off the tree or get tossed around in a box. These DIY Christmas crafts are just the thing to bring the family together.

Find this project and more retro Christmas craft ideas in our collection of 29 Traditional Vintage Christmas Crafts. From vintage Christmas ornament recreations to DIY home decor your grandma would recognize, this colleciton of easy Christmas crafts is full of fun memories.
Materials:
- Martha Stewart Crafts ® 2oz Multi-Surface Satin Acrylic Craft Paint - Green Curry
- Martha Stewart Crafts ® 2oz Multi-Surface Satin Acrylic Craft Paint - Pool
- Martha Stewart Crafts ® 2oz Multi-Surface Satin Acrylic Craft Paint - Geranium
- Martha Stewart Crafts ® 2oz Multi-Surface Satin Acrylic Craft Paint - Putty
- Martha Stewart Crafts ® 2oz Multi-Surface Satin Acrylic Craft Paint - Deep Sea
- Martha Stewart Crafts ® Holiday Icons Laser-Cut Stencils
- Muslin fabric
- Twine
- Batting
- Cream embroidery floss
- Zigzag scissors
- Scissors
- Cardstock
- Stencil brush
- Sewing needle
- Craft glue
- Purple disappearing marker
Instructions:
- Make a 3-½” circle paper stencil from the cardstock. Stencil each color listed above except for the Putty onto the muslin fabric. Allow each to dry.
- Stencil the holiday icons onto each circle in Putty. Allow to dry.
- Make a 4-1/8” circle template from the cardstock. Place the template over the stenciled icons and make a circle with the disappearing ink marker. Cut out the circle.
- Make another 4-1/8” circle with the disappearing ink marker on plain muslin. Using the zigzag scissors, cut out this circle slightly larger then where the mark of the pen is.
- Place a small amount of batting onto the plain circle. Place the painted circle on top and stitch together around the raw edges.
- Cut a piece of twine and glue in between the circle.
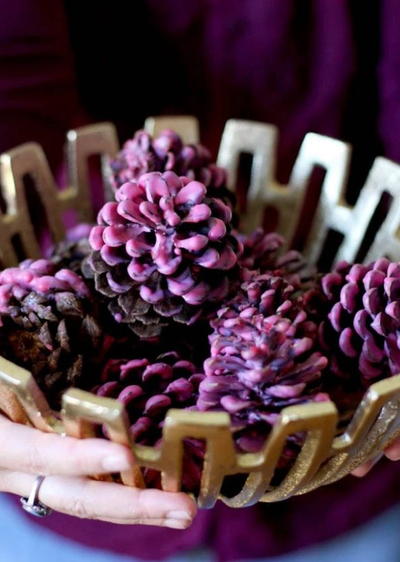
Read NextCheery Pinecone DIY Firestarters
Your Recently Viewed Projects
Thanks for your comment. Don't forget to share!
Marilyn B
Nov 03, 2017
This is a nice idea and great instructions! Would be a fun craft night around holiday time, or even to adapt the theme for birthdays, weddings, anniversaries, as keepsakes of any special time in life! I could also see making these in other shapes besides round.... Star or snowflake shapes, tree shaped or even ovals. Super fun idea to make memories and keepsakes for years to come! Great for gifts too!
Report Inappropriate Comment
Are you sure you would like to report this comment? It will be flagged for our moderators to take action.
Thank you for taking the time to improve the content on our site.