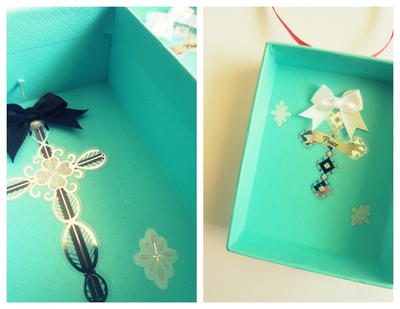
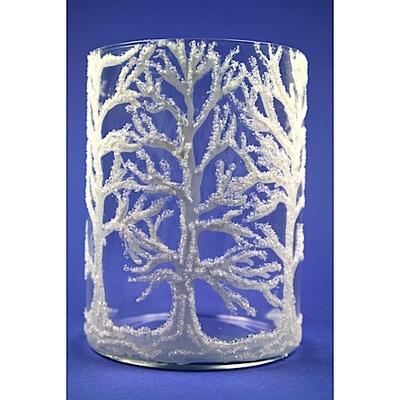
Glittery Tree Vase
This glittery tree vase from Etchworld Armour is perfect for the Christmas holiday. It sparkles with pride and you can make this to give as a great gift.

Materials:
- Crystals- white glitter (chunky glitter) Thick white craft glue (dries clear) (Tube with cutable tip) Popsicle stick or coffee stirrer
- 15-0150 Armour Etch Cream
- 61-4162 Needle Tip Applicator bottle
- 60-6901 5” Cylinder vase 61-3328 White Rub N Buff
- Liner detail paintbrush (optional)
- Cotton swab
- Paper clip or embroidery needle
- Large glass jar from the recycling
Note:
- Before etching actual project, practice the technique on a recycled jar first!
Instructions:
-
With a popsicle stick or coffee stirrer, load the Needle tip applicator bottle with Etch cream. Discard any obvious lumps or crystals.
-
Snip off the smallest amount of the tip you can from the applicator bottle. If the cream won’t come out the tip, snip a tiny bit more off the end until the cream makes a nice line into a paper towel or on a paper plate. You want as fine a line as you can get without the Etch cream clogging the tip. Keep an opened paper clip or embroidery needle handy to handle clogs as you are working.
-
Turn vase upside down and place over your free hand with the top of the vase towards you and the bottom facing away from you.
-
You will be forming the tree upside down. I found this works best because when you start the line, the Etch Cream always seems to come out heavier at the start and it is easier to let up pressure on the bottle as you go up the trunk and out to the branches than visa a versa. Decide whether you want roots to show or not on your tree. If you do (which is what is shown), using the picture as your guide, start a horizontal line across the bottom edge of the vase from left to right for about 1” and then make a right angle and continue vertically up the vase toward you until almost to the top. (If you are not making roots then just go straight up from the bottom) then make a slight left at the end, easing the pressure on the bottle as you go so the line gets thinner.
-
Now do the opposite and repeat step 4 for the other half of the tree. Fill in the center of the trunk if needed.
-
6-For the other limbs on the tree, start the next limb a little above the trunk or however far up the tree you want the lowest branch to be. Start the line for a new limb just above the last one in the crook of the limb below it. Continue in this fashion going higher and higher on each side until the tree is as full as you wish. Stagger your limbs to look more natural (use our pic as your guide or illustrations of trees from clip art, books or even rubber stamps to make different types of trees)
-
To make finer branches, take a dry , liner brush and drag out the Etch Cream from the end the limb. Squiggle the brush a little, even bend some down slightly, so they look more natural.
-
Rinse off Etch Cream under running water without touching the design until as much of the cream is removed as possible. Wet a paper towel and wash off any remaining cream while water is still running. Dry vase.
-
Place a little white Rub N Buff on the end of a cotton swap and smear all over trees. Take a soft paper towel and wipe off the excess Rub N Buff, flip towel over and buff to a luster. The Rub N Buff will only stick to the etching.
-
Snip off a very small section from the tip of the glue’s applicator bottle.
-
Working with one tree at a time, run a line of glue up one side of the tree and along the top of most of the branches.
-
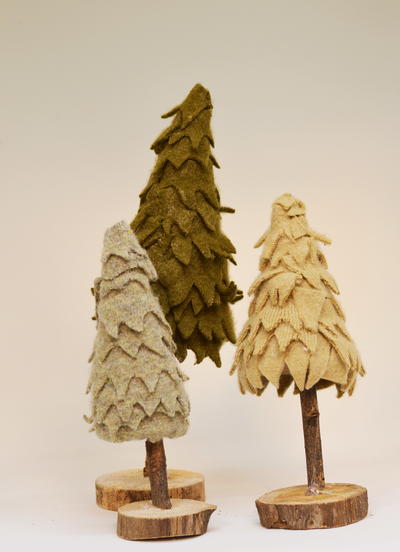
While the glue is still wet, sprinkle with glass glitter. Repeat for each of the other trees. Also add some along the ground between trees. Let dry.
- Can be gently hand washed with soft cloth, plain water and a little dish detergent.
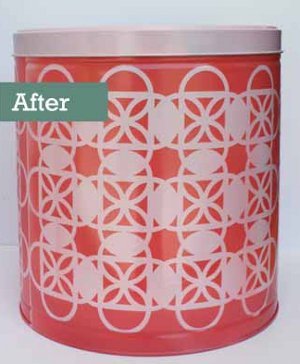
Read NextUpcycled Christmas Tin

Thanks for your comment. Don't forget to share!
Sea Lady
Oct 05, 2011
just a reminder - rubber gloves and safety glasses should be included in the list of tools and/or materials, and should be worn whenever working with Armour Etch Cream. LOVE the look of this!!
Report Inappropriate Comment
Are you sure you would like to report this comment? It will be flagged for our moderators to take action.
Thank you for taking the time to improve the content on our site.