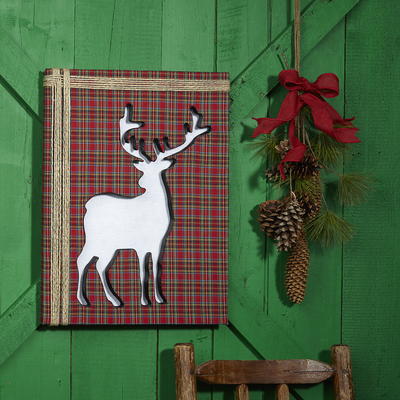
Plaid Deer Wall Art

To add a bit of rustic farmhouse chic to your home this Christmas, try making this Plaid Deer Wall Art craft from Floracraft! This easy DIY Christmas decoration is a breeze to make and looks stunning on a wall. It’s an elegant way to decorate for Christmas without splurging on overpriced decorations. Make it a DIY Christmas this season! Your decorations will have a personal touch that will make your house feel warm and inviting this holiday. This reindeer craft also makes a great Christmas gift, and it’s gender-neutral so it is perfect for a man or a woman.

SeasonWinter
HolidayChristmas, Winter
Materials List
- FloraCraft® Make It: Fun® Foam Sheets: (2) 1”x12”x18”
- Plaid Fabric: (28”x22”)
- White Felt: (24”x18”)
- 7/8” Satin Ribbon: Black
- Heavy Jute Twine
- Permanent Adhesive Spray
- FloraCraft® StyroCutter® Plus
- Low-Temp Glue Gun
- Scissors
- Fine Black Marker
Project Instructions
-
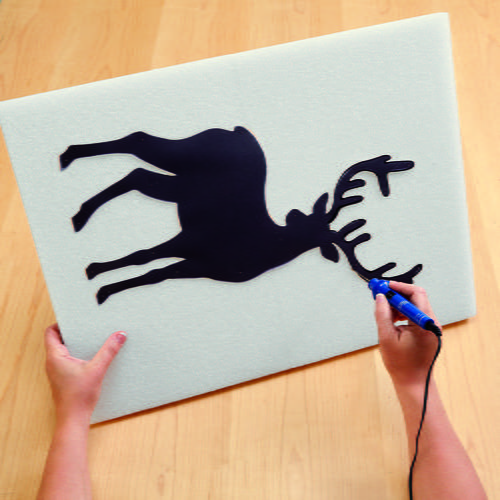
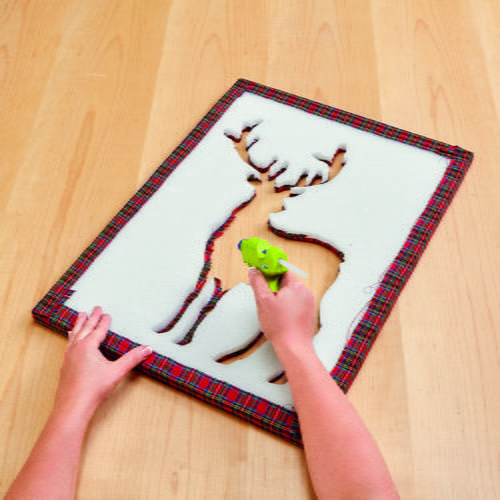
Glue the two sheets together along the 18” sides. Cut out the deer template. Pin it centered onto the foam about 2” from the bottom. Follow the package instructions on the StyroCutter® Plus to cut out the deer template from the foam.
-
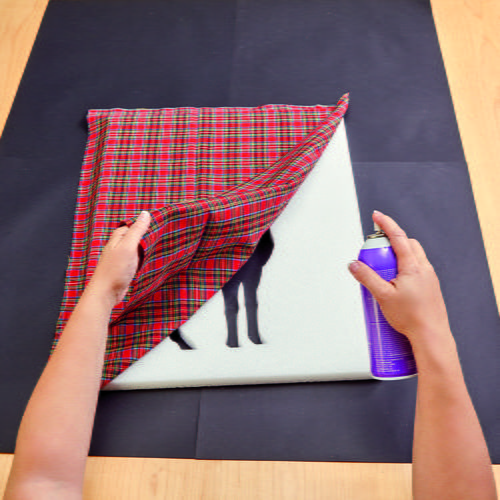
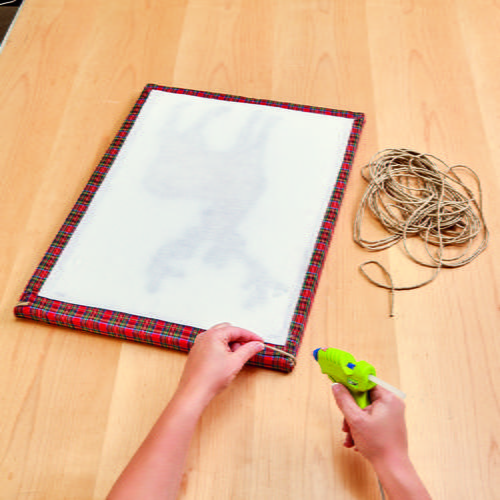
Spray an even coat of adhesive to completely cover the top surface of the foam. Lay the fabric onto the foam. Adjust fabric as needed to keep the pattern running straight. Do not pull or stretch the fabric as you work. Smooth out any wrinkles and be sure fabric is held in place securely. Glue the outside edges of the fabric to the back of the foam. Fold the corners neatly.
-
Use small scissors to remove the fabric from the deer cut-out. You will need to leave about a ¼” fabric allowance around the edge of the cut-out. Cut small slits in the fabric around the antler areas to allow the fabric to lay nicely in the curved edges of the cut-out. Glue the fabric to the inside edge of the foam all the way around the deer cut-out using the glue gun.
-
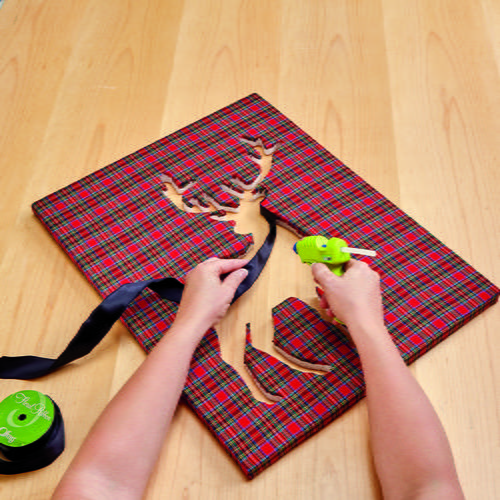
Glue the black ribbon around the inside edge of the cut-out to conceal the fabric edge.
-
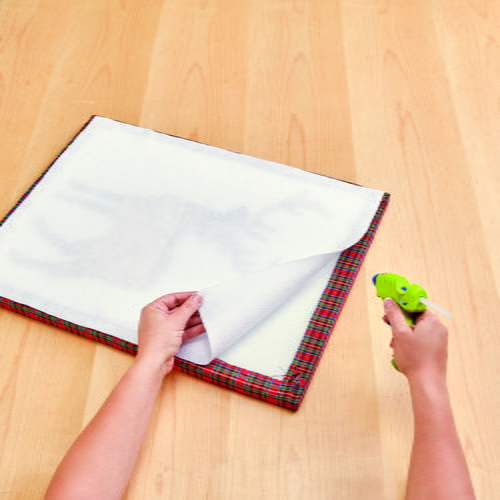
Glue the felt to the back of the foam.
-
Weave lengths of jute along the top and left sides of the wall art. Glue the jute at the back of the foam to secure.
Celebrate With More Christmas Craft Ideas
If you enjoyed making the Plaid Deer Wall Art, here are three more Christmas crafts that you'll love:
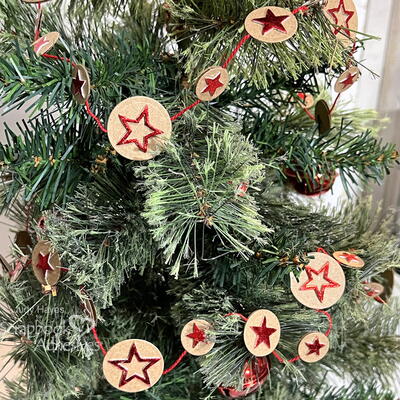
1. Nordic-Inspired Wooden Ornaments: Create your own Scandinavian-inspired wooden ornaments by painting intricate designs in white, red, and green on wooden discs or shapes. Add some twine or ribbon for hanging and display them on your tree or around your home for a cozy and festive touch.
2. Festive Cookie Cutter Wreath: Repurpose old cookie cutters into a festive wreath for your front door or interior walls. Simply spray paint the cookie cutters in Christmas colors, then hot glue them in a circular shape onto a wire wreath frame. Add a bow or some greenery for an extra special touch.
3. Snowflake Mason Jar Luminary: Transform mason jars into beautiful snowflake luminaries that will add a warm and cozy glow to your home this Christmas. Use a snowflake stencil or freehand a design with white paint on the outside of the jar. Place a battery-operated tea light inside for a magical ambiance.
These Christmas crafts are not only fun to make but will also add a unique and personal touch to your holiday décor. Get creative and enjoy spreading the holiday cheer with your handmade creations! Happy crafting!
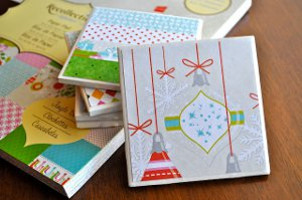
Read NextElf Christmas Cards