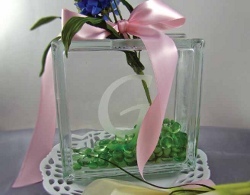
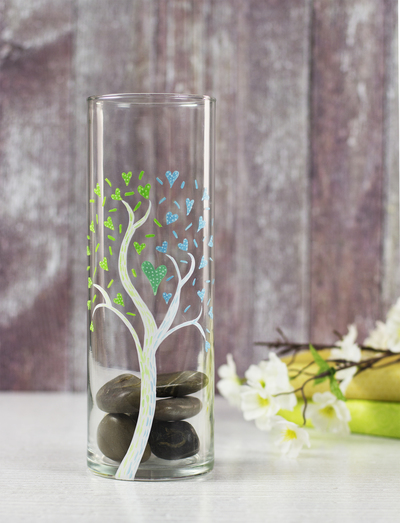
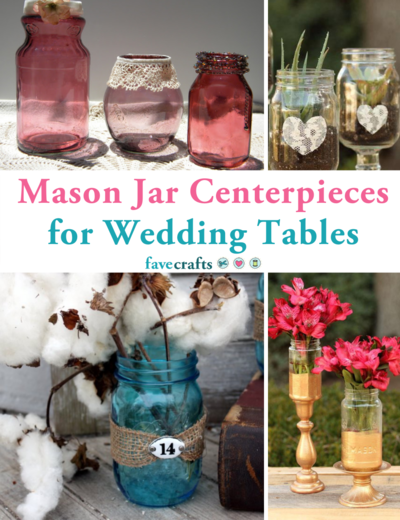
Sentimental Glass Centerpiece
Make do it yourself wedding crafts like this Sentimental Glass Centerpiece to personalize your wedding. If you're looking for summer wedding ideas, this etched glass vase from Diamond Tech would be perfect to decorate your tables.

Materials:
- KraftyBlok™ Original (7.5 x 7.5)
- Initial Stencils
- Etching Cream (We tested Armour™)
- Clear Glass Gems
- Flowers
- Exacto® Knife
- Heavy Clear Plastic
- Printer & Paper
- Firm surface
Instructions:
- Clean the KraftyBlok™ with glass cleaner and a paper towel.
- Use a pre-cut last name initial stencil of the happy couple or create your own stencil by following the directions below.
- Lay the KraftyBlok™ flat on your work area with the opening facing up and away from you.
- Place the stencil in the center of the KraftyBlok™ and tape it down. If it is a prepositional stencil simply press into place. If you tend to be a messy painter, mask off the area around the stencil with painter’s tape.
- Etch with Armour Etch® Glass Etching Cream, applying cream only to the stencil and avoiding edges. Wait 10 minutes.
- Place a small amount of white paint on your finger tip and lightly rub over the stencil. This will make the etch appear brighter.
- Fill with your favorite flower.
Create Your Own Stencil
- Choose a letter to represent the initial of the last name. Next, select a font from a word processing program you have on your computer. Enlarge the font size until it is approximately 3.5 inches tall (our font was set at 350 point size but this will depend upon your font).
- Print on a plain piece of paper (or sturdy printable transparency paper). If you are printing on plain paper, you will need a sheet of firm plastic. Place the plastic over the printed initial.
- Place them both on a firm surface to cut the stencils, such as a double-layer of thick carton, a cutting board or other craft plank.
- Tape the plastic and the design to each other and onto your cutting board.
- Using a sharp Exacto® or craft knife for the cutting. It’s easier to be successful if you use a good sharp knife.
- Cut the initial into the plastic.
- When you’ve cut the entire design, check it over and smooth curves or edges as needed.
- You are now ready to use the stencil to etch. When applying stencil to glass block we used a prepositional adhesive to hold in place.
Read NextTree of Love DIY Wedding Centerpiece