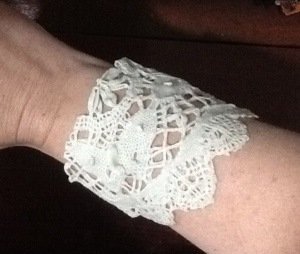
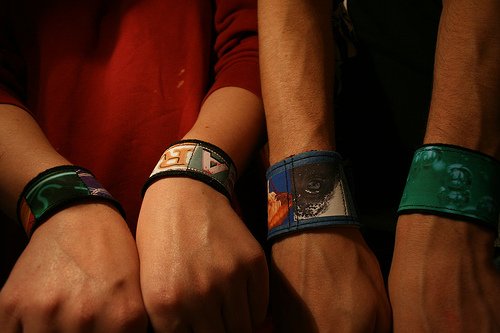
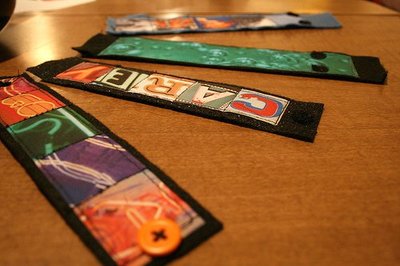
Custom Photo Cuff Bracelets
Keep those you hold dear close to you at all times by making one of Alexa Westerfield's Photo Cuff Bracelets. Make your own personalized bracelet in less than an hour or make several and give them to your friends as friendship bracelets.

Materials:
- Felt in desired color
- Images (have a theme or use random images)
- Fuseable iron-on inkjet transfer
- Computer with imaging software (I used Photoshop)
- Inkjet printer
- Sewing machine
- Button or fastener of choice (you can also use velcro or sew on snaps)
- Needle and thread
- Scissors or fabric rotary cutting tool
- Cutting mat with measurements
- Iron
- Wax Paper
Instructions:
- Cut out a piece of felt fabric approximately 9" long by 1.75 tall. 9" is the average width of most wrists, but may need to be sized differently depending on wrist size.
- In your imaging program, open up several images that you want to make your photo collage. In mine, I chose to use neon signage. Create a document that is 8" long by 1.25" tall. Copy and paste your images into this new document sizing them ownn to be 1.25" tall and arrange next to each other. Move images around until you are satisfied with colors and placement of each. Optional idea: Use Big Huge Labs mosaic maker like my friend Chris did. You may have to scale or enlarge it to fit in Photoshop.
- Using printing specifications, print out onto fusable iron-on inkjet material (you may actually want to create several bracelets up on a sheet so that you get more bang for your buck). Cut out carefully around image.
- Heat iron on low setting. On ironing board or hard surface, lay inkjet transfer iron-on (image side facing up) onto felt. Lay wax paper over both materials and fuse iron-on onto felt. It should only take a few seconds.
- For my design, I went around the actual image using a special stitch on my sewing machine, but this is optional. I just thought it gave it a more finished look. Also, if you want and have the know how and are doing a button closure, create a button hole slightly smaller than your button that you have chosen for a closure.
- Position cuff around wrist and hand sew on button (make sure to wrap cuff around beforehand so that you know where button should be positioned so that it is most comfortable on your arm). Make sure to tightly loop thread around button several times when sewing to hold securely in place. Enjoy!
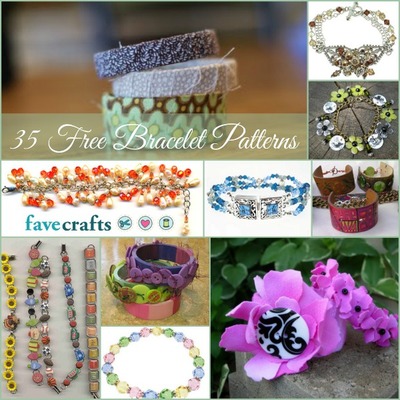
Read Next81 Free Beaded Bracelet Patterns

Thanks for your comment. Don't forget to share!
Report Inappropriate Comment
Are you sure you would like to report this comment? It will be flagged for our moderators to take action.
Thank you for taking the time to improve the content on our site.