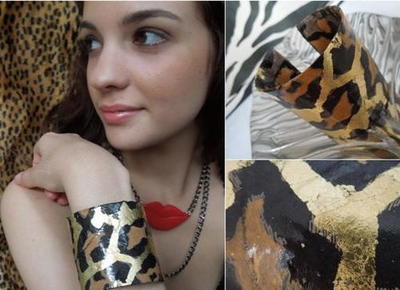
Cheetah Print Cardboard Bracelet
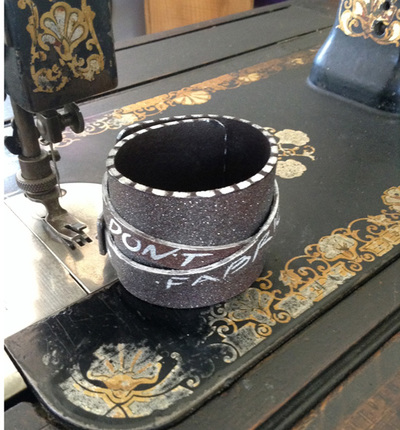
Save an empty paper towel roll and turn it into a wild and fun cuff! Add a homemade Cheetah Print Cardboard Bracelet from Savannah Starr to your outfit for a pop of excitement. Use decoupage techniques to create a fun animal print motif for this project.

Materials:
- Paper towel roll(s)
- Scissors
- Ruler and pencil
- Squeegee (credit card or cardboard to apply glue)
- Glue bottle (or other bottle similar in size to your wrist)
- Wax paper
- Rubber bands
- Paint brushes – one for applying glues and one super soft for applying gold leaf
- Aleene’s Collage Pauge
- Collage paper (I used my favorite cheetah print)
- Gold leaf and gold leaf adhesive
- Aleene’s Spray Acrylic Sealer – Gloss
Instructions:
-
Cut down side of paper towel tube.

-
Measure cuff 2″ wide by measurement of wrist. Cut back approximately 1/2″ from end to shorten to create cuff style bracelet. You will need two layers to create each bracelet so cut duplicate piece.

-
Squeegee thin layer of glue to one piece. Be sure to apply glue all the way to the edges.

-
Glue two layers of cardboard tube together.

-
Wrap wax paper around bottle. Wrap glued cardboard around bottle. Use rubber bands to hold in place while drying. Let set overnight to dry completely. Remember, the larger the wrist, the larger the bottle so select a bottle that is similar in size or slightly smaller than your wrist.

-
Tear collage paper into small pieces. Working small sections at a time, apply collage glue to outside of bracelet. Apply glue to back of collage paper.

-
Press collage paper onto bracelet and overcoat by brushing with glue. Repeat to collage entire outside and inside of bracelet. Be sure to wrap your collage paper around edges of bracelet when gluing for a nice finished edge. Let dry completely.

-
Apply gold leaf adhesive in a thin coat over desired area of cheetah pattern. Let glue dry until completely clear (it will still be sticky). If desired, you can speed up the drying process with a hair dryer set to low.

-
Carefully place gold leaf sheet over glued areas. Brush gently with soft brush until gold leaf is adhered to all glued areas.

-
Use same soft brush to gently rub away the gold leaf from areas where there is no glue. The gold leaf should easily rub away from these areas and stick to the glued areas. Save all excess pieces of gold leaf to use on another project. Use brush to smooth all edges of gold leaf.

-
Spray entire bracelet with gloss sealer. Let dry. Repeat for a super shiny glossy finish.

For a comprehensive video tutorial, check out How to Make a Collaged Cuff Bracelet.
Read Next81 Free Beaded Bracelet Patterns

