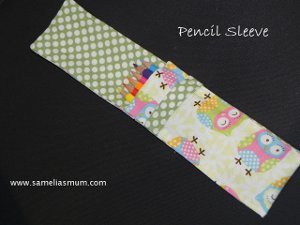
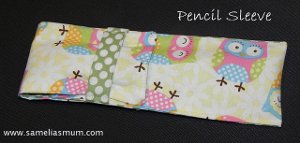
Colored Pencil Sleeve
Keep your kids' arts supplies tucked away and organized with the help of this Colored Pencil Sleeve. This easy sewing tutorial is great for using up fabric scraps, and is a quick and easy project that anyone can do. This pencil case is also great for kids who are going to school or to give as a gift with a group of coloring books or drawing pads.

Materials:
- 3” x 18” outer fabric (owl print)
- 3” x 18” lining fabric (spots)
- 3.5” x 2.5” closure strip (spot)
- 3” x 18” fusible interfacing
- Sewing machine
- Scissors
Instructions:
-
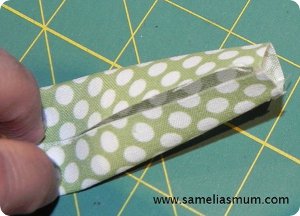
Take the small piece of fabric which will be the closure strip. Press in half along the shorter side. Open and fold each side to meet the centre fold line. Does that make sense? Here is the picture of what I’m trying to say.

-
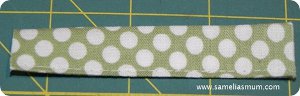
Fold in half at the previously pressed crease and top stitch it closed.
-
Fuse the interfacing to the back of the outer fabric (in my case, it is the owl fabric).
-
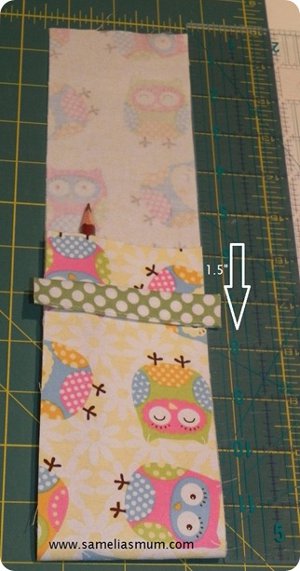
Fold over the fabric and place a pencil to measure where you need to add the closure strip.
-
As you can see in the photo, mine is approximately 1.5” from the raw edge.
-
Pin and sew it to the outer fabric – about 1/8” from the edge. I went over mine a couple of times to ensure strength. Trim the excess on either side, so that it aligns with the owl fabric.
-
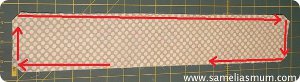
Place the lining fabric on top of the outer fabric with right sides together.
-
Sew all around with a 1/4” seam, leaving a gap for turning out.
-
Clip the corners.
-
Turn out and poke out the corners so you have lovely sharp points.
-
Fold in the open seam edges and press.
-
Fold the Pencil Sleeve – to be sure of placement, get your pencil out again and put it inside the sleeve.
-
Pin in place and top stitch along both sides (which will now secure the open seam) and the top.
-
Insert some pencils and it’s ready to go.
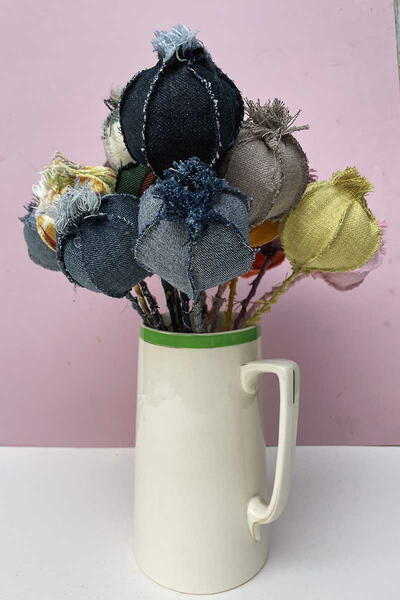
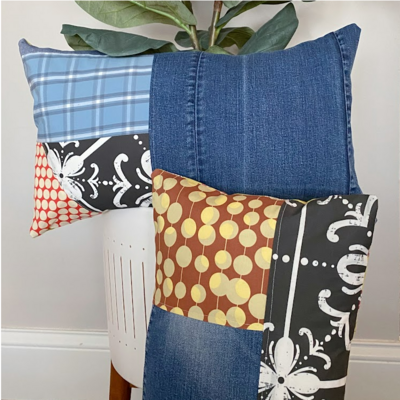
Read NextRecycled Denim Pillows