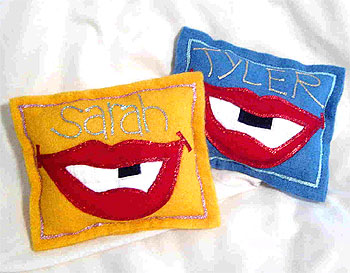
Tooth Fairy Pillows
Your kids will love leaving their lost teeth out for the tooth fairy in these adorable pillows. They are easy to make and you can customize them for each child.
Materials:
- Kreinik Iron-on #16 Braid 6010 Pearl, 6225 Gold, 6410 Confetti Pink
- Kreinik Iron-on 1/8” Ribbon in 6130 Red, 6420 Sky Blue, 6120 Pink
- Kreinik Teflon Press Cloth
- Mini iron or household iron
- Felt (we used CPE Art Felt in Militia Blue Red, Yellow, White and Black)
- APL’s Crafter’s Pick Fabric Glue
- Scissors
- Pencil
- Fiberfill Stuffing
- Needle and yellow or blue thread
- Straight pins
Steps:
Turn your iron onto the highest heat setting and allow it to heat thoroughly.
Tip: Always use a press cloth with the iron-on threads to keep the adhesive in the thread from sticking to your iron.
Follow the templates (see link above) for cutting your felt.
- Cut two pillow rectangles from Yellow or Militia blue felt.
- Cut lips from red felt. Cut out opening for teeth.
- Cut teeth from white felt. Place teeth behind lips and very lightly draw pencil guidelines for individual teeth.
- Cut away one or several teeth.
- Using Teflon Press Cloth, apply pearl braid over lines and around edges of missing tooth. (Note: do vertical lines first, then one long horizontal line.)
- Glue a piece of black felt to tooth 9teeth) opening on back. Set aside to dry.
- Use red iron-on ribbon to outline outside and inside edges of lips. Slowly press one continuous length or cut Ribbon into sections, press and overlap edges. Trim away any excess ribbon from corners of lips. Apply a bead of glue around inside edges of lips on backside. Place lips on top of teeth. Press to secure. Set aside to dry.
- On front of pillow, use pink (on yellow) or blue (on militia) ribbon to create a border 1/4” away from outside edges. Cut ribbon to fit each side overlapping ends.
- Place lips on pillow. Decide on placement of name. Use confetti pink or gold braid to spell out the name. Shape one letter or portion of letter under press cloth at a time. Press to felt. Overlap ends. Work slowly, one letter at a time.
- Apply a bead of glue around outside of lips. Do not glue upper portion of lips. This is a pocket opening. Press to pillow front. Set aside to dry.
- After glue has dried, cut two small pieces of 1/8” red ribbon and press over corners of lips.
- Pin front to back and carefully stitch together using a running stitch following the outside of the metallic border.
- Leave a small area unstitched at bottom or side, but leave thread attached to needle.
- Fill with fiberfill stuffing (do not overstuff). Pin opening closed and continue stitching to finish.
Kreinik threads available through needlework stores or www.kreinik.com.
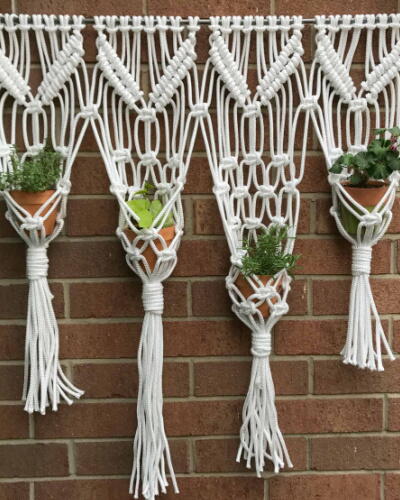
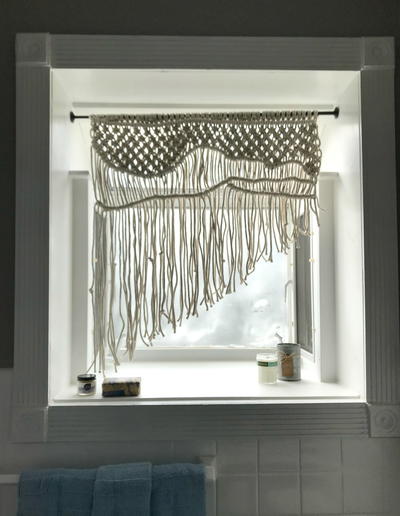
Read NextMacrame Curtain
Your Recently Viewed Projects


Thanks for your comment. Don't forget to share!
lpalmer59 7490208
Mar 07, 2016
Oh my goodness, this is such a wonderful idea. No more having the tooth fairy to ease their hand under the pillow so not to wake the little one up from their slumber. I am going to make this with my granddaughter so she can hang it in her room. That way her sleep will not be disturbed and the tooth fairy will know exactly where to find her tooth.
granny40
Dec 10, 2010
You could sew a ribbon as a handle to hang on bed post or drawer pull on the dresser or even hang on bedside lamp switch. And for Cindi, look at step 10 for the pocket for the tooth.
Crafter 6408003
Oct 28, 2010
Is this to use for putting a tooth under their pillow and then leaving money? I thought it was, but can't find in the directions where there would be an opening to do so. Cindi
Report Inappropriate Comment
Are you sure you would like to report this comment? It will be flagged for our moderators to take action.
Thank you for taking the time to improve the content on our site.