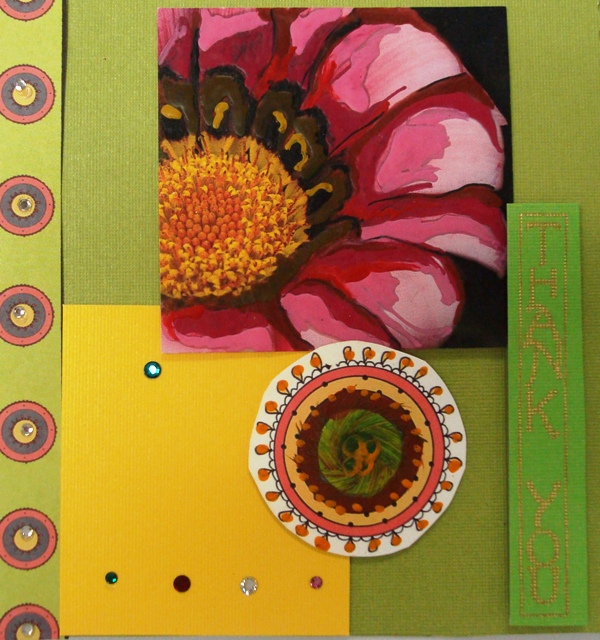
Crystal Flower Thank You Card
Dazzle whomever you need to thank with this cheerful flower card from Kandi Corp. Swarovksi crystals add a shining touch to the printed flowers. A "Thank You" stamp saves you from having to write perfectly.
Tools
- Professional Touch® Hotfix Applicator
- Hot Wax Art® Stylus
Materials
- Colored Cardstock
- Patterned Cardstock
- Two shades of Green Cardstock
- Flower Picture printed from your computer
- Hot Wax Art® Berry BeesWax Pigments
- Hot Wax Art® Natural BeesWax Pigments
- Swarovski® HotFix Crystals
- Adhesive
- MNC Stamp – EW1006 Thank You
Instructions:
- Cut Colored Cardstock 6” x 12” and fold in half.
- Turn on the Professional Touch®. Preheat for about 2 minutes. Be careful. The metal end of the Professional Touch® and the tip get very hot! DO NOT TOUCH ANY METAL PARTS of the Professional Touch® or tips while in use. Follow instructions for how to use the Professional Touch®. Cut Patterned Cardstock 1.5” x 6” for a border. Using Kandi’s Professional Touch® Hotfix Applicator embellish with Swarovski® HotFix Crystals from Kandi Corp.
- Cut one Green Cardstock 3” x 2.5”. Apply various Swarovski® Crystals using Kandi’s Professional Touch® Hotfix Applicator.
- Print your favorite picture of a flower on computer paper and cut 3” x 3.”
- Turn on the Hot Wax Art® Stylus. Preheat for about 2 minutes. Be careful. The metal end of the Stylus and the tip get very hot! DO NOT TOUCH ANY METAL PARTS of the Stylus or tips while in use. Follow instructions for how to use the Hot Wax Art® Stylus. Using the Hot Wax Art® Stylus with Calligraphy tip, embellish the flower petals using Berry BeesWax Pigments. For best results, making sure the reservoir in the tip is filled with wax before applying.
- Embellish the center portion of the flower with Natural BeesWax Pigments. Use the Hot Wax Art® Stylus with the brush tip for extra texture.
- For added dimension, cut a circle out of the patterned cardstock and embellish with Hot Wax Art® BeesWax Pigments, using the brush tip for the center. To create the feathered effect, brush on the wax and let it dry. Then with a clean brush tip, pull the wax from the center in a circular motion.
- Stamp Thank You using gold dye ink one the other shade of Green Cardstock.
- Adhere all cardstock to card.
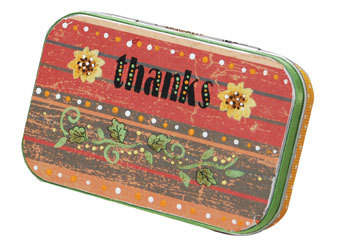
Read NextFall Thank You Tin