Sassy Two-In-One Tee Shirt
Don't pitch those old, ill-fitting t-shirts. Instead grab a few and make your own Sassy Two-In-One Tee Shirt. Easy sewing patterns like this one are perfect for beginners. Plus, the homemade bow adds a fun and unexpected touch. Make sure you use two of the same knit fabric - it will make the entire piece look more uniform. This free sewing pattern is meant for a younger person, but with a little sewing knowledge, you can easily resize it to fit an adult. If you're looking for a funky top and don't want to take a trip to the mall, check out this pattern.
Primary TechniqueSewing

Sewn byMachine
Materials:
- Pattern
- Two shirts
- Matching thread
- Scissors,
- Straight pins
- Sewing machine
- Serger
Instructions:
- First, determine what you want to sew and pick out the pattern or instruction. I am going to use Whimsy Couture’s ‘Knit Tee Dress’ PDF sewing pattern, but with modifications.
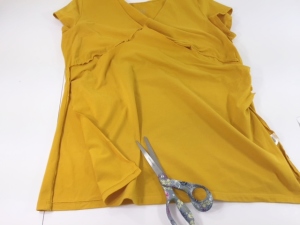
- Select the shirts that have the bottom hems in tact.
- Check if the pattern pieces (or measurements) will fit onto the t-shirts, minus 1/2 inch for seam allowance since you will be using the finished hems on the cut up shirts.
- Gather your sewing supplies such as matching thread, good scissors, straight pins, a sewing machine and a serger would be optional.
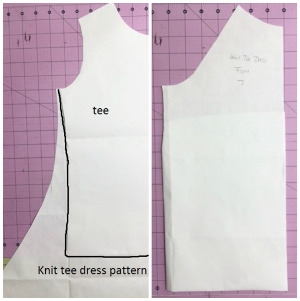
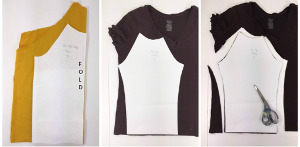
- Prepare your pattern template: This step is optional because you can also use an un-modified template of course but for this project I am using a dress template and will make a pattern template for a shirt from it. I used an existing shirt from my daughter and placed it onto the knit tee dress template and traced the outline (see left picture). I folded the excess template paper down so I could reuse it as a dress again. This is now my finished and new shirt template I’ll be using (right picture). The rest of the shirt pieces such as sleeve and neckband is from the knit tee dress sewing pattern.
- Prepare your shirts: If you are working with t-shirts that are not simply flat and have gathers, ruches, seams etc. it is important to cut the t-shirt front and back apart. It will help to press the pieces before working with them!
- Next step is to cut out the new shirt pieces.
- For the bodice, fold the knit fabric piece over sideways so that the finished bottom hem remains on the bottom. Place the template onto the fabric aligning the fold marking from the template with your fabric fold just like it would be described in any tutorial. For the sleeves you may not have a fold mark on the template (like on my pattern) so place the template onto the t-shirt as shown. Cut around templates:
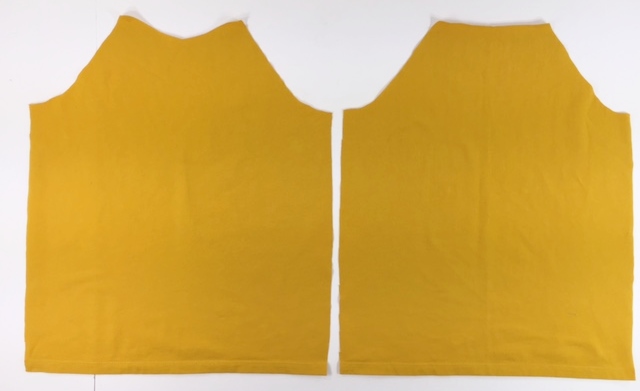
- These are the pieces for front and back I have cut out (my sleeves are not showing):
- For decoration I wanted to add a little bow so I cut 2 pieces about 3″ 4.5″ and 3″ X 3.5″.
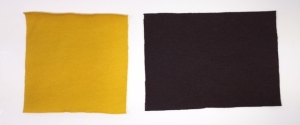
- I placed those on top of each other with the larger piece on the bottom and hand stitched both together in the center to form a bow.

- I followed through with my sewing pattern instructions for the most part and created this adorable raglan style knit top for my daughter. I added the bow and that made it girly! This is my finished modified top using existing hems on knit t-shirts!
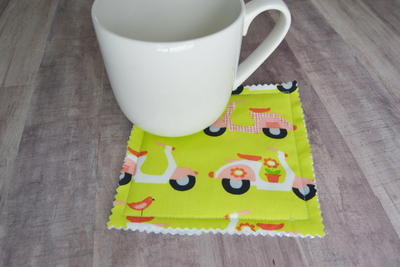
Read Next10 Minute Mug Rugs