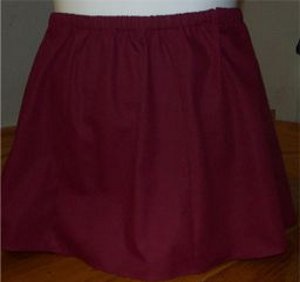
Plus Sized Skirt Tutorial
Did you find the perfect skirt pattern, but it's just a little too small? Learn how to make the skirt you love in a size that fits you with this Plus Sized Skirt Tutorial. This is helpful and useful information for sewists and anyone interested in making their own clothes.
Materials:
- 2/3 yards of fabric
- Yardstick
- Pencil
- Scissors
- Pins
- Elastic
- Sewing machine, needle, thread
Instructions:
- Skirts are a very easy clothing garment to make, however “easy” becomes “difficult” or “impossible” when you’re dealing with making clothing for the plus size/overweight/obese girls. The answer to this dilema is to make the pattern using the CHILD’S measurements, and not the “standard” measurements the commercial pattern companies use. The only measurements necessary to make this custom fitted 6-gore skirt for ANY overweight/plus size girl is her waist, hip and skirt length. The skirt will fit perfectly every time because you’re using the personal measurements of your daughter/granddaughter or whoever it is that needs the clothing.
- Fabric required for the 6-gore skirt: 54″ wide fabric — skirt length + 6 inches (6″ is for the hem and allowance at the waistline for elastic). For this sample skirt, the fabric requirement is 22″ (16″ length + 6″ for hem/waist allowance). I would go ahead and purchase 2/3 yard (24″) just in case the fabric wasn’t cut exactly straight when buying it.
- To give you an illustration of how easy it is to make a custom fitted elastic waist pattern for the plus size child, let’s make a 6-gore skirt. For this example we’re using a waist measurement of 30 inches, hip measurement 39 inches and skirt length of 16 inches (these are the “average” measurements of an overweight 10 year old girl). Remember, when you make the skirt for your daughter/granddaughter, you simply use HER waist, hip and skirt length measurements instead of these sample ones.

- Begin by making a “T” — the top of the “T” is equal to the child’s waist measurement divided by 6. This sample has a waist of 30″, so divide 30″ by 6 to equal 5″. The vertical line (drawn from the center of the top line) is the skirt length, and our sample is 16″.
- The hipline is normally 6″ below the waist, so at that point you’ll make a horizontal line equal to hip divided by 6 + 1/4″. Our sample hip measurement is 39″, so the horizontal line is 6 plus 1/4″ or 6 3/4″.
- With a straight yardstick, draw in the outside lines of the skirt piece, connecting the waist to hip to the bottom and draw in the bottom line.

- Now take the Hip divided by 6 + 1/4″ measurement (in this case it would be 6 3/4″) and center it along the top of the “T” (remember this is an elastic waist skirt, and the waist must be large enough to come up over the hips). Next draw in the outside lines of the skirt piece, connecting the waist to hip to bottom and draw in the bottom line. Measure UP 1/4″ at each side and draw in the slightly curved line. You have now finished making ONE section of the 6-gore skirt.

- Remember that you have NOT allowed for seams yet — the pattern piece you just finished was made according to our sample measurements (or YOUR own daughter/granddaughter’s measurements). At this time you will need to add in the seam allowances. At the waistline, as you can see, you’ll need to add an allowance equal to TWICE the WIDTH of your elastic plus 3/8″ — for example, if you’re using 1″ elastic, the additional amount at the top of the skirt would be 2 3/8″ — 2 inches so when you fold the waistband, the elastic will be covered and 3/8″ for the seam allowance at the top of the skirt for the elastic waistband. Then add the 5/8″ seam allowance along both sides and the 3″ hem allowance.
- You will need to cut SIX of these pieces from the fabric, using the center “T” as the straight grain line (this is a 6-gore skirt).
- Pin all six sections together and sew. After you’re finished sewing the side seams, you’re ready to do the elastic waistband. Instructions for making the self band elastic waistband and inserting the elastic is as follows:

- In the previous Step E, you were instructed how to make the waist allowance on the fabric to be twice the width of the elastic etc, so now we’re ready for the elastic. Mark the waistline with a basting thread, as indicated in the above drawing. Cut a length of elastic to fit around the waist plus 1/2″.

- Press under the upper edge of the waist area 3/8″.
- Fold the casing to the inside of the skirt, pinning the casing at the waistline previously stitched with a basting thread. Stitch the waistband casing down at the original basted waistline, leaving about 2″ not sewn at one of the seams.
- To insert the elastic, attach a safety pin at one end of the elastic and tunnel the elastic through the casing starting at the unsewn casing area and pushing the closed safety pin/elastic through the casing. Push the pin/elastic around through the casing to the same opening, being careful to keep the other end of the elastic OUTSIDE of the casing.
- Overlap the elastic ends and machine stitch the ends securely.
- Evenly space the waistline fullness then stitch the opening closed.
- The last step is to sew the hem. You can do this by folding under 1/2″ along the bottom, then fold and pin the remaining 2 1/2″ (you made a 3″ hem allowance), and stitch the hem in place. The custom fitted 6-gore skirt is ready for your child – and you can see that it fits perfectly.
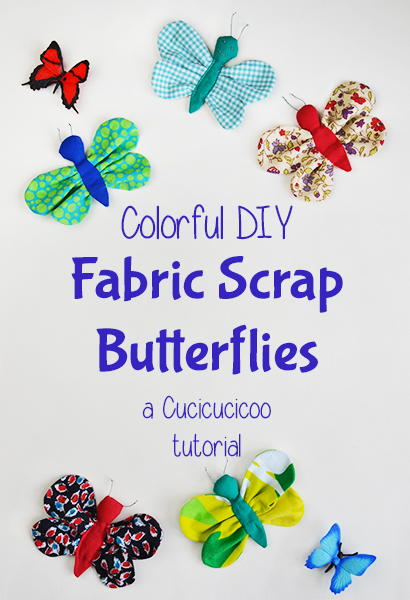
Read NextScrap Fabric Butterflies