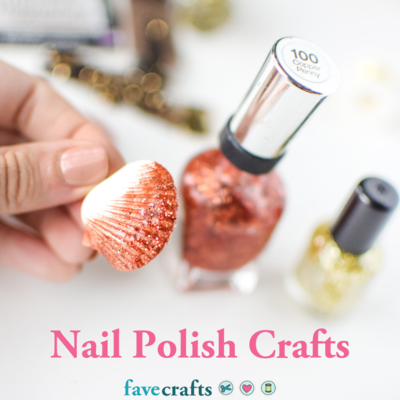
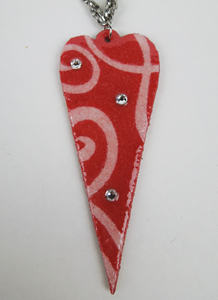
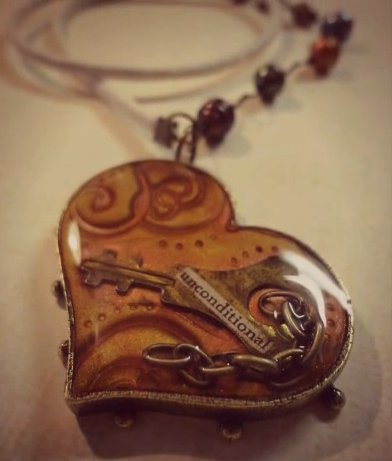
Bread Dough Pendant
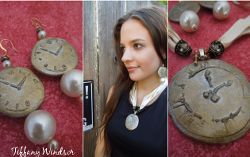
If your jewelry craft ideas are less than imaginative, branch out and make a pendant using items from your fridge. Use a vintage recipe to create a Bread Dough Pendant from Tiffany Windsor. Clock stencils help give your piece a unique look and texture.
Materials:
- Aleene’s Original Tacky Glue
- White bread – one slice with crust removed
- Cold cream (I prefer Ponds Cold Cream)
- Craft stick
- Plastic cup
- Zip top plastic bag
- Stencil (The Crafters Workshop) (or you can also use a rubber stamp)
- Rub ‘n Buff (silver, gold)
- Jewelry findings (eye hooks, flat head pins, fish hook earrings, bail) and beads
- E6000 Glue
Instructions:
-
Tear white bread into small pieces and place into plastic cup. Add 1 tablespoon of Aleene’s Original Tacky Glue and mix with craft stick until the mixture forms a dough ball.
-
Rub hands with cold cream. Pick up dough ball and begin to roll and knead with hands. If mixture is too sticky, add more cold cream. Continue to knead for about 5 minutes or until you have a smooth consistency. Return dough to zip bag. Note: you can store the mixed dough in the refrigerator for about a week.)
-
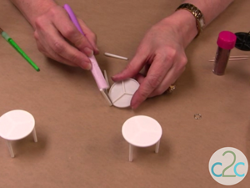
Determine size of earrings and tear off two pieces of dough to desired size. Working one piece at a time (return second piece to zip top bag) roll in hands to create smooth ball.
-
Place ball on non-stick work surface. Using bottom of bottle, gently press the ball until it flattens to desired size. Place dough smooth side up on non-stick work surface.
-
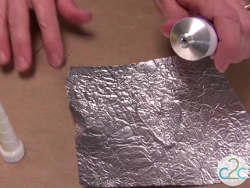
Place stencil design over dough and gently press with fingertips until dough starts to press up through design. Gently lift stencil. Repeat for second earring and pendant. For earrings, use push pin to press in holes at top and bottom of each piece for earring wires. Set aside to dry overnight.
-
Turn pieces over to expose underside which will still be moist and soft to the touch. Let dry overnight.
-
To color pieces, squeeze a small amount of silver Rub ‘n Buff onto paper towel. Wipe over front and back of dried bread dough. Let sit for just a few minutes. Repeat process to antique with gold Rub ‘n Buff. Set aside to dry.
-
Cut eye pins/flat head pins to desired lengths, add beads and use E6000 glue in holes at top and bottom of earrings to glue wires in place. Glue bail to back of pendant. Let dry.
- Add favorite jewelry earring hooks.
For a comprehensive video tutorial of this project, check out How to Make a Bread Dough Timepiece Pendant and Earrings.
Read NextChandelier Pendant Necklace