Slice of Cake Postcard
Crafts using postcards are a piece of cake and now you can show it! Make a Slice of Cake Postcard from Candace Jedrowicz using caulk and a craft sponge. Best of all, you can mail a piece to all of your friends and loved ones. This is a great alternative to a boring birthday card.

Materials:
- Aleene’s Original Tacky Glue
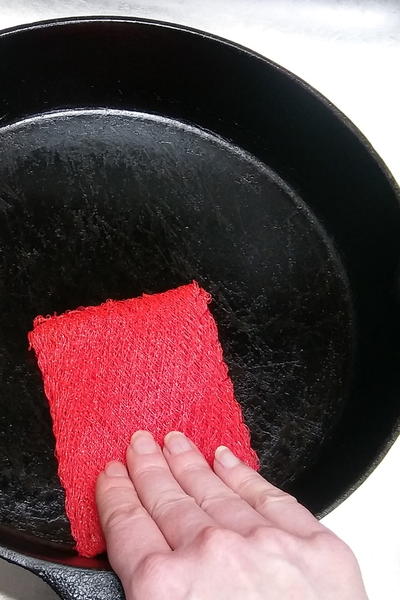
- Grout sponge
- Caulk – the white and brown are the actual colors it comes in
- Disposable pastry bag
- Craft knife
- Scissors
- ruler
- masking tape
- Brown paint, if desired
- Card stock
- Bugle beads for sprinkles (optional)
Instructions:
-
Cut the grout sponge’s curved edges off, then stand the sponge on one long edge and cut at a diagonal to form 2 cake slices (Hubby cut mine with a table saw)
-
Lay one slice on it’s side. Find the center and lay your ruler a 1/4″ to one side. Cut along the ruler with your craft knife. Repeat on the other side. You want to cut about 1/4″ deep. Don’t worry about cutting through the sponge at the narrow end, the sponge can be trimmed if necessary.
-
Gently bend the slice to open the cuts you just made and cut the center out with scissors. If you’re going to paint the sponge brown, this would be the time to do it.
-
Lay the slice on the card stock and trace around it. Stand the slice up where is and continue to trace around the bottom. Cut out the shape.
-
Spread glue evenly on the card stock and attach it to the back side and bottom of the sponge and allow to dry.
-
Squeeze caulk into a pastry bag. Snip the tip off the bag.
-
Lay the slice groove side up. Lay tape along both sides of the groove. Squeeze caulk into the groove. Smooth it with your finger. Remove the tape. Allow to dry.
-
Hold on to the slice and squeeze caulk onto the top and back of the slice. Use a finger to smooth and swirl the “icing”. Sprinkle with bugle beads if desired.
-
Allow the icing to dry for at least 2 days before sending.
- Address the card and write a small message on the thin end. The post office will need lots of room to do their thing.


