Needle Felt Christmas Cards
You can find a step-by-step tutorial on how to needle felt here. Otherwise, read on for how to make needle-felt Christmas cards.
Materials:
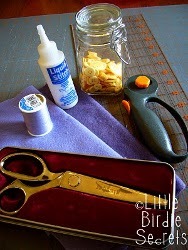
- Wool Roving- Several Colors
- (Optional) Wool Felt- You can purchase some wool felt for the rectangular background to save time if you like or make your own from the wool roving
- Heavy Cardstock Paper
- Felting Needles
- Felting Mat or Large Foam Pad
- Christmas Cookie Cutters
- Pencil
- Scissors
Instructions:
- Choose a background color from the felt or create a rectangular shape by needle-felting.
- You can create a rectangular shape by cutting the felt with scissors or needle felt a rectangle from the wool roving. You needle felt the outline of a rectangle first and then fill it in. Then, you tuck in the excess fuzzies around the shape of the rectangle and needle felt them into the shape. You also clean up the edges by carefully needle felting them in wearing finger protectors! Again, for instructions on how to needle felt, read this.
- Cut out a piece of cardstock the same size as your felt rectangle.
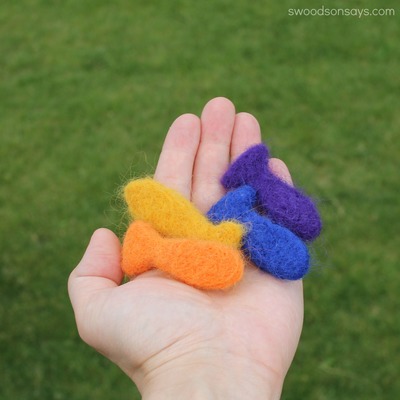
- Once you have a background rectangle of felt, make the felt shapes. Roll a bit of wool roving into a ball and stuff into your Christmas cookie cutter. Possible shapes can include Christmas bells, trees, snowmen, stars or gingerbread men.
- Place your cookie cutter stuffed with wool roving on your felting mat or foam pad and needle felt within the cookie cutter until solid. Remove the shape from the cookie cutter, turn over and continue to needle felt. You might have to flip the piece several times to felt all the stray fibers.
- Repeat this process with however many shapes you want on your greeting card, in different colors of wool if preferred.
- Once finished, needle felt your shapes onto your rectangular background. You might have to trim the edges with scissors.
- You can add any additional embellishments to your design such as sequins, buttons or ribbons with hot glue.
- For a border, attach a slighter larger background in a contrasting color to the back of the rectangle and needle felt in place.
- Handwrite your Christmas greeting on the cardstock or design and print out on the computer. You can even format a document in Microsoft Word or Publisher to make a postcard, with area for mailing instructions and no additional envelope is needed! A simple “Merry Christmas” is always acceptable! Attach your cardstock to the back of your felt using glue or double-sided adhesive.
Read NextWhimsical Fairy Nymph
JennyBee1
Aug 26, 2011
@glipp, Unfortunately, all of the projects on our site are user-submitted and the original designer did not supply us with a picture for this specific project. We always include images when they are provided, as we understand how important it is to see what it is you're making! We apologize for any inconvenience. --Editor of FaveCrafts
Annie and my artif acts
Sep 02, 2010
I have to admit a picture would have helped. But I'm going to go out on the web and look for something similar... Most times if someone is going to submit a project you should ask for a picture. There have been times that I got interested in an idea based on the name and either did or didn't stay interested when I saw what the actual project looked like. It seems like an interesting idea, but with a Christmas card list of over 85 families, I won't be making something like this until spring for next year. (=
Report Inappropriate Comment
Are you sure you would like to report this comment? It will be flagged for our moderators to take action.
Thank you for taking the time to improve the content on our site.

