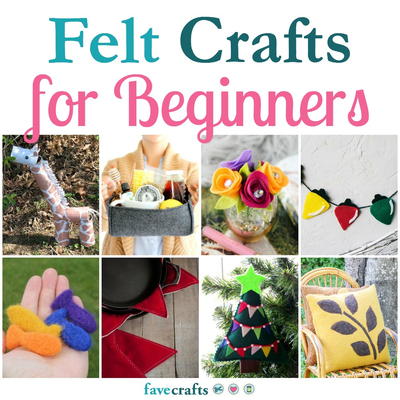
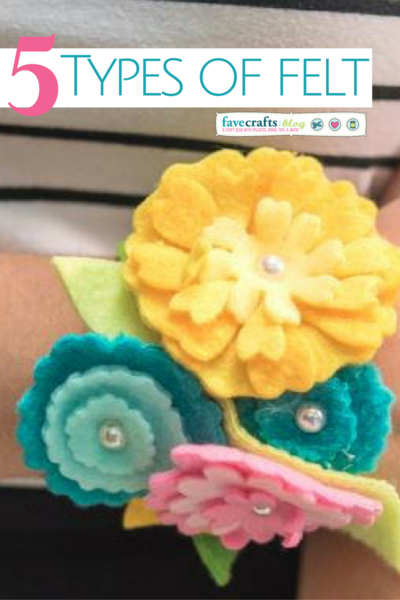
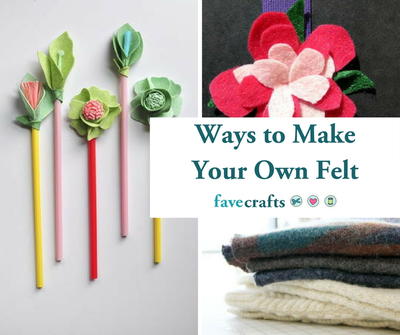
Ways to Make Your Own Felt + 11 Felt Crafts
Making felt is easier than you might think! Check out these different methods.

How do you make felt? Let me count the ways!
Learn how to make your own felt so you can make these 11 adorable felt projects. Felt is a super easy crafting medium to work with and it's quite cheap, making it a favorite material of many crafters.
In this guide, you'll learn three basic ways to go about making felt for your craft projects. Once you learn the basics, you can let your imagination run as you think up new crafting projects to make with felt! Whether you're making felt flowers or appliques for your clothes and craft projects, these tutorials will teach your all the basics.
How to Make Felt + 11 Felt Crafts
Wet Felting
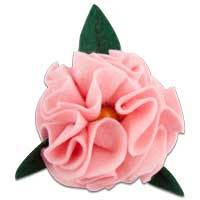
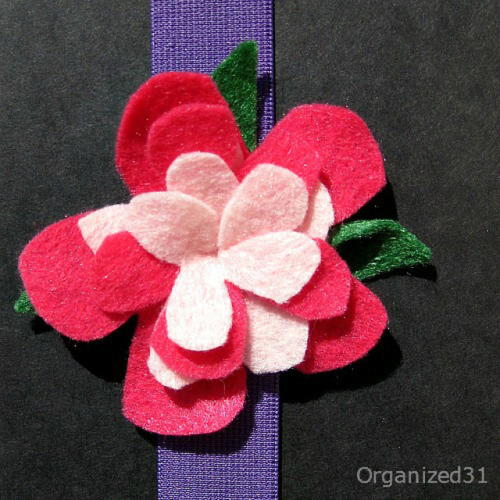
There are a lot of different ways to use felt. The simplest way is to buy felt pre-made from the store and use it as fabric for sewing projects, such as this Felt Carnation Pin.

You can also make your own felt from wool roving by doing a process called "wet felting." Felting is the process by which animal fibers (wool) are fused together with the application of heat, water, agitation, and pressure to form felt. You can create felt easily at home.
-
For felting, you will need wool roving, also called wool top, which is wool that has been washed, combed, and carded into a thick rope before being spin. If you have a bunch of un-carded wool, you can use a wooden carder, which is basically a wooden pad with small nails resembling a giant hairbrush, to straighten the wool. Or, for a messier look, use your fingers to straighten the wool. If using wool roving, pull out wool pieces about 4-6 inches in length.
- A straw beach mat, bamboo placemat, or sushi mat can help in pressing the wool together but it’s not essential. A fabric envelope can be created by folding the fabric around the wool “mat.” You can also felt in the bottom of a cake pan without any additional materials.
-
If using a straw or bamboo mat, put this on top of a towel on a flat surface. Lay down a layer of overlapping wool with the fibers running the same direction. Make another layer with fibers running perpendicular to this layer. Make a third layer with the fibers running the same direction as the first. These three layers create the “warp” and “weft” of the felt, giving it strength and durability.
-
Once you have a “mat” of wool, squirt liquid detergent over the wool or sprinkle power detergent over top. Pour about ½ cup of boiling water over the wool. Allow to cool some, put on rubber kitchen gloves and press down (into the pan if you are using one) firmly. You can use a potato masher to press down the fibers and not burn your hands. If using a mat, you can place a piece of bubble wrap over the felt and rub down vigorously, or use the fabric envelope.
-
However you choose to do this, massage the wool all over for five minutes. As the wool begins to firm up, massage more vigorously. After 10 minutes, you should be able to flip it over. Add more soap and water if necessary and continue massaging the wool down.
-
Run hot water over the felt mat again or plunge it into hot water, washing away the soap. Then, immediately run cold water over the mat or plunge into very cold water. This will make the fibers hold to one another.
-
You can continue to massage the wool under hot water, making it thicker and smaller (as the air is squeezed out), but it’s not essential at this point.
-
Lay the felt flat to dry. You can use an iron to assist with drying and flattening.
-
For an even easier method, fill up your bathtub with several inches of hot water, add laundry soap and roll up your layered wool mat in the bamboo mat. Put on gloves and immerse the rolled mat in the water. Roll the mat back and forth, moving your hands around it for 3 to 4 minutes. Gently unroll the felt mat on a towel, very gently lift the felt from the mat and turn it perpendicular to the direction of the bamboo. Repeat the process. Remove from the mat and press between towels. Lay flat to dry.
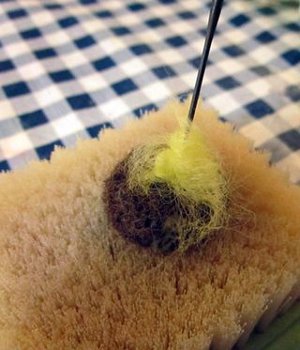
Needle Felting
You can also create felt without water with special felting needles. Needle felting is done with special, barbed felting needles which push the layers of wool together without water.
-
Just as in traditional felting, you need wool roving. Other fibers such as llama, alpaca, and angora (rabbit) are more expensive but give a different feel.
-
Be extra careful. Felting needles are much sharper than normal needles with barbs along the sides. They come in different sizes for finer or looser felting work. Many felting needles come as a kind of multi-needle tool with a handle.
-
You will also need a spongy, foam mat to felt on (the needle will poke into this instead of your table!). You can pick up a plain mat at a craft store or purchase a specialty mat for felting, which looks like a stiff, flat brush with a plastic base. This mat makes removing your felted piece a breeze and no foam is stuck in your piece.
-
Just as in traditional felting, you put down a layer of wool in one direction, and another layer in the perpendicular direction, on top of your foam mat. You can put another layer down in the original direction for three layers and a thicker result.
-
Poke your felting needle (or multi-needle tool) into the wool rapidly over and over again, moving randomly over the piece. You only need to go about ¼ inch into the foam, so not too hard! It’s important to keep your needle straight up and down, not at an angle, or you risk breaking the needle.
-
If a piece is too thin in places, add a bit more wool to that area and use the same technique to poke it down.
-
When it’s pretty well matted down, lift the felt off the mat, turn it over, and repeat the process. You may have to flip your piece over several times.
-
To smooth out the “fuzzies” on the side of your piece, put on rubber finger protectors, and use a single felting needle to push them into the sides and back.
-
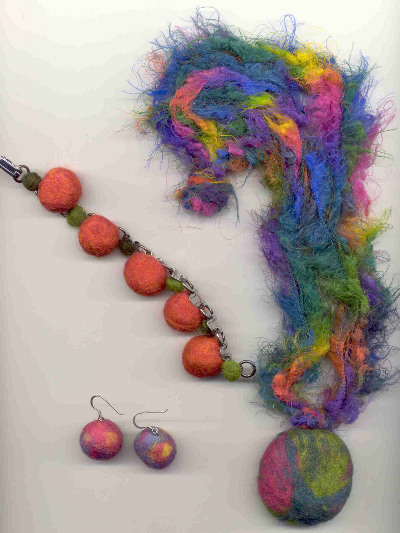
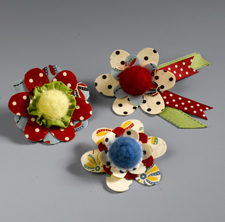
If you want to apply this technique to a project, try out the Spot On Needle Felted Beads.
Felting Wool Sweaters
If you're into upcycling projects, you can recycle an old sweater for felt! For a shortcut, felt a wool sweater in the washer with hot water and soap. Once felted, the sweater should have shrunk dramatically and you should no longer see the stitches of the original garment.

-
Only animal fibers will work for felting. Use a sweater made out of wool, mohair, cashmere, alpaca, or some combination of these. If synthetic fiber accounts for 20% or less, the sweater will probably work for felting. Check the label to see if the wool sweater has been specially treated to be washable, as if you see “superwash,” since these will not work for felting.
-
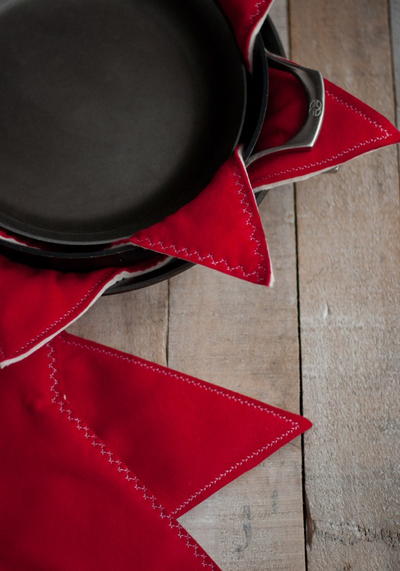
Keep in mind that thicker 100% wool sweaters will be better for thick and sturdy felt craft projects, such as tote bags.
-
Make sure you safeguard your washer before throwing in the sweater. While felting, the sweater will release a bunch of wooly fibers, which can clog up your washer. Put your sweater in one of those mesh laundry bags (used for delicates) or zippered pillow protector. If it has a drawstring, secure the strings with a safety pin. (Mine have zippers.) Top-loading washers seems to work better than front-loading washers for felting, but you can try repeating the process a few times. A sturdy pair of jeans added to the washer will also help with felting.
-
Remove the sweater from the mesh laundry bag before placing in the dryer. You will have to clean the lint trap frequently during felting.
-
You may have to wash and dry the sweater again and even once more to felt some wool sweaters.
-
Cut off any labels, embellishments, and ribbed cuffs, and cut the sweaters apart for pieces for felt pieces. Now you are ready to craft with your homemade felt!
-
For another take on this fantastic method, check out our article on Felting Wool Sweaters.
Things to Keep in Mind When Making Felt Projects
-
The needles used in needle felting are really sharp! Consider covering your fingers so you don't poke yourself.
-
If you're felting in the dryer, you should put your fabric in a mesh bag to avoid a clogged, fiber-filled washer and dryer. Also empty your lint catcher frequently.
-
Try adding a pair of jeans to the load to "agitate" your felt more and get a better result.
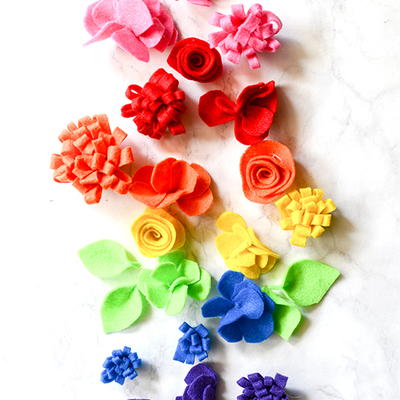
Felt Crafts
After making felt, try your hand at these unique projects!
-
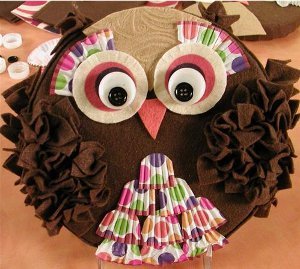
Fluffy Felt Owl WHOOO will you be making this for?
-
-
-
-
-
-
-
ABC Wood Blocks These are adorable!
-
-
-

Have you ever tried making felt? What is your favorite felting method?
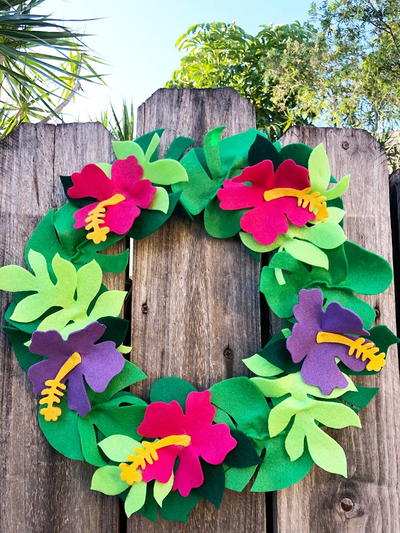
Read NextTropical Hibiscus Felt Wreath
Your Recently Viewed Projects
Thanks for your comment. Don't forget to share!
flowergirl
Feb 16, 2018
You can make your own felt? This website is filled with inspiring ideas for new crafts and everyday I find a new one. I wish there was a video tutorial to help me make my own felt. I just discovered hundreds of crafts I could make.
Report Inappropriate Comment
Are you sure you would like to report this comment? It will be flagged for our moderators to take action.
Thank you for taking the time to improve the content on our site.