Adjustable Copper Multi Strand Bracelet
Swarovski crystals and copper wire make this bracelet perfect for transitioning from business attire to evening wear.
Materials:
- Eight 8mm Copper Finish Crystal
- Czech Glass Rounds
- Six 6mm Copper Crystal Swarovski Rondelles
- Six Size 2 GP Crimp Tubes
- Six Copper Plated Crimp Covers
- Five Copper Plated Open Heart Charms
- Eighteen Gauge Colourcraft Natural Copper Wire
- Three 10” segments Satin Copper Wire, 7 Strand, .015” diameter
- Designer Series Round Nose Pliers
- Two Pairs Designer Series Chain Nose Pliers
- Jump Ring Maker (8mm and 5mm Dowels)
- Designer Ergo Cutter
Instructions:
-
Create 4 8mm jump rings with 18 Gauge Natural Colourcraft wire and the Beadalon Jump Ring Tool. Change to the 5mm dowel and create 9 5mm jump rings. Flush cut both ends of the jump rings to finish them.
-
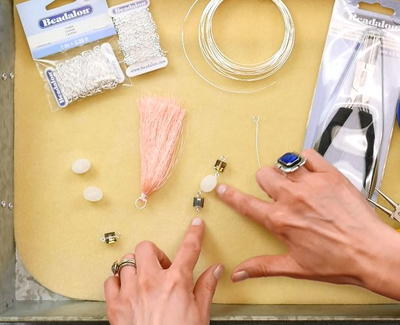
Attach the three strands of Satin Copper wire to one 5mm jump ring using crimp tubes. Conceal the tubes with the crimp covers and your Mighty Crimp Tool as you go.
-
Slide an 8mm round on the center and right strand, leaving the left strand empty. Slide an 8mm round on the center beaded strand and the left strand.
-
Slide a 6mm rondelle on the center strand and the right strand. Repeat with center strand and left strand.
-
Continue alternating the center strand and the outer strands, in a pattern of 2 8mm and 2 6mm.
-
As you move along the strands, take time to adjust the tension, it should be fairly taut.
-
Crimp the beaded strands to a second 5mm jump ring, again adjusting the design before each crimp for tension. Cover each crimp with a copper plated crimp cover using the Mighty Crimp Tool.
-
Attach a chain of 2 8mm jump rings to one end of the bracelet. Repeat on the opposite side.
-
Make a beaded dangling chain of hearts starting by connecting two 5mm jump rings, then sliding an open heart on a jump ring and attaching it to the bottom jump ring. Attach another open heart beaded jump ring to the bottom of this, continuing to build the chain ending on the 5th beaded jump ring. There should be 7 total rings or links in the chain.
-
Attach the beaded chain to the first 8mm jump ring on one end of your bracelet.
-
If you wish to create your own clasp, take a 1” segment of Colourcraft wire and bend it into a u-shape. Use your round nose pliers to create a small loop on each end of the u facing outward. Compress the two sides together gently to make a hook shape.
-
To make the eye of the clasp, take a ½” segment of Colourcraft and use the inside jaws of the round nose pliers to make a large hole figure eight. Wrap the wire around the jaws of the pliers in opposite directions, creating one hole at a time.
- Attach the clasp to each end of your bracelet. The finished bracelet can be adjusted for size from 6.5” to 7.5”.
Read NextHow to Make Stamped Metal Charms
Your Recently Viewed Projects
Report Inappropriate Comment
Are you sure you would like to report this comment? It will be flagged for our moderators to take action.
Thank you for taking the time to improve the content on our site.

