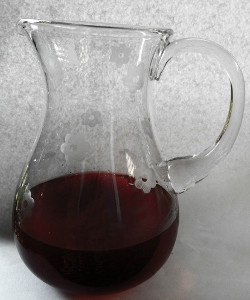
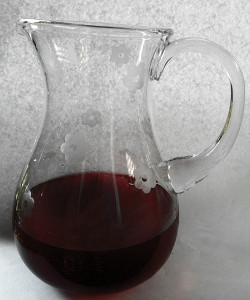
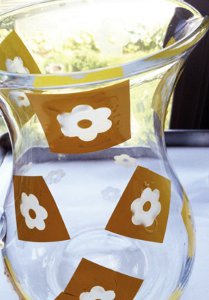
Simple Flower Etched Pitcher
This Simple Flower Etched Pitcher is an easy DIY craft that will give your plain pitcher a refreshing look. Using an old glass pitcher, flower cutouts, and some Etchall, this tutorial shows you how to cover your pitcher in small flowers that look like they're etched into the glass. It's these little details that will really make your pitcher stand out. If you enjoy the pitcher, you can easily use this pattern on any other glass objects.
Materials:
- 4oz Etchall® Etching Crème
- 2 Sheets of Etchall® Etchmask Vinyl
- Etchall® Squeegee
- Scissor
- Small flower squeeze punch (I used one from Fiskars.)
- Hole punch
- Sponge brush
- Timer
- Baking soda
- Paper for covering work surface
Instructions:
- Cover your work surface.
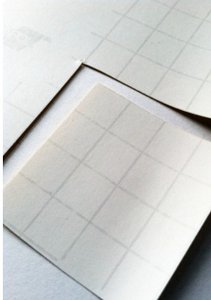
- Cut the vinyl into 1" x 1" squares or 4x4 squares if looking at the grid on the reverse side of the vinyl.
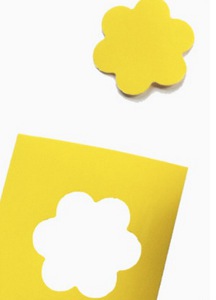
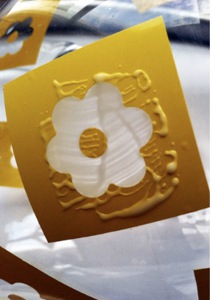
- Center the square of vinyl in the squeeze punch and punch out a flower.
- Apply the squares on the surface of the vase in a random pattern. As the surface is curved, it is critical that you use the squeegee to push out any air bubbles especially along the edge of the flower cut out.
- Using the vinyl scraps, punch small circles with a hole punch. Apply those to the center of the flower cut outs.
- Use a sponge brush to dab / brush on the etching crème. I tried to use the squeegee as stated in the directions, but I found this difficult on a curved surface. The sponge brush worked. There was a trick to applying it so that the glass didn't look streaky. You need a thick even coat that is spread evenly. If you see streaks, apply a bit more.I did one side of the vase at a time as I wasn't sure if the crème would run. It doesn't.
- Set your timer for 15 minutes. Scrape off any excess with the squeegee and return to jar, then rinse off crème under running water until all residual is completely removed. While the water is running, pull off all the vinyl squares and dots. With the water still running, pour some baking soda down your drain to neutralize the crème. Hint: Use a steel sink, not a porcelain one or you may end up with an etched sink!
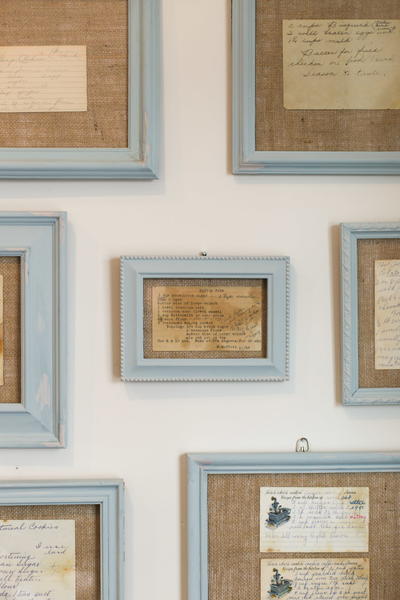
Read NextHeirloom Recipes DIY Framed Wall Art