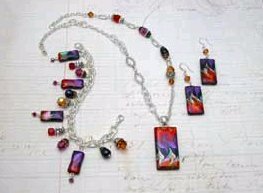
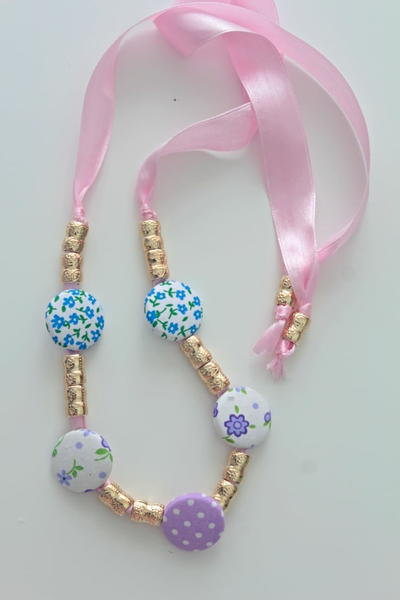
Pink Lemonade Necklace, Bracelet and Earrings Set
This necklace is a take on the waterfall style, mixing the industrial elements of wire and rubber with soft shapes and feminine colors. Try using these ideas with your own combinations of beads and colors.
Materials:
- 20 gauge Hot pink silver plated ColourCraft wire
- 2 5 5/8 in. lengths - 1.7mm Rubber tubing
- 2 - 3x14mm Magnetic tube clasp, silver plated
- 4 - 6mm Jump rings, silver plated
- 14 - 1 in. Eye pins, white plating
- 6 - 1 in. Head pins, white plating
- 2 - Ball & spring French ear wires
- 20 - Blush pink Czech glass twisted oval beads
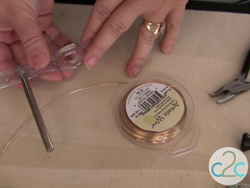
- Coiling Gizmo
- Designer flush cutter
- Designer round nose pliers
- Designer chain nose pliers
Steps:
Note: To complete this project, you will need to be familiar with creating ear wire coils and working with basic wire tools.
- Create the coil beads: Begin by creating your coil beads and end coils using the Coiling Gizmo. Secure the Colourcraft wire in 5 in. lengths to the crank rod (following the instructions with your Gizmo). Make your coils 7 turns per bead. Cut the wire to the good side and create loops at the top and bottom of each bead on opposing diagonal sides using round nose pliers. Make 15 beads with double loops and four coil ends with single loops to attach to your rubber tubing.
- Thread the oval beads: Thread the 14 Czech Glass ovals with eye pins, creating a loop on the opposite side of your bead with round nose pliers trimming any excess wire. (If you prefer, make your own eye pins using pink ColourCraft wire.)
- Begin constructing the Necklace, Bracelet and Earrings: Secure the coil ends to your rubber using chain nose pliers to tighten the bottom of each coil securely around the tubing.
- Build the "waterfall" section of the necklace: Attach a glass bead horizontally to one end of one of your lengths of rubber tubing. Add a jump ring, a glass bead and a coil bead (in this order) to the opposite end of your first glass bead. Attach a jump ring to the second coil with a coil bead and a glass bead (in that order). Now add jump ring with two coils, jump ring with two glass. Then attach a coil and then glass to the first and third horizontal glass beads and a glass, coil and glass to the second and third coil beads.
- Complete the necklace: Attach the magnetic clasp to the open ends of the rubber tubing: the necklace is complete.
- Make the bracelet: The bracelet is 5 coils and 5 glass eye pin beads alternating with one another. Attach the beads to the clasp and to one another using round nose or chain nose pliers and finish to the other end of your clasp.
- Make the earrings: The earrings are constructed of one glass eye pin, one coil and one glass head pin (in this order). Use round or chain nose pliers to attach the beads together. Finish with ear wires.
Variations: Use these ideas with various beads, wires and materials. Make more dangles, longer dangles or attach the dangles to one another with chain or wire. For a more industrial look use silver plate wire, or go for a more formal look with gold plate. Choose multi-colored wire and create whimsy and fun. For continuity of color, use ColourCraft wire thorughout. Happy Beading!
Read NextQuilled Bird Necklace