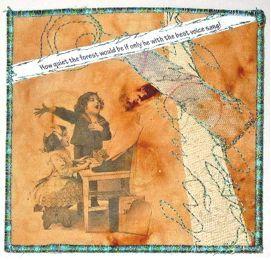
Vintage Fiber Art CD Cover
Give a mixed CD gift in a special artistic case with sewn elements and vintage image from C&T Publishing. Your recipient will want to display the unique fabric case for all to see.
Materials:
- 3 (5 ½”) squares of fabric
- 1 sheet pretreated inkjet fabric or home-treated specialty fabric
- Vintage image or desired photo
- 2 (5 ½”) squares of fast2fuse® Double-Sided Fusible Stiff interfacing
- Thread to coordinate or contrast with the image
- 3/8″-wide cotton twill tape
- Sewing machine with a free-motion or darning foot
- Usual sewing supplies
- Iron and ironing board
- Computer and inkjet printer
- 1 sheet cardstock
- Double-sided cellophane tape
- Botanical rubber stamps and ink for fabric
- Fabric paint and household items (such as bottle cap, corrugated cardboard, and paper-towel tubing) for touch printing
Instructions:
- Choose the vintage image (download the children singing graphic here) and a quotation appropriate for the image. Position the image on the 8½” x 11″ workspace in a photo-editing application, referring to the finished project for placement.
- Print the image on a piece of pre-treated or home-treated fabric. Allow the ink to dry completely. Remove the paper backing and set the ink, following the manufacturer’s directions.
- Trim the printed image to 5½” square. Fuse one piece Fast2Fuse on the wrong side of the printed image.
- Tree - Rubber-stamp botanical images on fabric scraps with ink for fabric. Allow the ink to dry completely and heat-set, following manufacturer’s directions.
- Squeeze small amounts of fabric paint on a paper plate. Dip the tip of the household item in the paint and press lightly on the rubber-stamped fabric to make a touch print. Repeat randomly over the fabric. Allow the paint to dry thoroughly and heat-set, if instructed by the paint manufacturer.
- Cut four elongated triangles of painted fabric, for a stylized tree, to fit on the fused square.
- Quote - In a word-processing application, type the quotation or desired message in a document set up in landscape (horizontal) orientation. Mark an arrow on the leading edge of the cardstock; print the message on the cardstock. Cover the message with a 7″ piece of double-sided tape. Press a 7″ piece of twill tape onto the adhesive tape, insert the cardstock in the printer with the arrow pointing into the paper path. Print the message again. This time, it should print on the twill tape. Note: If your printer uses dye-base ink, you’ll need to seal the message on the tape with a clear acrylic spray paint. If your printer uses a pigment-based ink, this will not be necessary.
- Drop the feed dogs on the sewing machine and fit it with a free-motion or darning foot. Thread the bobbin and upper machine with variegated thread. Arrange the twill tape and two triangles on the fused square to represent a tree trunk and a branch. Stitch in place with free-motion stitches.
- Fuse one 5½” fabric square on the wrong side of the stitched square. This completes the CD case front.
- Fuse one 5½” fabric square on one side of the remaining fast2fuse square. Arrange two elongated triangles on the square to represent a tree trunk and branch. Stitch in place with free-motion stitches. Bond the remaining fabric square on the back to complete the CD case back.
- Fit the sewing machine with a zigzag foot. Work satin stitches across the top of the CD case front and back.
- Place the CD case front and back together with lining sides together. Work satin stitches through all layers around the sides and bottom, leaving the top open.
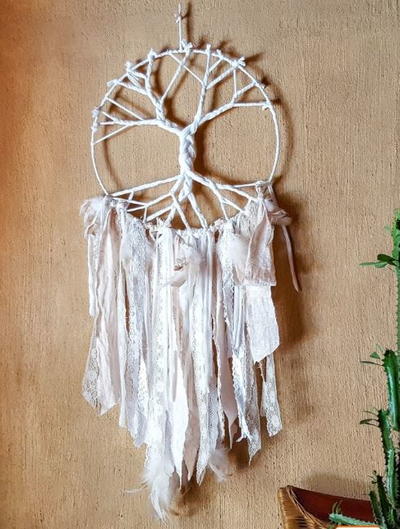
Read NextT-shirt Yarn Dreamcatcher