Mother's Day Sleep Mask
If you like this project, then you'll love the free sewing patterns featured in the eBook, 21 Easy Sewing Projects: DIY Designs and Sewing Craft Ideas. Download a copy today - it's free!
With this easy-to-follow tutorial, create a sleep mask for Mom to wear on flights, or anywhere she likes. Use her favorite colors and embellish for her personality.

Materials:
-
Fat quarters
- Fabric (for the outside of the mask)
- Black satin (for the inside of the mask)
- Fusible facing
- ½” wide piece of elastic
- Embellishments
- Safety pin
- Pattern
Instructions:
-
Use a tape measure to measure around your head, going over your eyes and behind the back of your head. Take this measurement take off 8”. Cut your elastic to be that length.
-
Cut a strip of fabric from the main fabric measuring about 2”x18” This is the casing for your elastic.
-
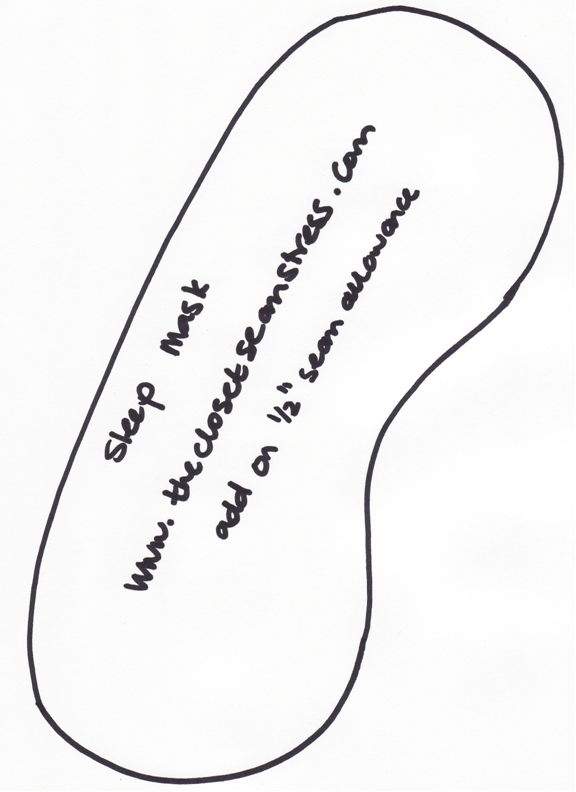
Cut out the sleep mask pattern at the end of this tutorial & add on ½“ seam allowance.
-
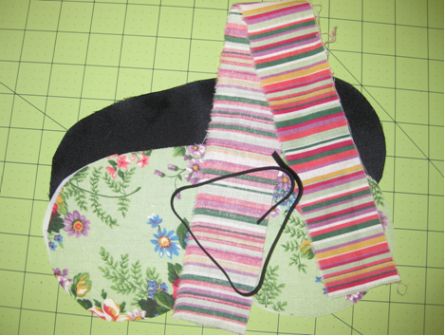
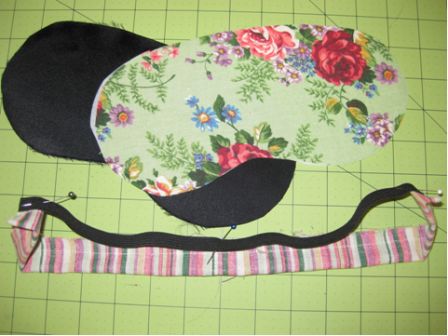
Use the pattern to cut one mask shape out of the main fabric, the satin & the facing.
-
Iron the fusible facing to the wrong side of the main fabric.
-
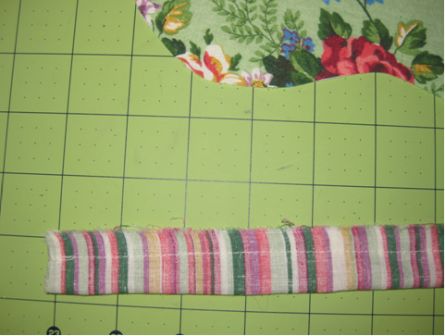
Fold the strip of fabric in half. And sew ½” from the edge.
-
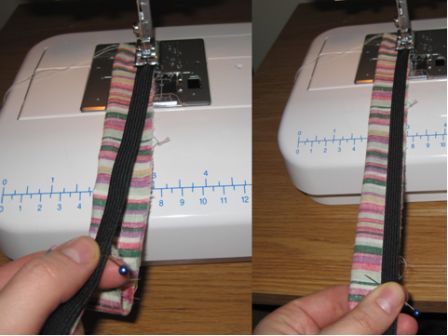
Pin the elastic to the seam allowance of the fabric strip at both ends and the mid point.
-
Sew the elastic to the seam allowance using a large zig zag stitch and stretching the elastic as you go. Attaching the elastic to the casing will ensure that it doesn’t twist inside and stays flat.
-
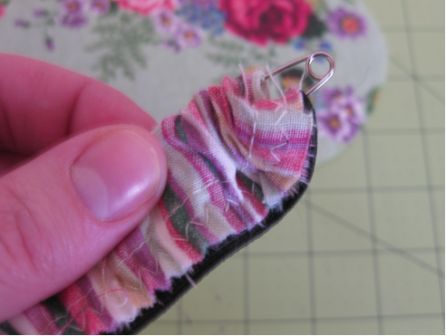
Pin the safety pin to the elastic, then push it into the fabric tube, so that you are turning the fabric casing the right way round and encasing the elastic in the casing.
-
Pin the elastic & casing to the main fabric on the right side. Sew in place.

-
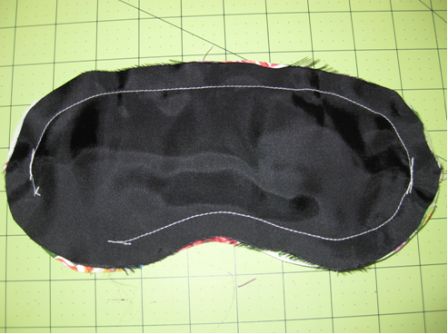
Pin the satin on the main fabric so that the right sides are together, and sew all the way round ½” from the edge and leaving a 2” gap.
-
Clip all of the curved edges.

-
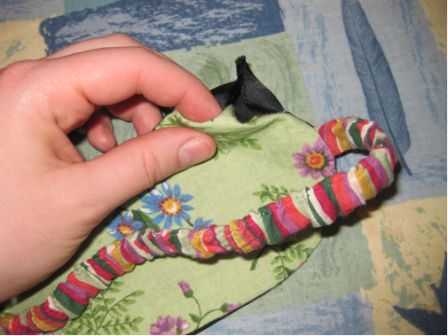
Turn the mask inside out through the gap in the sewing, and hand sew the last bit with the mask right side round.
-
Iron flat.
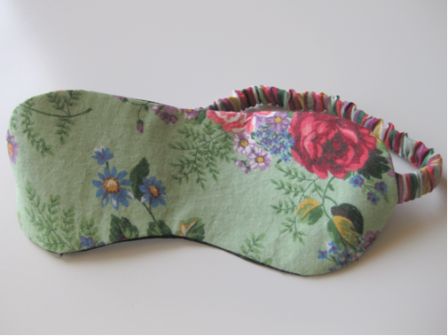
- Then decorate as you like! Here are some sleep masks I made for my mom, I printed a message on iron on paper and ironed it to the mask for one, and for the other I stuck stick on jewels on it. I think sequins or beads would be gorgeous too!! Happy Mother’s day!
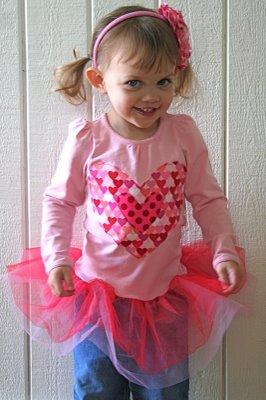
Read NextTutu Shirt for Valentine's Day
Your Recently Viewed Projects
Thanks for your comment. Don't forget to share!
Weberme
Oct 13, 2016
Are you kidding this is great a tutorial for a sleep mask that you can create with any fabric you choose instead of the same boring black. Great for a Mother's Day homemade by kids project or even an adult to give. So simple and easy but so adorable. Not just for adults either because my granddaughter loves these sleep masks too. Great way to use scrap fabric too. So grab your stash and make a few for your gift pile. Great tutorial.
TPADILLA321 293302 7
May 13, 2013
I'VE BEEN LOOKING FOR SOMETHING LIKE THIS. I GOT ONE IN THE STORE A LONG TIME AGO THAT HAD PADDING ALL THE WAY AROUND IT. NOW, I CAN DO THAT & MAKE IT LOOK PRETTY INSTEAD OF PLAIN OLD BLACK. THANK YOU SO VERY MUCH. I'M GOING TO MAKE A COUPLE OF THESE.
jakesmom2002 30688 35
May 28, 2012
Looks adorable!! For those who need total light blocking, I'd suggest using a piece of Roc-Lon which is a synthetic fabric used to line draperies for light-blocking.
TPADILLA321 293302 7
May 13, 2013
THANK YOU I DON'T KNOW THAT. ROC-LON I'LL BE GOING TO THE STORE.
LisaEgan
Jan 27, 2012
I am new to some of this what is a Fat quarter fabric?? and the pic of the one in # 14 how did you get it to look like that (thick on the ends like it had foam in it) I have looked every where for on like this and I can not find it the flat ones let in to much light I have spinal headaches and need something that will let in NO LIGHT???
daniellec2003 2473 028
Jan 30, 2012
fat quaters are quares of fabric i think she used cottonbatting and cotton batting is used for quilting
TPADILLA321 293302 7
May 13, 2013
MIGRAINES HERE, PUT SOME PADDING AROUND THE OUTSIDE & THEN THERE'S ALSO NO PRESSURE ON YOUR HEAD & TRY THE ROC-LON THAT JAKESMOM2002 3068835 SUGGESTED. I'LL BE GOING TO THE STORE TUES. ( I'M PET SITTING) OR I'D BE GONE ALREADY. HOPE THIS HELPS EVERYONE! I ALSO HAVE BLACKOUT DRAPES & COVER EVERY LITTLE LIGHT.
kasperfun
Jan 07, 2012
Very nice idea - I do like Maiziebeyer's idea of using enough elastic to go round the ears, instead of the back of the head. Might be easier to make as gifts this way, as heads are different sizes.
maiziebeyer 743473 6
Jan 20, 2011
I put heavy elastic tread at top and bottom each side in one continous cord to fit around ears. that way it doesn't mess up hair and is cooler. Jeanne
probin58 5228154
May 12, 2013
I like your idea for the elastic around the ears for the sleep mask posted Jan. 20, 2011, but i am confused how to do it. Could you please send me a picture of the back of the sleep mask where you did it. Thanks for your help Pam
gigiyawn 0350146
Oct 28, 2013
Trying to understand what maiziebeyer 7434736 is describing regarding the heavy elastic thread at the top and bottom to fit around ears. Please explain.
Sharlet Ann Of Tex as
Jan 20, 2011
Thank you for featuring this project. I have migraines and could really use this often. Looks really easy to do. sharletann1@yahoo.com
Report Inappropriate Comment
Are you sure you would like to report this comment? It will be flagged for our moderators to take action.
Thank you for taking the time to improve the content on our site.


