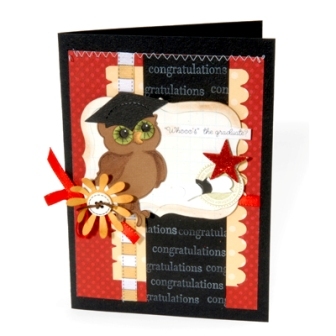
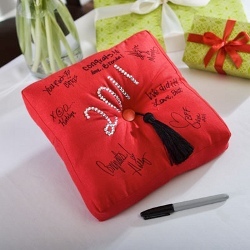
Recent Grad Card Box
Save and treasure your special graduation day cards. Put them in this keepsake box so you can keep them through the years. This paper craft idea is a great gift idea.

Materials:
- DecoArt Products Required
- Dazzling Metallics
- DAO70 - Shimmering Silver
- Americana Acrylics
- DAO67 - Lamp (Ebony) Black
- Americana Multi-Purpose Sealer
- DS17 - Multi-Purpose Sealer
- Graduation-themed scrapbook paper (We used Paper Studio: Congrats Graduate #512541; Caps & Diploma 531996; Black & White Congrats #531533.)
- 3/4" unfinished wood furniture button, The Wood Shoppe #165282
- Silver cord tassel, Expo, Intl. #SM5524MSL
- 3/4" flat brush
- Foam plate
- Black foam core
- Craft knife
- Scissors
- Ruler
- Aleene's Quick-Dry Tacky Glue
- Lo-temp glue gun and glue sticks
- Round papier mache box, Hobby Lobby #222844 S5
Steps:
- Use flat brush and Shimmering Silver to paint outside of box base; let dry.
- Use flat brush and Lamp Black to paint sides of box lid and furniture button; let dry.
- Measure height of box. (Ours was approximately 4 7/8".) Measure and cut short width of papers to this height. Fold three paper pieces in half lengthwise and tear unevenly along fold.
- Refer to photo and tear off parallel straight edges of six paper pieces in uneven pattern, leaving top and bottom of 4 7/8" paper with straight edges.
- Apply even coat of tacky glue to back of paper strip. Aligning bottom edge of paper with bottom edge of box and smoothing paper flat, attach paper strip to box. Alternating paper patterns, continue to attach paper pieces to box base, folding strips of paper over top rim of box if necessary. Let glue dry.
- Apply coat of Multi-Purpose Sealer to furniture button, sides of box lid, and box base. Let dry.
- Place lid of box on base. Use pencil to mark placement of 1/2" x 8" card slot on side of box, approximately 1" below lid. Remove lid from base and cut slot out.
- Measure and cut 10" square from black foam core. Center and glue over top of lid, using lo-temp glue.
- Use lo-temp glue to glue furniture button to top center of square for cap button.
- Use lo-temp glue to glue both cords together at fold of tassel; glue fold end of tassel to side of furniture button. Place tassel in position as desired and put small amount of glue underneath to secure in place. Place lid on box.
Helpful Tip:
Hair dryer on low heat setting can be used to speed drying of tacky glue and Multi-Purpose Sealer on box to avoid wrinkling of paper.
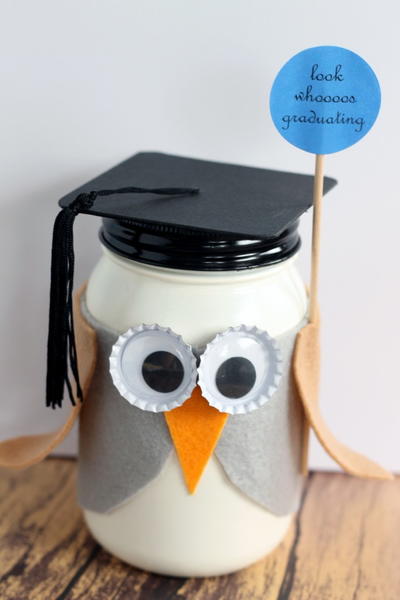
Read NextInspiration Jar DIY Graduation Gift