Mosaic Kaleidescope Lamp
Brighten up any room with KraftyBlok's mosaic kaleidescope lamp. This is a great summer craft and a fun, decorative glass project!
Learn more about Diamond Tech here.

Materials:
- 1 KraftyBlok
- 1 package each 5 oz. ¾” Cathedral Glass Squares – Purple, Dark Green and Blue
- 1 White 1½” Glass Gem
- 1 Blue ½” Glass Gem
- 13 Blue ¾” Glass Gems
- 9 White ¾” Glass Gems
- 1 String of White Christmas Lights
- Mosaic Wheeled Glass Nippers
- Clear Silicone (adhesive)
- Safety Glasses
- Click here for the pattern
Preparations:
- Completely read the directions before starting.
- Cover your work area with newspaper to protect work surface.
- Collect and place all supplies needed on your work surface.
Instructions:
- Clean the KraftyBlok with glass cleaner or a 50/50 solution of vinegar and water. Dry completely with cloth.
- Place the KraftyBlok in a horizontal position on newspaper. Slide pattern underneath block as a
guide for placement of glass. It is not recommended to trace the pattern onto the glass as marks may show through. - Begin by placing glue on the back of 1½” white gem. Adhere to the KraftyBlokTM where indicated on the pattern. Continue by gluing ¾” blue and white gems, alternating colors around the central gem.
- Next, apply glue to the back of the ¾” blue and white gems. Adhere to the corners where indicated on pattern. Finish by gluing a ½” blue gem centered and on top of the white gem.
- Apply adhesive to the back of a dark green cathedral square. Starting in the lower right corner of the KraftyBlokTM secure in place where indicated. Continue to add the dark green squares to form a circle around the gems. Continue this process with both blue and purple cathedral glass squares.
- Nip ¾” Green, Blue and Purple glass squares into smaller pieces. Glue in place to fill the voids
between glass squares. - When the front has dried, place the KraftyBlokTM on its side with the opening facing up. Starting at the left of the hole glue two rows of ¾” purple chips side by side leaving approximately 1/8” between each piece, until you reach the edge. Allow to dry.
- Rotate KraftyBlokTM to the right . Glue two more evenly spaced rows of purple cathedral glass squares. Allow to dry. Continue placing two rows of purple glass squares across the side.
- Rotate block back on its side with the opening facing up. Glue four blue cathedral glass squares to the right of the opening in two rows leaving 1/8” between each piece. Finish the side by adding two green glass squares. Allow to dry.
- Rotate block to the left. Glue eight dark green glass squares into two rows, 1/8” apart. Add
two blue squares on either side of the dark green squares and finish the double rows of glass squares with four purple squares. Glue into place and allow to dry. - To finish corners, nip a chip in ½, forming two rectangles, and apply pieces to the corner curves.
- Insert string of white christmas lights in the block and allow plug to extend out. Plug-in and enjoy!
Video about KraftyBlok
Mosaic Tips:
- Always use protective eye wear when nipping glass.
- Opus (Latin for work) is the word used to describe the way tiles are laid. The opera of a mosaic dictates the overall flow or movement of the mosaic.
- When your fingers are just too big to maneuver small pieces of tesserae, use a pencil or tweezers to push them into tight fitting areas.
- Look for books on mosaics for inspiration.
- To prevent glass from flying about, nip item inside a bowl or pail. The sides of the container will prevent fly away pieces.
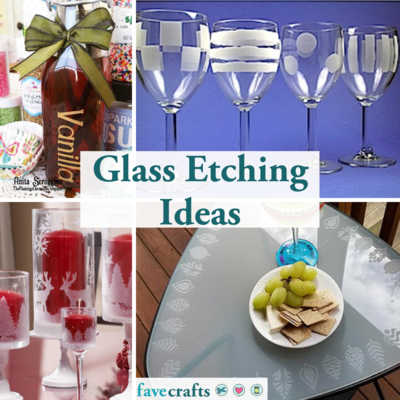
Read Next35 Glass Etching Ideas
Your Recently Viewed Projects

Thanks for your comment. Don't forget to share!
Gypsyg3ms
May 29, 2011
Love the concept... Although, where do you find the block..? A hardware store..? I ask becasue I don't recall seeing these at my crafting stores. *Also, is there a hole already cut into the block or is that a DIY project..? LOVE the Idea of truning it into a Lamp...Especially a mosaic one!
Melly
May 26, 2010
This is SUPER COOL! I not really crazy about the way they did their mosaic design but that is the most wonderful thing about crafting-take an idea & make your own! There are so many different possibilites with this project. I can't wait to make one of my own. Thanks for the idea!!!
Report Inappropriate Comment
Are you sure you would like to report this comment? It will be flagged for our moderators to take action.
Thank you for taking the time to improve the content on our site.