Eye-Popping Keepsake Box
If you're looking for meaningful and creative gifts to make, consider creating your own Eye-Popping Keepsake Box. Dip into your stash of odds and ends to create a one-of-a-kind look. Simply use hot glue to adhere your various embellishments.

Materials:
- Aleene’s Tacky Tape Runner
- Wood box with hinged lid
- Sand paper
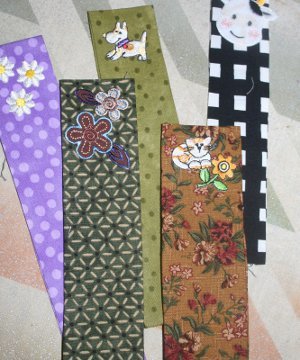
- Ephemera – cards, tags, Artist Trading Cards, etc.
- Embellishments – vintage buttons, fibers, beads, charms, etc.
- Acrylic paint
- Foam core board
- Craft knife
- Hot glue
- Flat glass marbles
Instructions:
-
Sand the box. Make a stain of 1 part paint to 3 parts water and stain the whole box. Allow to dry.
-
Stand the box up so that it opens like a book. Use Aleene’s Tacky Tape Runner to attach paper that will lay flat on the wood.
-
I used a purple velvet ribbon to cover the raised front edge of the box, but you can use beads or buttons or anything you like.
-
You can use small pieces of foam core board to angle any of the paper pieces on the inside.
-
Hot glue glass marble feet on the bottom.
-
To stand paper accents on the top of the box – trace the shapes on foam core board and leave an inch of board beyond the bottom of the piece. Cut the foam core board out, score, but don’t separate the bottom inch of board. Cut one additional 1/8″ of board the width of the backing.
-
Bend the board on the scored line to stand the main part upright. Glue the 1/8″ strip with the foam side showing in the front in the void left by bending the board. Now it will stand up on it’s own.
-
Glue the paper on the front – the extra piece in the fold adds 1/4″ of height, so you can cut more off the top or add embellishment to the bottom. I did one of each technique on my top pieces.
- Add your buttons, fibers and such and any other finishing details. At the last minute I added a velvet flower on a bejeweled pin to the top. It was an embellishment on one of her tags. I put the pin through a crystal button, then tapped it into the wood.
Read NextBlessing Bags DIY