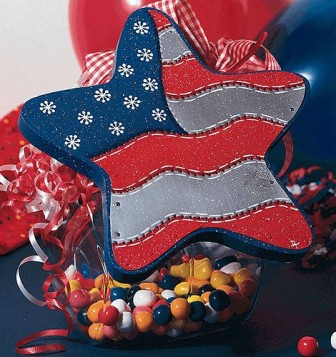
Stars and Stripes Glass Jar
In this 4th of July craft project, a punched metal star painted like the American flag becomes the patriotic cover for a glass jar. Use to keep sweets and decorate your home around the holiday. The All American Tin offers another place to store your treasures.
Materials:
DecoArt Products Required:
Americana Acrylics
- DA129 - True Red
- DA165 - Napa Red
- DA200 - Primary Blue
Americana Spray Sealers
- DAS13 - Americana Matte Spray
Multi-Purpose Sealer
- DS17 - Multi-Purpose Sealer
Other Supplies:
- Brushes - 1" Sponge brush; 1/4", 1/2" Angle Brush; 2/0 Liner Brush
- Supplies - 30-gauge tin, medium punch tool or awl, rubber mallet, 5/8" nails, hammer, black marker, old scissors, spray adhesive, white chalk pencil, old toothbrush, wood glue, tracing and graphite paper, stylus or pencil, sandpaper, tack cloth, soft cloth
- Wooden lid (available from Donny Thulson, P.O. Box 638, Durango, CO 81302, 970-259-4142, or e-mail jthulson@sprynet.com)
- Glass Canister Jar
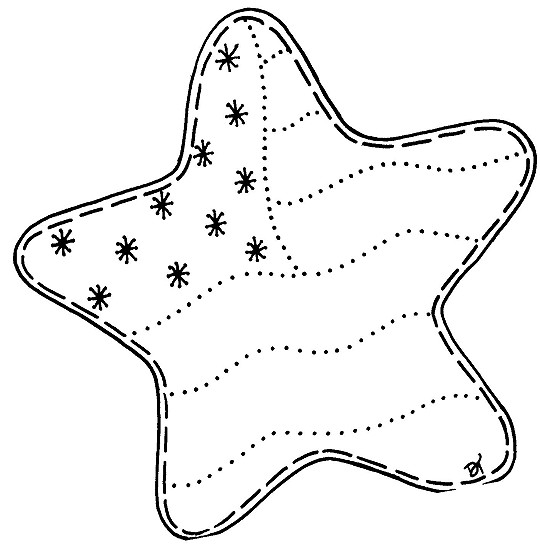
- Pattern
Instructions:
-
Sand wood, apply sealer. Let dry, sand again. Wipe with tack cloth. Do not attach the round back to the wood piece until after you have mounted and punched the metal.
-
Paint wood with True Blue, using sponge brush. Transfer design of areas to be cut out onto metal. Metal cut line is the broken line that follows outside edge of design. Cut out metal using old scissors.
-
Lay metal on flat surface, place soft cloth over it and lightly hammer metal flat. Place metal on wood surface and mark areas that need to be trimmed back. Trim with scissors.
-
Place metal on wood and nail in place using 5/8" nails. Nail tips of star first to secure, then finish mounting.
-
Transfer punching part of design to tracing paper. Make dots with black felt marker. Spray back of tracing paper with spray adhesive and wait five minutes.
-
Place tracing paper on metal. Using medium punch tool and rubber mallet, punch each dot. Use same force for each punch. Pull design from metal when finished.
-
Spray metal with light coat of Multi-purpose Sealer. (This makes it easier to paint on the metal.)
-
Using True Blue and 1/2" angle brush, base in blue area on flag. Go halfway into punch lines.
-
Using True Red and 1/4" brush, base in red stripes, going halfway into punch lines.
-
Float a shade on blue areas using Primary Blue and 1/4" brush.
-
Float a shade on red areas using Napa Red and 1/4" brush.
-
Transfer design for stars onto blue area using white transfer paper. (Although design for broken lines on stripes are not on pattern, they can now be placed on with white chalk pencil or painted on freehand.)
-
Using White and liner brush, paint stars on blue area. Paint broken lines on all stripes. With handle end of liner brush, paint dots on stars.
-
Speckle project with thinned White, using toothbrush.
-
Paint the back with True blue, using sponge brush.
- Glue round back to middle back of project and let dry. Spray with two light coats of Matte Spray Sealer.
Note:
- Metal art can cause injury. The artist, DecoArt and FaveCrafts are not liable for injuries. Use caution when cutting, mounting and punching metal.
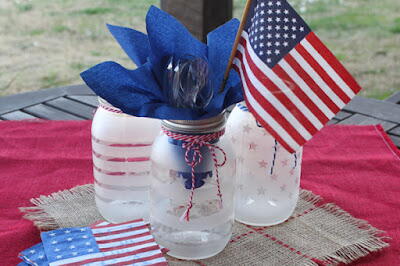
Read NextPicnic Party Mason Jars


