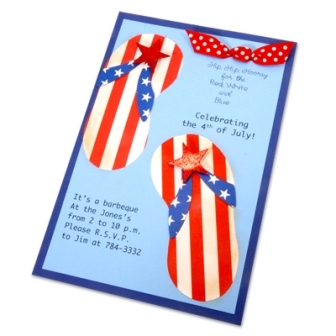
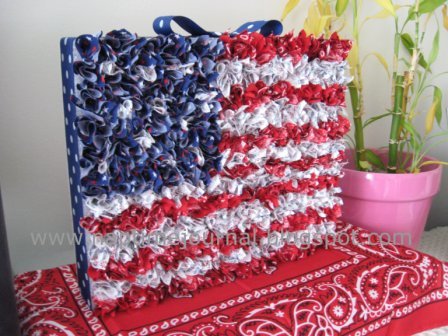
Flag Quilt Block
Here's a fun no-sew quilt block you can attach to a quilted background. Use your child's drawing, printed onto fabric, or create your own design on a piece of fabric. When you add beads, tape and thread, the result is 3-dimensional fun.
Materials:
- Two 8" x 10" sheets of Treasure Tape
- Treasure Tape star shapes
- Treasure Tape dots
- Diamond Beadlets
- Kreinik Facets in Sapphire Blue
- Kreinik #12 Braid in 100 White
- Blue satin 1/4" ribbon
- 1-inch wide white grosgrain ribbon
- Four small squares of denim fabric
- Four heart buttons (with flat backs)
- 8" x 10" blue printed fabric for background
- Strips of light red fabric and medium red fabric
Instructions:
-
Remove the white backing from your 8x10 sheet of Treasure Tape. Lay the blue fabric on the sticky tape, with the printed side facing the tape. Smooth out any bubbles.
-
Turn your fabric piece over and remove the red liner exposing the top sticky area.
-
Lay the white ribbon all around the edge of the fabric piece, pressing into the tape to adhere.
-
Lay strips of red fabric to replicate the stripes in a flag. Then lay blue 1/4" Ribbon in corner of the flag as shown in the photo. (Note: if you're using your child's drawing that you have printed in color on muslin, you won't need red fabric strips or the blue ribbon.)
-
Trim your remaining sheet of 8x10 Treasure Tape to be the size of your flag, minus the blue star area. If desired, make a template out of plain copy paper to use as a guide. Remove the white backing, then lay the cut-out flag shape right on top of your fabric flag.
-
Remove the red liner and lay Kreinik Facets as borders between rows of red and all around the border of the flag. Press the thread into the tape to make sure it adheres. (If desired, you can also decorate the red areas with Kreinik Fine #8 Braid in shades of red).
-
From your star sheet, place one large star in the blue square. Remove the red liner to expose the sticky area, then fill in the star shape using white Tapestry Braid. Press the braid into the tape to make sure it adheres.
-
When thread decorating is complete, lay your design in a shallow pan or tray and cover all remaining sticky areas with Diamond Beadlets.
- Using scraps of tape or the tape dots, attach the blue denim pieces in each corner. 10. Using scraps of tape or tape dots, attach the heart buttons in the center of each denim square.
More Quilting Project Ideas, Tips and Tricks:
-
Baby Rattle Quilt Block
-
A Quilt of Greeting Cards
-
Adding Names to Quilts
- Beginners Guide to Quilting: Necessary Materials
Kreinik threads available through needlework stores or www.kreinik.com.
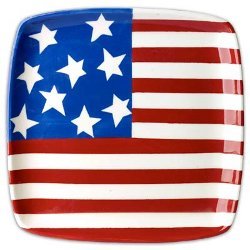
Read NextAmerican Flag Plate