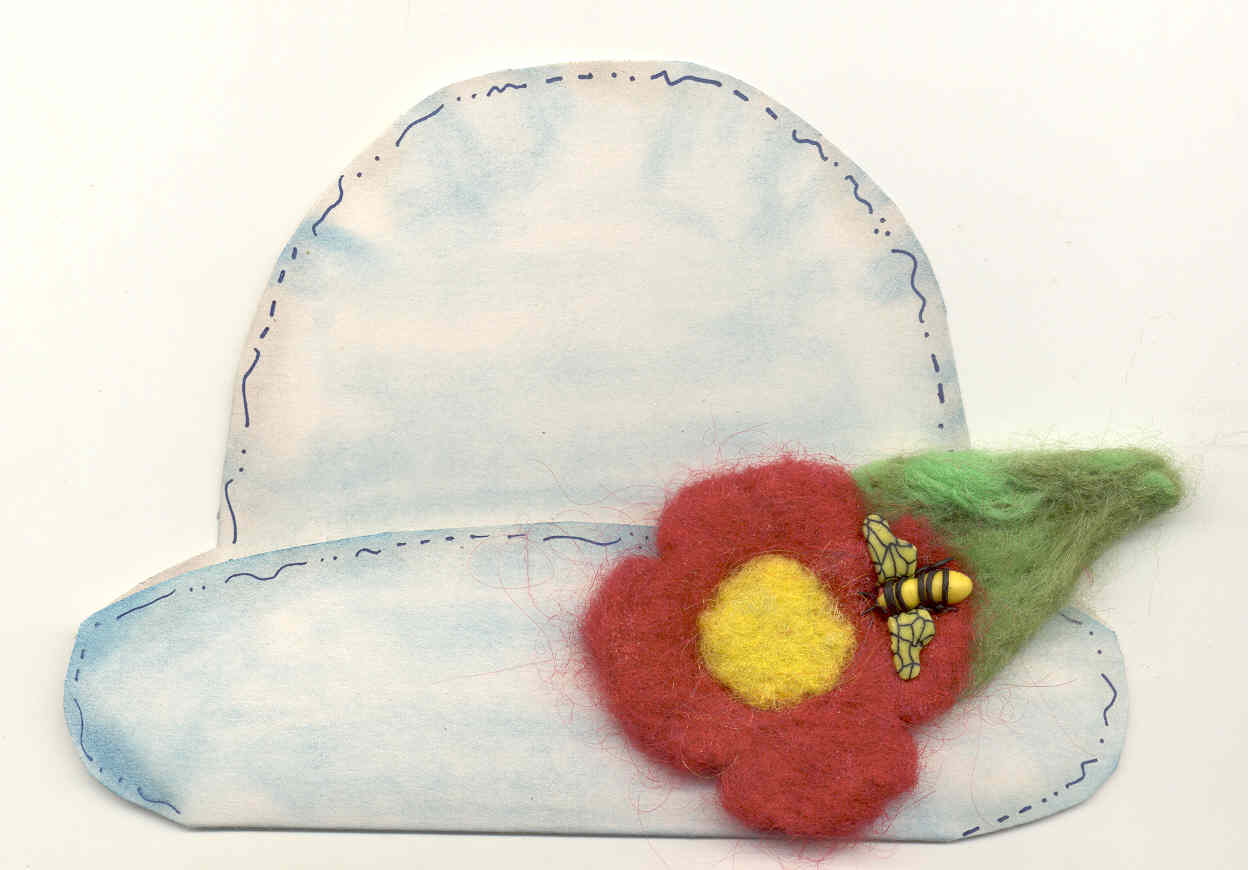
Bee In My Bonnet Needle Felt Card
A friend sent me a handmade card that inspired this one. Her card was beautiful, but one-dimensional since she used a large punch to create the flower on a bonnet with decorative paper. I loved the card, but wanted more dimension so I felted a flower and loved the result.
Materials:
- Paper Accents Card and Envelope
- Paper Accents Cream Cardstock
- Craf-T Decorative Chalk Kit
- Clover Felting Tool
- Single Felt Needle
- Clover Natural Wool Roving (Red, Green, Yellow)
- Clover Felting Needle Mat or foam
- Krylon Crystal Clear Acrylic Spray Satin
- Elmer’s Craft Bond Glue Stick Extra Strength
- American Crafts Black Memory Marker DualTip
- Bee button or charm
- Pattern
Instructions:
You will be using a felting needle for this project. Felting needles are very sharp and it’s painful if you end up sticking yourself with the needle. Please work carefully, slowly, and with caution. This is not a project for children.
- Open card and trace pattern. You can also just trace pattern onto cardstock. Cut out card. You’ll have a brim that folds.
- Using light blue chalk, color the cream colored paper. Brush on solid strokes of color to the edges of the shape to add shading. Note you’ll add color to brim flap and then open flap and color the rest of the card.
- Using the black marker, add some interest with short lines, dots, and squiggles along the outside edges of the card.
- With brim flap down, add your inside message with letter stickers. This sample says, “Bee Happy”.
- Pull and ball several tuffs of the red wool roving. The ball should be slightly smaller than a golf ball. Roll a firm, but not tight ball. Place ball onto needle felting mat or foam and use the felting tool. You’ll be “punching” down onto the ball, the felting process with flatten the ball into a circle that is about 1/4" thick.
- Pick up the flat circle and very carefully push needle into one side edge of the circle. This should make an indentation. Poke several times, slowly and carefully. Only about 1/2" of the felting needle needs to be poked into the side edge. Felting needles have barbs near the tip; it’s the barbs that are doing the felting. Once you have a visible indentation, turn the circle in your hand and repeat this step a total of 4 times giving you the petals of your flower.
- Repeat Step 3 for the yellow center of your flower, but this time you only want a ball about the size of a dime. Once the ball is a flat circle, place your flower onto the felting mat or foam, place yellow center onto center of flower, and use your felting tool to felt the two pieces together. You’ll “pounce” the tool over the yellow center several times and the two pieces will become one.
- Repeat Step 3 with green roving for your leaf. However, instead of a circle you will shape the roving into a teardrop shape by using your hand to shape, then pounce with your felting tool, then shape by hand and continue until you have a firmly felted leaf. Using a single felting needle, carefully felt the leaf to the back of the flower.
- Adhere flower to front right of brim. Adhere a bee button or other fun embellishment to leaf or flower. The brim should flip down revealing the inside message.
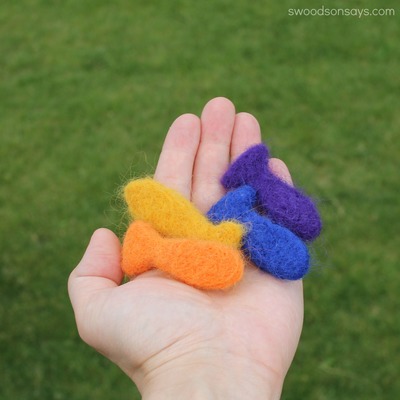
Read NextNeedle Felted Fish


