Embroidery Tutorial
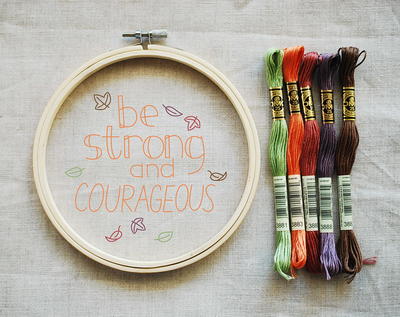
With this Embroidery Tutorial from Clever Handmade, you can create cute embellishments for all your paper crafts. You can make your own embroidery designs with fun rub-ons or stamp sets. Add cute embroidery patterns to your next project with this simple how-to!

Materials:
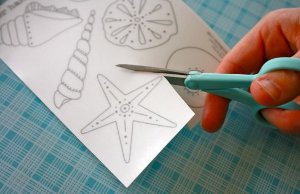
- Rub-on embroidery pattern of your choice
- Fabric to rub your design on
- Paper piercer
- Needle and thread (color of your choice)
Instructions:
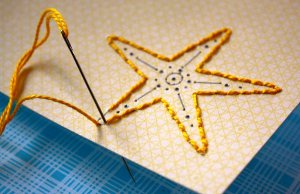
- Place it on the desired substrate, and rub on the waxy side of the transfer.
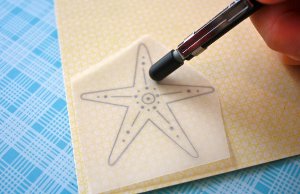
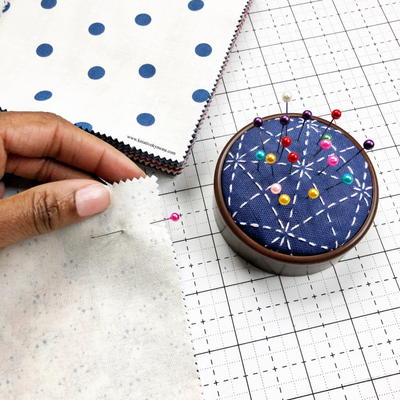
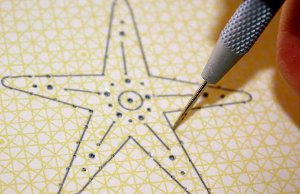
- Peel away just a small part of the liner to be sure that it was all transferred, once sure, peel away the entire liner. Using a paper piercer, poke holes in the center of the lines and space them whatever distance from each other that suits you.
- Start to stitch.
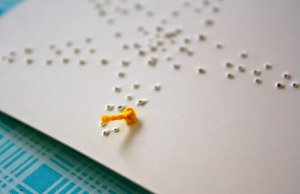
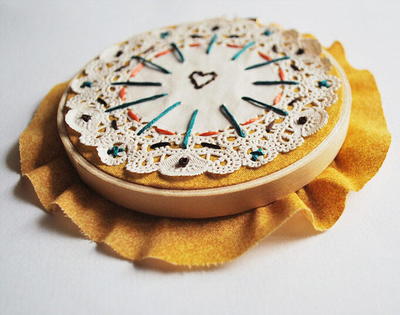
- Use different colors and threads to add more dimension to the embroidered piece.
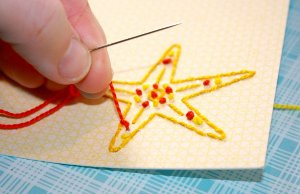
- Use it to embellish scrapbook pages, cards, and any other projects. you can stitch on a sperate paper and cut it out and add it to your projects like i showed here, but you can also add the stitching directly to photos, pages, and cards.
Read NextCoffee Stained Doily Art