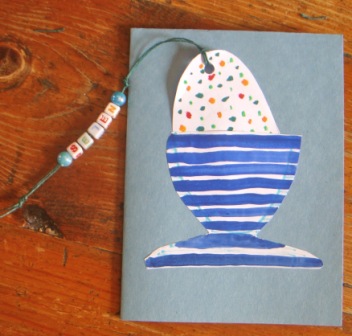
Easter Egg Bookmark and Card
This wonderful craft to do with your kids on Easter comes to us compliments of Se7en, the fascinating blog from a home-schooling mother of seven in South Africa. Step-by-step photos show you how to create and decorate two little projects in one: a decorated Easter egg bookmark and a cute eggcup card for the egg to sit in. Kids can make these cards for friends and family members on Easter.
Materials:
- 1 sheet - Construction paper for your card.
- 1 sheet - Plain Printer Paper
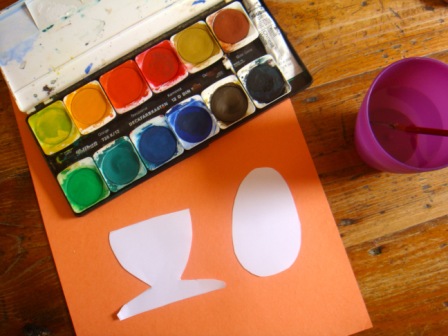
- Decorating materials, we used watercolors and crayons
- Scissors and a punch
- Glue stick
- Embroidery string and beads, or ribbon
- Small photograph (optional)
Instructions:
- Make your own template for an egg in an eggcup or you are welcome to just print out one from the template. We printed ours out onto plain white paper for decorating. Snip them out and you are ready to go. To print out template below, click on image, save to desktop and print from desktop.

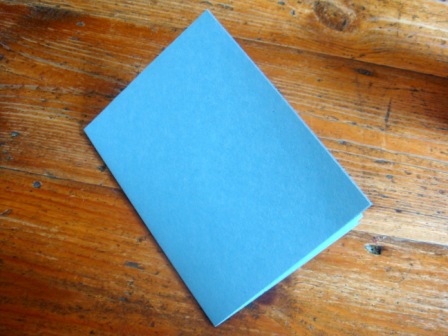
- We folded our card so that they were ready when we were!
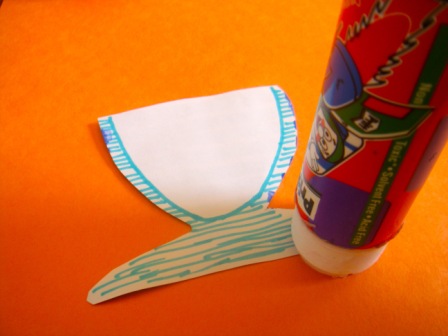
- Starting with the eggcup we painted ours using watercolors.
- Once the eggcups were dry we put glue on the backs – just in the areas marked with marker in the photograph. Then we stuck them onto the lower half of the cards.
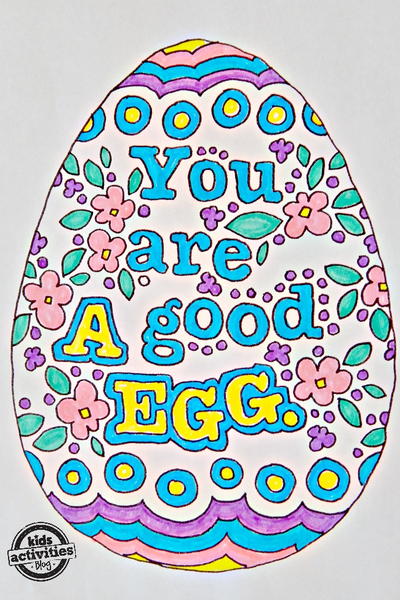
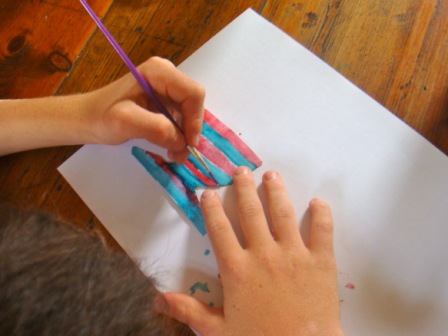
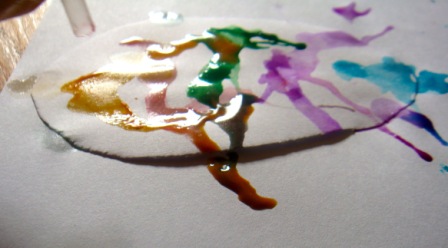
- We decorated our eggs next. There were spatter paints, blow paints, wax crayon and ink, watercolor on wet paper… the options are of course endless here. But I would stay away from glitter because in the next step we are going to turn them into bookmarks and you never want glitter near a book!
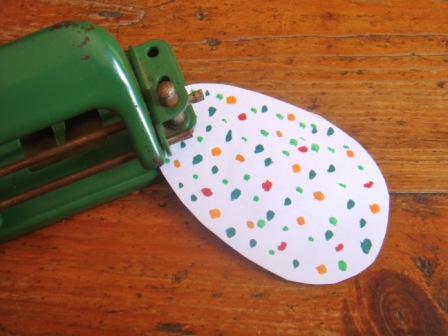
- Once our eggs were dry we popped a photograph of each kid onto the back of them. Then we punched a whole in the top, some just wanted to thread a ribbon through it. And others wanted more finesse.
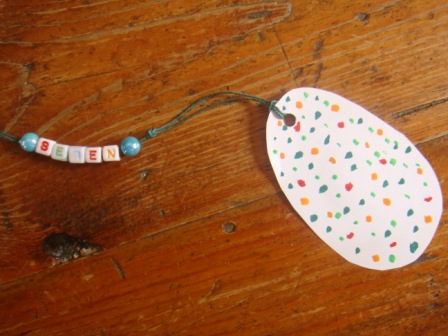
- For those wanting a bit more finesse! We threaded embroidery thread through the punch hole and thread a couple of beads onto the end of the tassel.
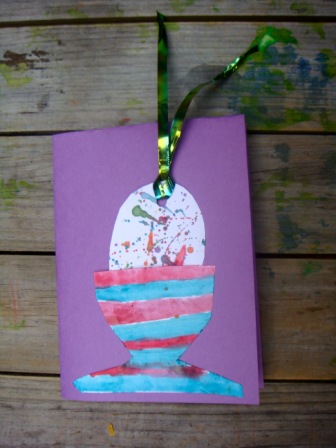
- And you are done! Pop your bookmark into the eggcup and your card is good to go.
For more Easter crafts from our favorite craft bloggers, see the Crafts for Easter: Blogger Edition 2009 eBook.
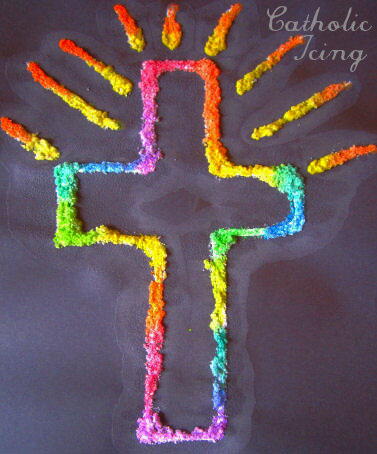
Read NextSalt Painting Cross Craft
Your Recently Viewed Projects
Thanks for your comment. Don't forget to share!
Report Inappropriate Comment
Are you sure you would like to report this comment? It will be flagged for our moderators to take action.
Thank you for taking the time to improve the content on our site.