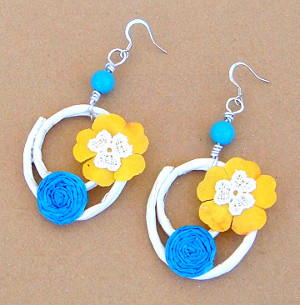
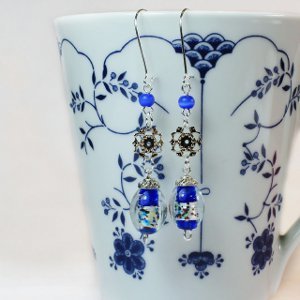
Water Bottle Lip Earrings
Recycled jewelry crafts are a creative and fun excuse to try something new. Get a little girly and create your own Water Bottle Lip Earrings from Savannah Starr. These distinctive danglers are sure to inspire compliments and get people talking. Be sure to dig through your drawers - you can also upcycle an old bandana for this craft project.

Materials:
- Water bottle – smooth sided (I like SmartWater bottles for this)
- Masking tape (1/2″ wide)
- Craft knife
- Scissors
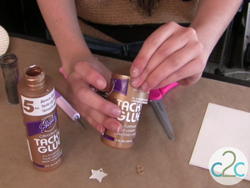
- Aleene’s Fabric Fusion Peel & Stick Tape
- Aleene’s Tacky Glue
- Bandana – black and white print (or cotton print fabric)
- Organdy fabric – black
- Felt – red
- Hole punch (small – for jump rings)
- Jump rings
- Fishhook earring findings
- Wax Paper
Instructions:
-
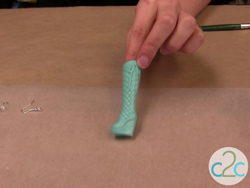
Tape a straight line around bottle with masking tape. Use craft knife to poke through side of water bottle. Insert scissors and cut along masking tape. You should now have a water bottle circle. Repeat to create second earring hoop.
-
Cut each hoop to approximately 3/8″ width.
-
Remove masking tape and bottle label.
-
Apply Fabric Fusion tape to back of fabric strip. Cut away excess fabric from sides of Fabric Fusion tape. Begin to peel back paper backing about 2″ (but do not remove all the paper backing at this point.) Lay fabric on table, sticky side up.
-
Align earring hoop down center of strip of sticky fabric. Continue to peel back paper backing and applying sticky fabric until entire outside of earring hoop is covered with fabric. Wrap and press excess fabric around to inside of earring and press to glue in place.
-
Apply Fabric Fusion tape to the back of another fabric strip. Cut strip to approximately 1/4″ wide. Apply this fabric to the inside of earring hoop. You should now have an earring hoop with fabric on both the outside and inside.
-
Apply a thin line of Aleene’s Tacky Glue along edge of hoop. Be sure to apply just a narrow line. If any glue starts to drip into inside of earring, use finger to gently wipe away extra glue.
-
Place glued side down onto organdy fabric. Repeat for second earring. Set aside to dry. When dry, cut away excess organdy fabric.
-
Punch hole in top edge of earring hook.
-
Cut two lips from felt for each earring. Apply Tacky Glue to back of lips and glue to center of organdy fabric. Repeat to glue second lips onto other side of fabric. This will create a two sided earring. Hint: be sure the punched hole is at the top so that your lips will be glued on in the proper position.
- Add a fish hook earring with a jump ring to the earring hoop.
For a comprehensive video tutorial of this project, check out How to Make Red Lips Water Bottle Earrings.
Read NextFairy Kiss Earrings
Your Recently Viewed Projects
Thanks for your comment. Don't forget to share!
mulberrygalprinces s
Jul 11, 2016
If you scroll down past the instructions you will be able to click on the tutorial, and that shows you what they look like and also gives you step by step instructions on how to make them. It's a very comprehensive tutorial. Thank you for sharing such a cute idea. My grand daughter will love them.
lamawa1201 1648076
Feb 01, 2013
Where is the picture of the earrings? I don't want to see the person wearing them. I will not save this pattern. If you want to sell something, people need to see the product, even if the product is free.
Report Inappropriate Comment
Are you sure you would like to report this comment? It will be flagged for our moderators to take action.
Thank you for taking the time to improve the content on our site.