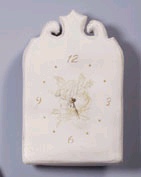
Classic Scroll Clock
Make moments more memorable with a stylish timepiece you create yourself. Gold finishes and an embossed, rubber-stamped rose add gorgeous color and texture to this easy DIY project.
Materials:
- STYROFOAM Brand Foam:
- Block, 12" x 10" x 1" OR 18" x 12" x 1" if making matching shelf (see link below)
- Metallic gold paints: acrylic; spray
- Ivory crackle-finish spray paint
- Metallic gold wax finish
- Matte-finish spray varnish
- Pre-mixed spackling
- Battery-powered gold clock movement, 3/4"
- Rose rubber stamp
- Gold pigment stamp pad
- Clear embossing powder
- Serrated knife
- Candle stub or paraffin
- Fine-line black permanent marker
- Pencil
- Ruler
- Wooden items: skewer; toothpicks
- Metal tablespoon
- Paintbrushes: medium flat; small round
- Disposable palette
- Water basin
- Paper towels
- Scissors
- Sandpaper
- Transfer paper
- Heat gun
- Thick, white craft glue
- Optional: STYRO Wonder Cutter® Plus
For pattern, click here.
Steps:
Note: Follow manufacturer's instructions throughout.
- Wax serrated knife with candle stub or paraffin. Cut one 7" x 11" and one 2" x 5" rectangle from foam block. Use scrap foam to lightly sand edges until smooth. Set aside small block for clock stand.
- Mark center of foam, 4-1/2" up from bottom 7" edge, for clock hands. Use skewer to poke hole through foam. Place clock hands into hole, enlarging hole with skewer as needed.
- Trace around clock works onto back of foam. Use tablespoon or knife tip to carve out 3/8"-deep area for clock works; check depth to be sure clock hands move freely. Remove clock parts.
- Transfer clock top pattern to opposite end of foam. Use waxed knife or Wonder Cutter to cut foam. Use scrap foam to round off clock and stand edges.
- Cut two toothpicks in half. Refer to diagram to glue each piece halfway into stand. Glue opposite ends into back of clock at bottom edge; let dry.
- Apply spackling to clock, avoiding center hole; let dry. Sand smooth. Repeat to fill in open areas as needed. Spray paint clock gold, then ivory crackle while gold is still wet. For smaller cracks, apply one to two coats of crackle finish; for larger cracks, apply three to four coats. Let dry.
- Stamp gold rose over hole in center of clock. While still wet, sprinkle with embossing powder. Use heat gun to emboss image.
- Use pencil to mark 12 equally-spaced dots around clock face as shown. Transfer numerals to clock in appropriate positions. Use round brush to paint numerals gold and brush handle to dot remaining hours gold.
- Use fingers to lightly rub two coats gold wax finish on foam edges and curves for aged, distressed look. Spray clock with varnish; let dry. Repeat.
- Assemble clock according to package directions.
®™ Trademark of The Dow Chemical Company ("Dow") or an affiliated company of Dow. For more project ideas, please see styrofoamstyle.com.
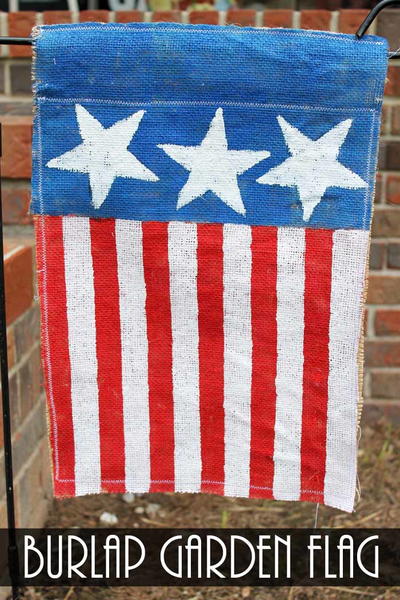
Read NextHow To Make A Patriotic Wreath