Bookatrix Embossing Board Card
This bookatrix embossing board card is perfect as a card for a special occasion or as a decoration at your next party. Leave the card standing open on an easel with a menu for your guests at your dinner parties, or use it as an announcement for a baby shower. This is a great decorative piece for any occasion!
Materials:
- Bookatrix Embossing Board
- Several Sheets Of Design Paper & Card
- 2 Sheets Of Letter Size Card
- 6mm Embossing Tool
- Drier Sheet Or Candle
- Scrap Pieces Of Card In Various Colours
- PVA Adhesive
- Foam Pads
- Stamped Images
- Ribbons
- Embellishments
- Scissors
Step 1
To create the first base layer of the book, we recommend using a thick cardstock to give the book some substance. Lay this cardstock face down on the board butted up against the raised upstands in the top corner. Rub the drier sheet or candle onto the wrong side of the card which is facing you. This will make the reverse of the card slippy, and enable the tool to glide smoothly over the sheet. Where you see the top 3 channels beginning in the middle of the board, run the tool down these to emboss.
Step 2
Begin with the tool in the leading channel which starts to the top left off the cardstock. Push the tool firmly into the card and then drag it towards you until you feel some resistance. Here the channel changes direction - just move the tool around until you feel the new direction of the channel and continue with this until you have completed the shape. Once you have embossed the whole page, lift it from the board and cut around outside of the embossed line.
Step 3
Take a piece of design paper or vellum and lay this face down on the board in the same way. Repeat he same procedure
as outlined above, but this time with the second size book pages inside the outer layer. Cut around the outer edge of the
embossed design once again. Tip: you may want to use decorative edged scissors to cut some of the pages to add a little something special to your project.
Step 4
Continue embossing all of different sized layers of the book in this way with different papers or vellums until all 4 layers are
embossed and cut out. The final top layer will become the page of the book to which you can add your own personalised
sentiment or greeting. This project works well with even fewer than 4 layers if you want a less complex design that is quicker
to complete. To give the pages dimension, roll each side over a rolling pin to give a rounded effect like a real book.
Step 5
Because each layer of the card needs to have dimension the spine of each layer needs to be glued on top of one another
with strong glue (PVA) to stop it popping off the card. You can then use foam pads or silicone to raise the pages up from each
other. Lay a strip of ribbon down the spine of the card and stick into place then add a bow. Add a sentiment or embellishment as desired to the front pages. You can either glue the whole book onto the front of a piece of cardstock or leave it free standing.
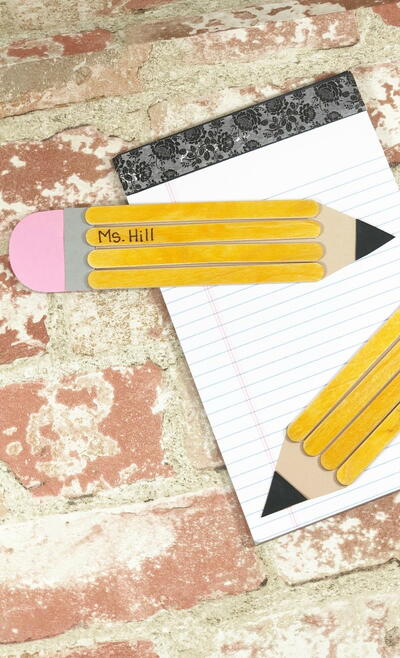
Read NextPottery Barn Inspired Diy Vase