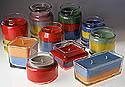
Layered Wax Candles
Learn how to make wax candles with different colored layers. This is a great way to feature team colors or holiday colors in a candle. These make for easy theme candles for a special occasion or a fundraiser.
Materials:
- Natural Wax
- Timer
- Thermometer
- 2 Different Dye Colors
- 2 Pouring Pots
- Jars or Molds
Instructions:
- Select, clean, wick, and prepare your jars or molds as you normally do. Take a moment and plan out where the fill lines are going to be. For example, a patriotic jar may use equal amounts of colored wax for uniform stripes of red, white, and blue, while an egg shaped mold seems to look best if you change color at its widest point.
- Be sure to select the appropriate wax for jars or freestanding candles. Prepare both colors of wax at the same time in order to be ready for “show time.”
- Heat jars or molds when necessary and pour your first layer. Note your ambient temperature (room-temp), your pour temperature, and start the timer.
- You have some flexibility for this step. The time and temperature of the second layer of wax changes the final result. Your individual taste will decide when and how hot to pour the second color. In general, you want to wait long enough for the first layer to set up enough so the second color does not mix with the first color, but not too long that the wax pulls from the sides. If the wax pulls from the sides, the second color slips between the first color and the mold, which creates what is considered by most to look undesirable. By adjusting the second color’s temperature and timing, you can create hard or soft color transition lines. Hard means a flat, distinct line of color change and soft means a softer faded color change. The ambient temperature and size of your candle affects the timing. Smaller candles will take less time (half hour) while larger candles make take as long as 2 hours between pours. Cooler ambient temperatures decrease time, while warmer temperatures increase times.
- Repeat the same time and temperature for the rest of the colors so all color seams are uniform. As you take notes and get more experience, the timing and temperature starts to become second nature. You can even learn to mix hard color changes and soft color changes on the same candle for a unique look that will sure to dazzle your customer.
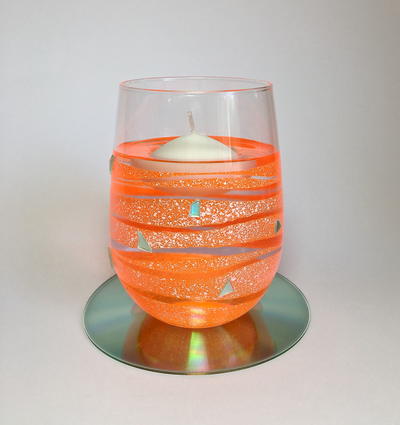
Read NextTangerine Floating Candle Holder
Your Recently Viewed Projects
Thanks for your comment. Don't forget to share!
Hannah
Aug 21, 2017
This is cute. You can play withe colors, combining different shades. I like things that are colorful, festive. I can give this as a gift or even make some money out of this craft.
Report Inappropriate Comment
Are you sure you would like to report this comment? It will be flagged for our moderators to take action.
Thank you for taking the time to improve the content on our site.