How to Make Tealights
You can use excess wax to create tealights, which are essential for home decorating. If you make candles for sale, you can create tealights to display sample colors or scents to customers.
Materials:
- Tea light mold
- Votive or pillar wax
- Aluminum or polycarbonate cup
- Wicks
- Color and fragrance
- M-63-P votive pin
Instructions:
- Lay the tea light mold on a flat, level surface. Insert the pins and spray a light coat of mold release over the entire mold.
- Prepare wax with color and fragrance to suit. Pour wax into the mold so that all cavities are filled. There is a lip that holds overflow wax.
- Remove pins and pop the tea lights out of the mold. Clean any overly rough edges with your fingers.
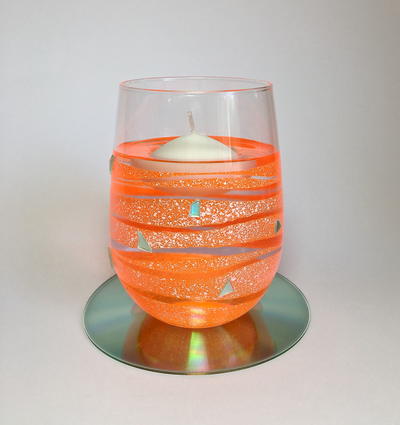
- Insert a pre-assembled wick assembly into the hole in the candle and place into a tea light cup. You will notice that tea light cups have a small circular indentation on the bottom. This indentation is 15mm and is designed to match our 15x3mm wick tabs.
Alternative Methods
When pouring batches of wax, keep a few tea light cups on hand to pour excess wax directly into the cups. This is also the method used for pouring tea lights when using container wax. If you currently use a M-63-P votive pin for your votives, it will fit into the tea light cups as well. Simply place the pin in the tea light cup and pour a votive or pillar wax into the pin/cup set up. After it cools remove the wax/pin from the cup, flip the candle over and put back into the tea light cup. This will result in a beautiful recessed top.
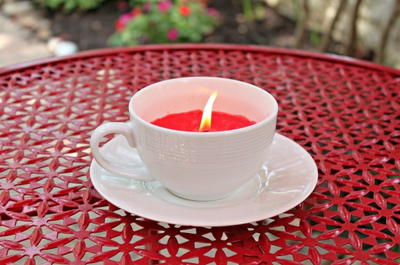
Read NextCute DIY Teacup Candle
Your Recently Viewed Projects
Thanks for your comment. Don't forget to share!
bustedinnc 0512678
Mar 17, 2017
Modern candle making is so easy and pretty affordable. It's also nice to customize the scents and strength. I usually have wicks and small containers (mini-coffee cups, old glass jars) on hand to recycle un-melted wax from larger candles. Wax can be melted (double boiler, or crock pot, DO NOT MICROWAVE, the tabs are metal) and repoured.
flowergirl
Dec 17, 2016
I must admit I really had no idea what tea lights were while I was reading this tutorial but later on while I googled it I realized that I've had them this whole time...thanks google also thank you favecrafts for this incredibly easy simple tutorial. I think tea lights are cute but even cuter when made in a prettier mould like star or heart shapes.
BeckySue
Mar 10, 2016
I reused my empty tealight containers from previously purchased ones to make my own. I really enjoyed putting in my own scents. Usually purchased tealights are just non scented white ones.
Report Inappropriate Comment
Are you sure you would like to report this comment? It will be flagged for our moderators to take action.
Thank you for taking the time to improve the content on our site.