How to Make a Duct Tape Cuff Bracelet
Duct tape crafts aren't just for boys! With this tutorial from Savannah Starr, you can learn how to make your very own duct tape bracelet. Make duct tape crafts with all your girl friends and show off your skills the next time you go out on the town!

Materials:
- Cardboard (paper towel roll)
- Duct Tape
- Ruler
- Scissors
- Wax Paper
- Old gift card
- Bottle to shape cuff bracelet
- Rubber Bands
- Aleene’s Tacky Glue
Video:
Instructions:
-
Cut cardboard tube open.
-
Measure 1” wide for the small cuffs and 2” for the large cuffs.
-
Cut two strips for each bracelet.
-
Pour puddle of glue on wax paper. Using squeegee, smooth thin layer of glue on one side of cardboard strip. Glue two strips together.
-
While the glue is still wet, cut a strip of Duct Tape ½” longer than the cardboard strip.
-
Lay Duct Tape sticky side up on your worktop.
-
Place cuff in the middle leaving ½” on each end and enough space on the sides to fold over the edges of your cardboard strip.
-
To mitre the corners, cut away a square of the Duct Tape from each corner.
-
Fold the Duct Tape over all the sides.
-
Cut piece of Duct Tape to cover inside.
- Cover bottle with wax paper. Wrap cuff bracelet around bottle and secure with rubber bands. Let dry overnight.
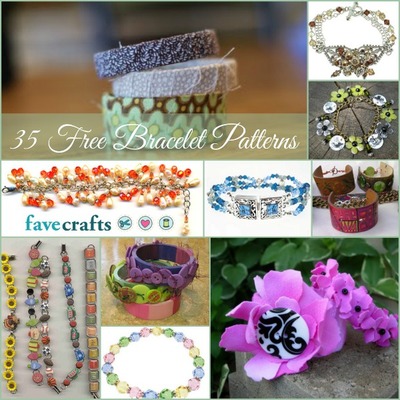
Read Next27 Friendship Bracelet Patterns