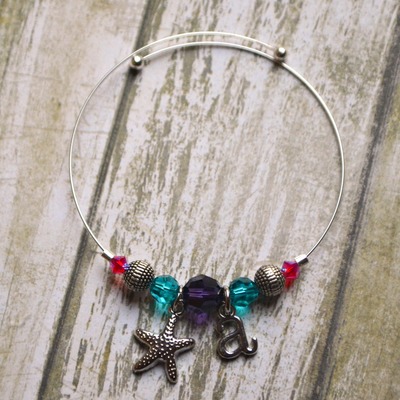
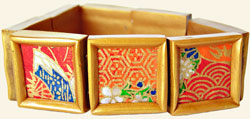
Holiday Paper Clay Bracelet
The holidays are filled with lovely papers—why not use some of these papers to create a wonderful bracelet from Jacquard Products? The new Pearl Ex Varnish will protect your most delicate papers.
Materials:
- Five oz Premo! Sculpey polymer clay—Gold or color of your choice
- Jacquard Pearl Ex Stamp Pad - Gold
- Jacquard Pearl Ex Varnish
- Clay dedicated pasta machine
- Premo! Sculpey clay—2 oz of Ecru (or White)
- One mm Stretch Magic Jewelry Elastic—2 14" pieces
- Sculpey Super Slicer blade
- Two Bamboo Skewers
- Needle tool—I use a Poultry needle from the cooking section of the grocery
- Crafter’s Pick “Ultimate” glue
- Small brush to apply the varnish
- PolyTools beveled cutter—I use the 1" square or “H” cutter
- Yasutomo Yuzen Washi Origami Paper in 5" size papers
- Heat Gun (optional)
Steps:
- Cut out eight squares of the Washi paper, selecting the most interesting areas of pattern. As you can see, I’ve cut a pattern out of another paper to use as a guide. My pattern is just slightly smaller than 1" square (.8" square).
- Slice your clay into sheets just slightly thicker than the widest setting on your pasta machine and roll through the machine a couple of times to condition the clay and turn the mica so the surface is bright golden. Create three large sheets of clay.
- Roll one of the sheets on a thinner setting, about three settings down from your widest setting. Glue a piece of the Washi paper to this sheet. Trim to about 1/4" selvage on all sides.
- Manipulate one of your other sheets of clay through the pasta machine to make it long and narrow. This will form the base of the bracelet. Position your bamboo skewers about 1/2" apart on the clay and press them down using the bottom of the glue bottle. Remove the skewers. You should have two even channels in the clay now.
- Set the trimmed piece of clay with the Washi paper on the channeled clay sheet, centering the Washi paper on the channels. Trim to the clay that the Washi paper is mounted on. Set aside.
- Use your cutter on the final remaining piece of clay to cut out a square. Trim this piece to at least 3/8" selvage around the square.
- Align this piece of clay over the Washi paper assembly.
- Use your Super Slicer blade to trim the edges of the frame. I found that cutting closer is easier than trying to leave a large border.
- Measure each bead against each other to maintain a matching size.
- Recheck your channels by running the needle tool through each channel.
- Repeat this process for each of your beads. I use 8 beads on a bracelet. You may wish to add more or less.
- Place the beads on a sheet of unlined paper on your baking sheet and bake the beads in a preheated oven at 275° for 25 minutes. Allow the beads to cool before continuing.
- Rub the sides of each of the beads and the top of the frame on a Gold Pearl Ex Stamp Pad. This will add golden highlights that echo the gold in the Washi paper. (This ink is water soluble, but I wear gloves to keep the ink from my hands during my photography design sessions.) Allow the ink to air dry or heat set it with a heat gun for a few moments. You can even put the beads back into the warm oven for 5-10 minutes to set the ink.
- Seal the clay and the paper with the Pearl Ex Varnish. Heat set the varnish with either the heat gun or the warm oven. The varnish will dry in just seconds with a heat gun!
- Align the beads and string through the top channel of the beads. Cut the elastic, leaving 3" on each end of the beads. Flip each bead up from the bottom and thread the elastic through the bottom channel. Cut the elastic leaving the 3" selvage.
- Gather up the ends of the elastic and tie a double knot in each set of elastic for the top and bottom channels. Once the knot is tied, gently but firmly pull on each end of the elastic to tighten the knot. Trim the knot, leaving a small selvage of about 1/4".
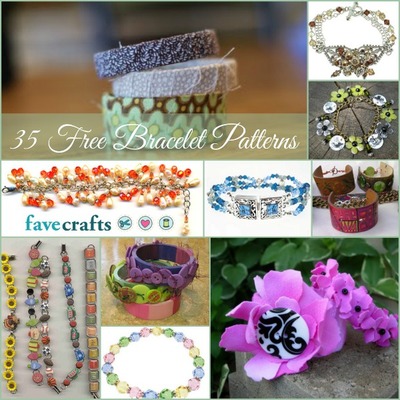
Read Next81 Free Beaded Bracelet Patterns