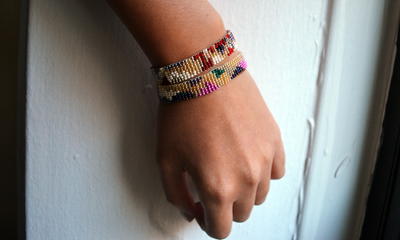
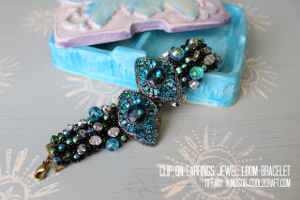
Brilliant Beaded Bracelet
If you're looking for easy bracelet patterns to spice up your wardrobe, consider creating the Brilliant Beaded Bracelet. This is a great project for anyone who is new to the word of jewelry making. Use clip-on earrings to complete the look. Jewelry making patterns don't have to be complicated and you don't need expensive supplies. Simply follow along with this free craft tutorial and find out how fun it is to make your own jewelry.
Materials:
- Emitations.com Clip On Earrings
- Jewel Loom Kit by Julianna Hudgins
- Beads (6/0 for bracelet base, seed and focal beads for loops)
- Wildfire Thread
- Scissors
- e6000 Glue
- Ribbon clasp
- Flat nose jewelry pliers
- Wooden skewer (or toothpick)
Instructions:
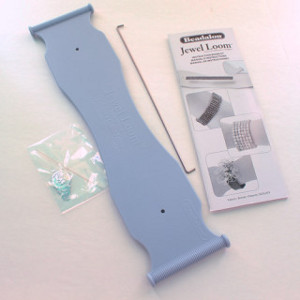
- The Jewel Loom kit includes the loom, tension rod, beading needle, needle threader and instruction booklet.
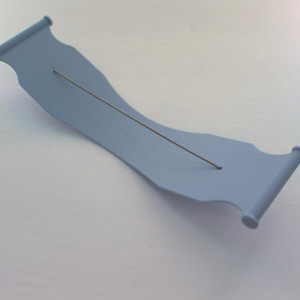
- The first step is to insert the tension rod into the loom.
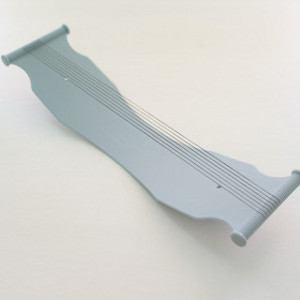
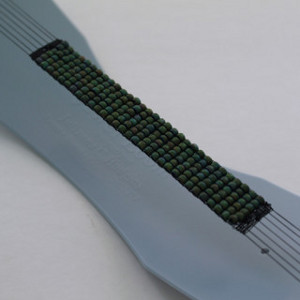
- Following the package instructions, set up loom with 7 strands of warp threads. This set-up will allow for 6 rows of beads which I decided on based on the width of the clip-on earrings.
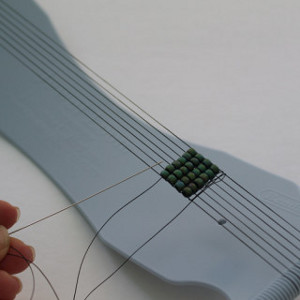
- Following the package instructions, stitch rows of beads onto warp threads.
- Continue adding bead rows until you have reached the desired length. Keep in mind that you also need to include the length of the ribbon clasp in your measurement. Watch Julianna’s YouTube video to learn her technique to create the thread selvedges at each end of the bracelet. This selvedge will help to anchor the ribbon clasp.
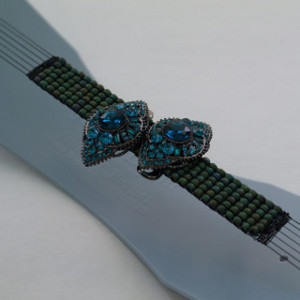
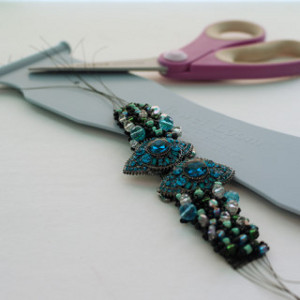
- Clip on the earrings to the bracelet to determine placement.
- On this bracelet, I used 3 seed beads, one focal bead and 3 seed beads to create each loop. Watch Julianna’s YouTube video to learn how to create the loops.
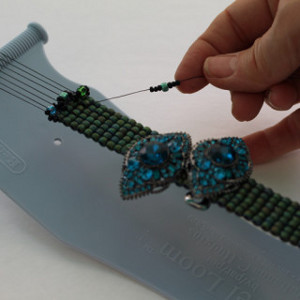
- Once you have created loops for one side of the bracelet, repeat for other end.
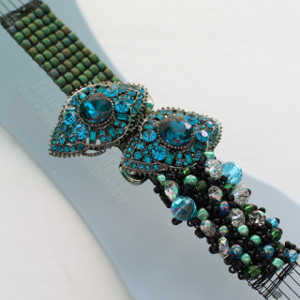
- Once you have completed the loops, you can carefully cut the bracelet from the loom.
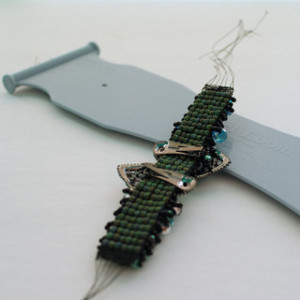
- Here’s what it looks like from the back.
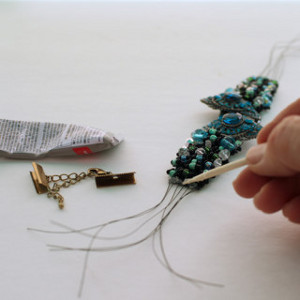
- Note that in her how-to video, Julianna recommends this gluing step before you cut the bracelet from the loom. I used a wooden skewer to apply glue over the selvedge threads and to secure the warp threads. I let it dry approximately 1 hour before cutting off the excess warp threads and attaching the ribbon clasp. Enjoy wearing your interchangeable beaded bracelet!
Read Next81 Free Beaded Bracelet Patterns