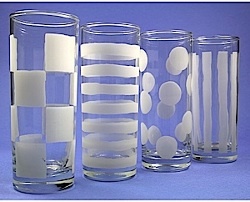
Etched Graphic Tall Glasses
These etched water glasses from Etchworld Armour are classy and modern with the stenciled graphic design. Make a full set of four for a wedding gift.

Materials:
- 15-0150 Armour Etch Cream, 70-9001 Sand Etch Kit or 61-5020 Pencil Bottle Blaster
- 31-0401 BeigeVinyl masking
- Assorted decals, stickers, labels (optional)
- Straight sided drinking glasses
- Craft knife
- sponge brush
- pencil or marker that will write on the vinyl masking
- scrap or sheet of computer paper
- popsicle stick
- old credit card or letter opener
- thick towel (optional)
Steps:
- Wash & dry glass in hot soapy water prior to applying stencil.
- Cut a piece of vinyl masking slightly longer and wider than the length & circumference of your glass.
- Wrap the piece of vinyl masking completely around glass, applying and smoothing in one direction as you go, leaving no gaps or air bubbles. This may be easier to do if you lay the glass down on its side on a thick, folded towel. Trim masking at the top & bottom
- With a pencil or marker, draw horizontal & vertical for the stripes or broken squares. Stickers can be used as a templete to cut the circles.
- Cut out one stripe or block at a time and peel away a section. This will be the part that will be etched.
- Take a piece of paper and lay over remaining masking. Take a popsicle stick, letter opener or old credit card and rub over the paper to smooth down the vinyl. Examine every strip of masking remaining and make sure every edge is tight to the glass. The better the masking is bonded to the glass, the better your results will be.
- Etch the glass with your preferred method. If you are using the Etch cream, do not apply the cream on the stripes like your painting (straight strokes). It will come out streaky and blotchy. Instead, pat the cream on randomly with the sponge brush, going back around to fill in any spaces until every spot of glass is covered.
- Rinse glass under warm, running water until all cream or sand is off the glass. Remove masking and rinse again.
- Dry glass & enjoy!
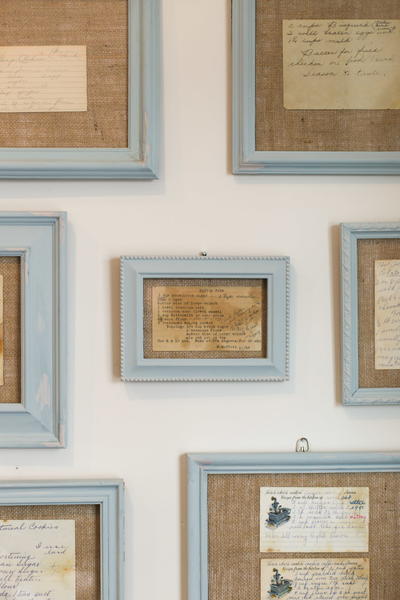
Read NextHeirloom Recipes DIY Framed Wall Art
Your Recently Viewed Projects
Thanks for your comment. Don't forget to share!
flowergirl
May 25, 2018
Here's a fun way to make a last minute housewarming gift. Etching is way easier these days, you only need some etching cream and this detailed tutorial shows you the best techniques on how to achieve the best patterns. You can use this technique on any glass you have and make a beautiful piece.
LadyJewels
Aug 20, 2010
LadyJewels here, This project will be a great gift idea for anytime of the year. I used to do glass decor. with my mom many-many moons ago.
Report Inappropriate Comment
Are you sure you would like to report this comment? It will be flagged for our moderators to take action.
Thank you for taking the time to improve the content on our site.