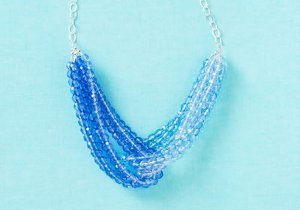
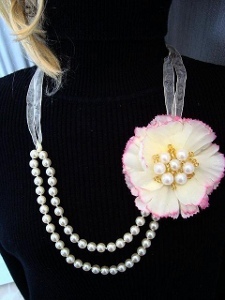
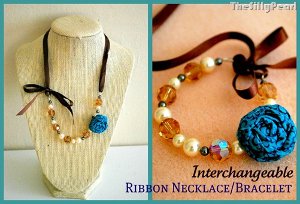
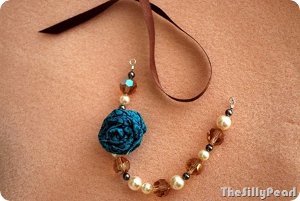
Ribbon Necklace
The great thing about this Ribbon Necklace is that it can also double as a bracelet! This beautiful bead jewelry design is a great way to jazz up any outfit. Dress it up or down and make one in all your favorite colors!
Materials:
- Beads (I used an assortment of faux pearls and crystals)
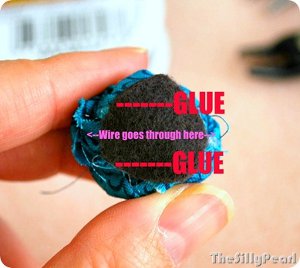
- 1 fabric flower (you can make your own by rolling up a 1-inch wide strip of fabric, hot gluing the end, and adding a piece of felt to the bottom)
- Silk satin ribbon, 3/16” wide
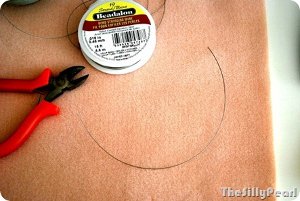
- Nylon beading wire (I used Beadalon 19-strand)
- Jewelry wire cutters
- Crimp beads
- Crimp pliers
- Jump rings
- Bead stopper (optional)
Instructions:
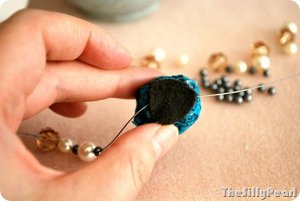
- The rosette is optional but if you’re going to make one, cut out a round piece of felt to put on the back. But, I only put two lines of hot glue so the middle of the felt circle isn’t sticky…this is where the wire will thread through.
- Cut a piece of beading wire by measuring your wrist (if you’re making it for yourself) and adding about 3 inches.
- Then either tape down one end to your table top or use a bead stopper and start threading on your beads at about 1.5 inches from the end of the wire.
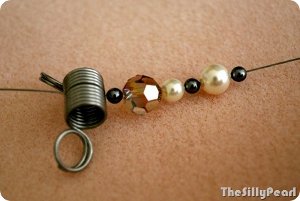
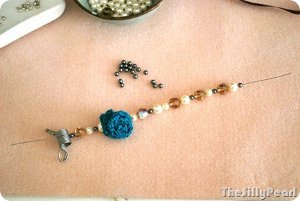
- After about an inch or so of beads, I threaded on the rosette. Note: put a small bead (these are 4mm compared to the others which are 6-8mm) on either side of the rosette; this will make the rosette sit better.
- Then keep threading on beads – I did mine semi-randomly – until you reach about 1.5 inches to the end.
- Now we’ll finish the ends with a crimp bead and a jump ring.
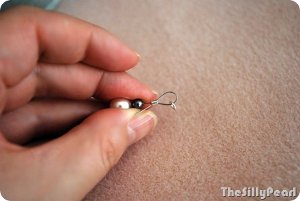
- After you’ve added the crimp beads and jump rings to both ends, you should have this:
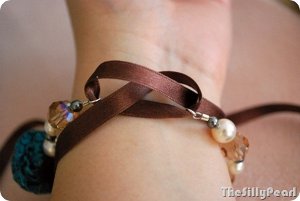
- For the bracelet, you thread the ribbon through both jump rings, pull til the jump rings meet and tie a bow.
- For the necklace, you have a few options. You can tie the bow at the back or on one side, both of which are cute in their own way. For the back tie, thread the ribbon through both jump rings to form a necklace. Don’t cut the ribbon yet. Throw the ribbon part around your neck.
- Pull the ribbon until they are even on both ends, and long enough to reach behind your neck and tie a bow.
- For a side bow, pull one end longer, long enough to reach all the way to the other jump ring and tie a bow.
Your Recently Viewed Projects
Thanks for your comment. Don't forget to share!
Weberme
Oct 25, 2016
Easy, simple and a great ribbon ad bracelet jewelry set to make and give as Christmas gifts, a birthday or even Mother's Day . You can use up your left over beads to make your own design. There are so many possibilities and no end to how you arrange this piece for who ever you are making this for. Anyone make and have pictures?
Report Inappropriate Comment
Are you sure you would like to report this comment? It will be flagged for our moderators to take action.
Thank you for taking the time to improve the content on our site.