Wire Medallion
Use a Beadalon Wire Jig to create this beautiful Wire Medallion from Julianna Hudgins. Wire craft ideas may seem complicated, but this craft is perfect for crafters at any skill level. Add this piece to a necklace or glue on a safety pin to make a pretty brooch.
Materials:
- 22 gauge wire – approximately 36″ each color (I used amethyst, rose, lemon)
- Artistic Wire Deluxe Coiling Gizmo by Beadalon (I used the bracket which comes in this kit)
- Nylon jaw pliers
- Wire Twister Tool by Beadalon
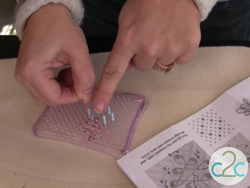
- Beadalon Wire Jig
- Jewelry wire cutter
Instructions:
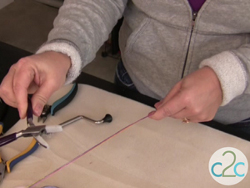
- Cut approximately 36″ lengths of each color and anchor one end of your wires to the Deluxe Coiling Bracket. In a pinch, you can also anchor your wires to the leg of a table. Just be sure it’s very stable because you’re going to be coiling your wires and you need this to hold!

- I like to run my nylon jaw pliers along all the wires to remove any kinks.
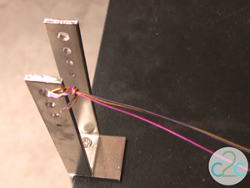
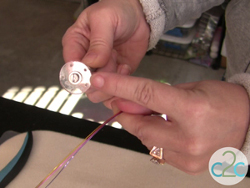
- This is the Wire Twister Tool. You will also find some great close-up photos of this tool in action at this link.
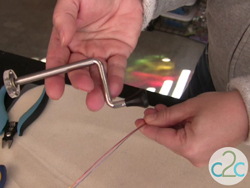
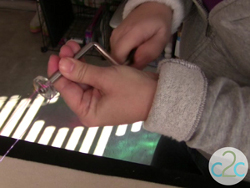
- Attach the end of each wire into a hole in the end of the Wire Twister Tool. (You can attach up to 5 wires for this step.)
- Hold the tool steady in your hand with the wires taut and then begin turning the handle with the other hand. Keep turning and turning and turning until the wires break away from the tool. PLEASE BE VERY CAREFUL with this step because the wire can snap up when it breaks away so use proper eye and table protection.
- Now that you have coiled your custom 3-strand wire, following the package instructions with the Wire Jig, place your jig over the pattern and place the pegs in the jig.
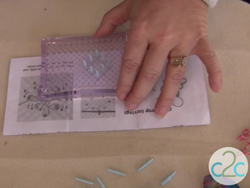
- Follow the pattern guide to wrap your wire around the pegs.
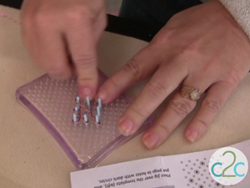
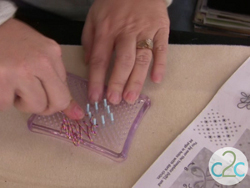
- When you have completed the first pattern, remove the wire from the jig and place the last loop over the first peg. Repeat the wire pattern on the jig.
- Continue to remove the wire from the jig and place the last loop on the first peg until you have achieved your desired pattern – or run out of wire!
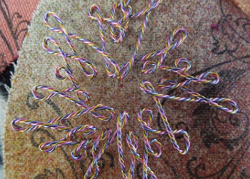
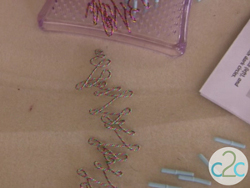
- Here’s an example of the pattern repeated several times.
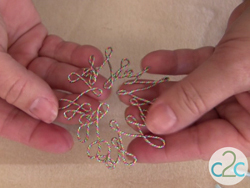
- Loop the ends together to create a medallion shape.
For a comprehensive video tutorial, check out How to Create Custom 3 Strand Twisted Wire.
Read NextSweet as Candy Brooch