Skeleton Stamped Halloween Cards
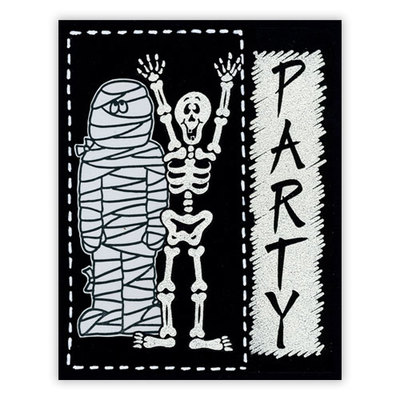
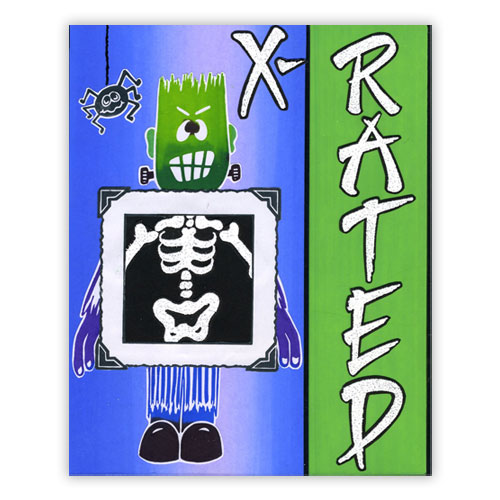
Dee and stamping expert Lynne Taylor created these fantastic skeleton Halloween cards from Posh Impressions by stamping one bone at a time. With this technique, you can create skeletons in different positions such as dancing or holding a Halloween pumpkin. Create your own Halloween cards!

Materials:
All products are available from www.sundayint.com or ask for them in your favorite store.
- Halloween Stamp Set
- Cardstock (special cards from Dee & SI that open off center)
- Marvy Brush Art Markers
- Blending Blox
- Sticker paper (opaque is best for covering anything beneath it)
- Scissors
- Stamping pad or low pile of magazines to get best impression when pressing stamp. A couple of mouse pads stacked on top of each other could work too.Damp rag for cleaning stamps
Additional Halloween stamp sets that interplay beautifuly with the Halloween Stamp Set above:
Best Witches
and
Spooky
and the mini set
Halloween
Steps:
- Stamp all backgrounds first
- When placing one design over another, use sticker paper such as with Frank, the skeleton or mummy over the background in the cards above.
- Use opaque instead of glossy sticker paper so that colors beneath do not show through. That way you don’t have mask, block or anything else and you can even color the entire object beneath thereby working faster.
- Always stamp an image on scratch paper first to see if you like the color and result and that you have pressed without rocking or pressing too hard.
- Hold the stamp to the paper and count to 10 before lifting to get brightest, purest colors with all parts colored evenly.
- If and when using Blending Blox to get interesting color variation, tones and shading, when running color blends together further than the pad can handle, continue darks to darks and lights to lights by rotating the pad to put the dark to dark, etc. A video shows how to do it here (see video at right.) Note that the blue background is with a Blending Blox pad providing more interest than just a plain old solid blue.
- Clean stamps by stamping on damp rag and then on dry paper when changing colors.
- Make featured images stand out by cutting with scissors all the way around the object leaving about 1/32” of white.
- For even, precise cutting, move the paper instead of the scissors.
- After cutting out featured images, or any images that will go over the top of previous stamping, before removing sticky backing from sticker paper, place in several positions to see where most desired. Then, remove just a corner to hold in place before removing all of it and smooth out with the palm of hand to put it in place permanently .
- Keep cards out of light to preserve colors.
- Let your imagination and creativity flow and mostly, have FUN! The Halloween sets and all of Dee’s sets provide many combinations and posh-abilities.
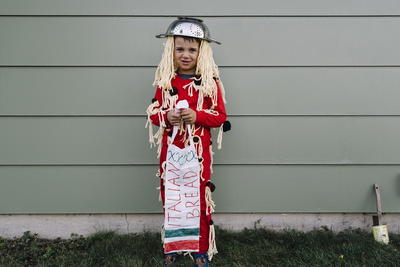
Read NextSpaghetti and Meatballs Costume