Marbled Easter Egg Craft
Try a non-traditional approach to decorating eggs this year with a marbleizing technique on eggs that you can use year-after-year. This Marbled Easter Egg Craft is a fun way to learn how to make Easter eggs that really make a statement. Easter eggs give you an excuse to test out a new technique and learn new skills. You can use so many colors to make these eggs and display them on your table for a fun touch of spring. Learn how to decorate Easter eggs using this technique and then create a variety of marbled paint crafts after that. This fun and easy Easter project will surely inspire you to craft all year long.

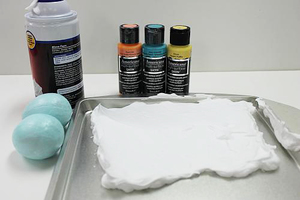
Materials:
- Americana Multi-Surface Acrylics:
- Shrimp
- Peach Silk
- Chick
- Soft Jade
- Overcast
- Battleship
- Cotton Ball
- Pink Cadillac
- Flamingo
- Poppy
- Orange Sherbet
- Muted Gold
- Coastal Waters
- Deep Turquoise
- Lavender Fields
- Iris
- Melonball
- Water container
- Palette or plastic plate
- Paper towels
- Toothpicks
- #12 flat brush
- Palette knife
- Small squeegee
- Shaving cream
- Baking sheet
- Papier-mâché eggs
Instructions:
- Start with papier-mache eggs.
- Use a #12 flat brush to mix Cotton Ball 1:1 with each of these colors separately: Lavender Fields, Pink Cadillac, Orange Sherbet, Coastal Waters, Chick, and Melonball.
- Rinse brush between colors and at the end.
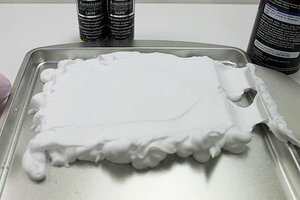
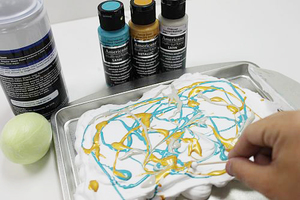
- For pink eggs: spray shaving cream onto the baking sheet and smooth it with the squeegee.
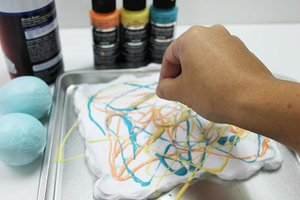
- Pour out three contrasting colors. (I used Chick, Iris, and Flamingo.)
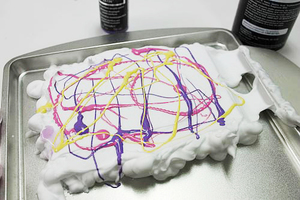
- Use a toothpick to swirl the colors to look marbled. (Don't swirl too much; you do not want them to become muddy.)
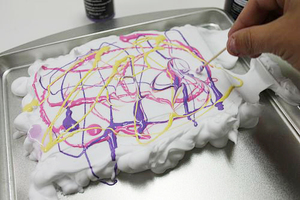
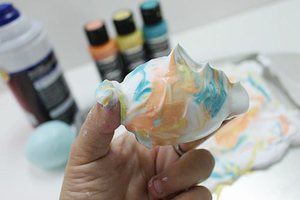
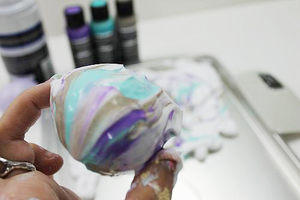
- Roll the egg across the paint, making sure you cover the egg completely.
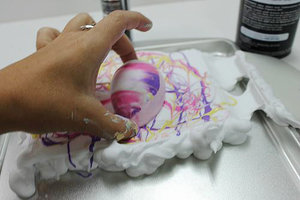
- Immediately use a palette knife to scrape off shaving cream, leaving just the paint on the eggs. Wash and dry the baking sheet and palette knife.
- On blue eggs, I used Peach Silk, Deep Turquoise, and Chick.
- Pour out the three colors and lightly swirl with a toothpick.
- Roll eggs around and make sure they are fully covered.
- Scrap off the shaving cream with a palette knife, leaving paint on the egg. Wash and dry cookie sheet and palette knife.
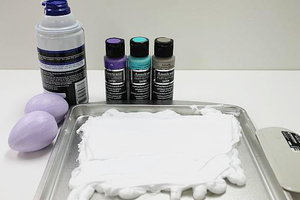
- For purple eggs, I used Iris, Coastal Waters, and Battleship. Spray the shaving cream onto the baking sheet and smooth it out with a squeegee.
- Pour out the three colors and lightly swirl with a toothpick.
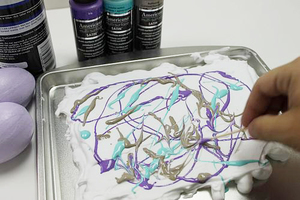
- Roll an egg around in the shaving cream and then immediately scrape off with a palette knife, leaving just the paint on the egg. Wash and dry the baking sheet and palette knife.
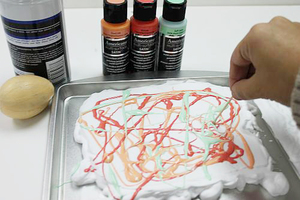
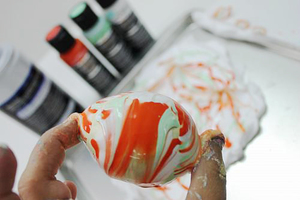
- Repeat the marbling steps (3-7) on the yellow egg using: Poppy, Soft Jade, and Overcast.
- Roll the egg in shaving cream and immediately scrape off with a palette knife. Wash and dry the baking sheet and palette knife.
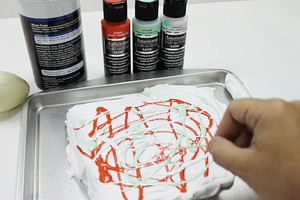
- Repeat the marbling steps (3-7) on the green egg using: Deep Turquoise, Muted Gold, and Overcast. Wash and dry the baking sheet and palette knife.
- Repeat the marbling steps (3-7) on the orange egg using: Peach Silk, Shrimp, and Soft Jade. Wash and dry the baking sheet and palette knife.

For more great home decor projects and paint craft ideas, check out our eBook Painting the Seasons with Americana Multi-Surface Acrylics from DecoArt. You'll find DIY craft projects for all season.
Read Next43 Easter Chick Crafts