Gorgeous Buffalo Plaid Holiday Floral Wall Art

If farmhouse is your style, this STUNNING project is a must-make design! Buffalo plaid, Christmas florals, and a cheery sentiment come together in a beautiful 3D design. This is a great wreath alternative, and it makes a gorgeous decoration for any wall in your home. The distressed look is so shabby chic, and there is something about buffalo plaid that is just so cheery! The berries and evergreen sprigs are the perfect finishing touches. Get in the holiday spirit by making this beautiful piece of 3D wall art!
Time to CompleteIn an evening
Main MaterialPaint
Primary TechniquePainting

SeasonWinter
HolidayChristmas
Project TypeMake a Project
Materials List
- Folk Art Acrylic Paint: 901 Wicker White
- Folk Art Acrylic Paint: 938 Licorice
- FolkArt Barnwood Finish Kit 5074
- Mod Podge Matte CS11301f
- FolkArt Scraper Tool- 34913
- FolkArt Value Pack Stencils- 6097E Holiday
- FolkArt Brush Set 44219
- Stencil Brush 34038
- FolkArt Home Décor Layering Block 36046
- 11x 14 Stretched Canvas
- 3 assorted Christmas Floral Stems
- Buffalo Plaid scrapbook paper
- 6 x 7” piece of old wood
- Tacky Glue
Instructions
-
Basecoat entire canvas with Licorice and large flat brush. Let dry.
-
Paint piece of wood following the basic instructions on the Barn wood Finish Kit. Let dry.
-
Stencil as shown on wood piece with Wicker White and stencil Brush. Let dry.
-
Cut paper as shown to fit the bottom of canvas as shown. Using Mod Podge apply paper to bottom of canvas and let dry.
-
Using the Layering Block distress edges with Licorice and Wicker White as shown. Let dry.
-
Using Tacky Glue, glue block to canvas as shown and let dry.
-
Make a small cut in the canvas directly above the edge of the wood piece. ( the section on the canvas that you will insert the holiday stems.
-
Place floral stems into cut in canvas and arrange as desired.
-
Enjoy!
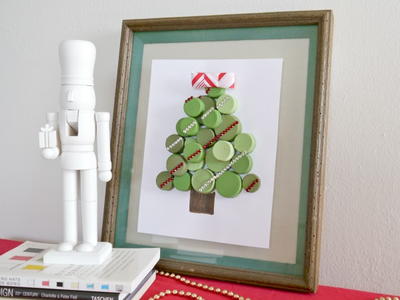
Read NextBottle Cap Christmas Art
Your Recently Viewed Projects

Thanks for your comment. Don't forget to share!
Report Inappropriate Comment
Are you sure you would like to report this comment? It will be flagged for our moderators to take action.
Thank you for taking the time to improve the content on our site.