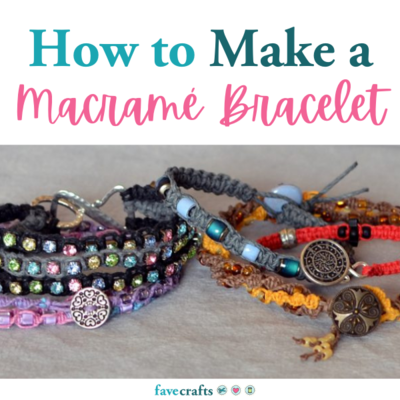
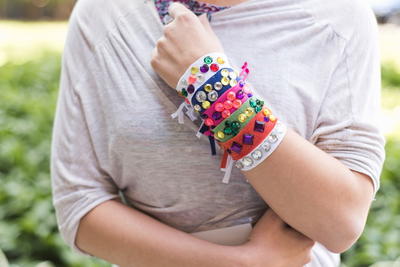
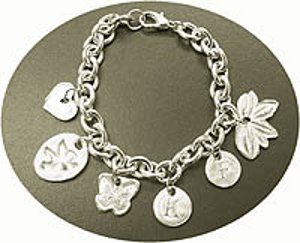
DIY Charm Bracelet
With this easy to follow tutorial from Delphi Glass, you can make a charm bracelet that's original and unique! This DIY Charm Bracelet project teaches you how to stamp your own charms, so you can have a bracelet that's meaningful to you.
Materials:
- Silverplated Charm Bracelet
- Silverplated Oval Jumprings
- 3/16” Pattern Cutter Set
- Texture Sheet Set
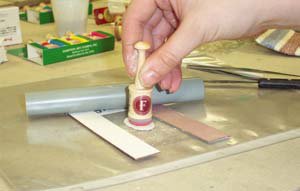
- Romance Rubber Stamp Set
- Olive Oil
- Silver Jewelry Clay Starter Kit
- Fire Brick
- PMC Silver Clay Instruction Book
- Butane Torch
- Tweezers
- Stainless Steel Brush
- Polishing Block
- Half-Round File
- #6 Shader Brush
- PMC+ Clay, 20 gram
- Palette Knife
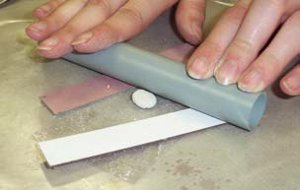
- Roller
- Cardboard Strip Set
Instructions:
- Refer to Delphi’s Silver Jewelry Clay Instructions for additional information.
- Divide clay into sections of about 5 grams each (1/4 of package), leaving one out and wrapping the others securely in plastic to prevent drying.
- Roll out clay using roller (and cardboard strips to gauge thickness) over the texture sheet of your choice.
- If you wish to use a rubber stamp to imprint a design, oil the surface of the stamp lightly. Align the stamp over the rolled out clay, then set it down flat on the clay surface. Press firmly and evenly to imprint the design, then lift the stamp straight up to prevent uneven pressure in the design.
- Trim to the desired shape using the palette knife.
- Using the round 3/16” pattern cutter, carefully punch where you would like to make a hole by which to hang the charm. You will want to allow several mm. on all sides around the hole to ensure sturdiness. Press the end of the cutter into the clay and lift up.
- Use the pattern cutters to add any additional embellishments as desired. You can also create charms by rolling the clay onto the texture sheets and cutting out the surface design with a palette knife.
- Dry the charms using a blow drier, letting the clay set, or placing on a warming tray.
- File the charms to clean up the edges and shape (you can further clean up the surface by sanding with 600 grit sandpaper and following up with 1200 grit sandpaper). Brush off any particles on the surface and inspect. Make any repairs now by applying paste, drying and filing again. Use pre-made PMC+ Paste #67003 or create paste by adding water to the clay.
- Add design elements to the back side of the charm if desired, dry, file and clean up the surface.
- Place the dry charm on your fire brick or kiln shelf an fire. To torch fire heat evenly until the pendant reaches a faint orange color and hold at this temperature for about 3 minutes. To fire in a kiln heat to about 1650 degrees F, hold for 10 minutes then cool.
- Brush off the white residue from the firing using the wire bristle brush. Continue polishing as desired. You may also “burnish” the high points on the surface of the charm by rubbing the edge of the stainless steel tweezers firmly against the areas you wish to enhance.
- Attach the charms to the bracelet with jumprings and jewelry pliers.
Read NextT-Shirt DIY Friendship Bracelets