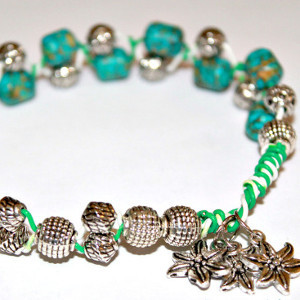
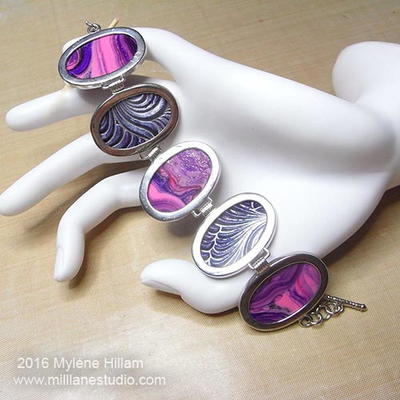
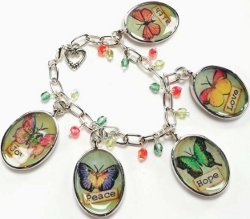
California Roll Bracelet
Show off your jewelry making skills with this California Roll Bracelet from Polyform Products! Never wonder how to make clay jewelry again...with this polymer clay craft, you'll be able to make all kinds of fun clay beads and bangles!
Materials:
- 1 block Premo! Sculpey®: Navy Blue * - 2 oz
- 1 block Premo! Accents: Blue Pearl - 2 oz
- 1 block Premo! Accents: Peacock Pearl - 2 oz
- 2 blocks Premo! Accents: Bright Green Pearl - 2 oz
- 1 block Premo! Accents: Blue Granite - 2 oz
- Clay Conditioning Machine
- Sculpey® Style & Detail Tools, Set of 3
- Sculpey® Super Slicer
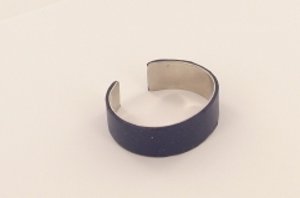
- Premo! Sculpey® Cuff Bracelet
- 1/4 inch dowel or the same
Instructions:
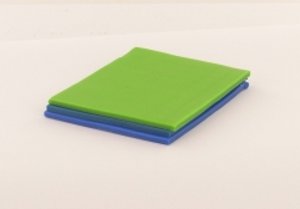
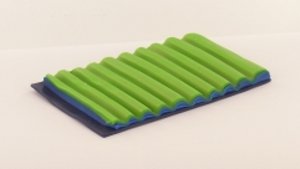
- Create sheets of your three lightest colors and stack these in order from lightest to darkest. Shown here are Bright Green Pearl on top, Peacock Pearl in the middle, and Blue Pearl on the bottom. At this point I am reserving Navy for later. Create long and narrow, about 6" long and only about 2"-3" wide.
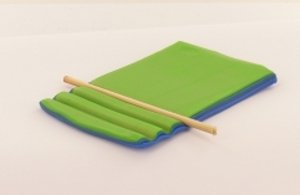
- Starting at one end, make deep impressions in the clay stack with the dowel rod all the way across the stack. These grooves should be parallel with the short side of the stack. Depending on the look you would like to achieve, for this step you could substitute something thinner than a dowel rod, like the edge of a ruler, and you could experiment with making the grooves closer together or further apart. Trim the short ends of the stack when you are done making the grooves.
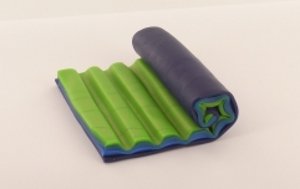
- Pinch the stack flat on the two short ends. Sheet your fourth and darkest color on the #3 setting. Place it under the grooved stack. Trim the dark color so it lines up on three edges and extends past one of the short edges by 1/4 inch;. Wrap this extra 1/4 inch; around the short edge of the stack.
- Gently and carefully roll up the cane jelly roll style starting at the end with the dark color wrapped over the edge. Continue rolling up the cane all the way and then smooth the trailing edge of the stack to the cane body.
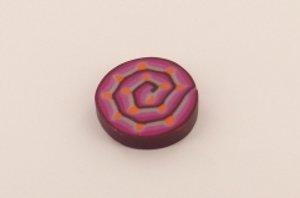
- Reduce as desired, slice and enjoy!

- After you've made the grooves, you can leave them open and empty or you can fill them with a contrasting color to create small dots in the canes. This pink cane was filled with bright orange spots in it was done by filling the grooves with ropes of orange clay.
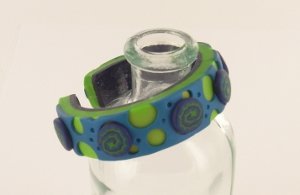
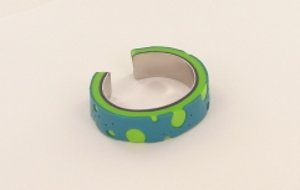
- On the widest setting of the Clay Conditioning Machine roll 2 strips of Bright Green Pearl, one strip of Peacock Pearl and one strip of Blue Granite.
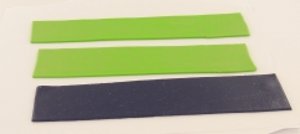
- Place the strip of Blue Granite on the bracelet, followed by the two strips of Bright Green Pearl.
- Using various size circle cutter cut a random pattern of holes in the strip of Peacock Pearl. Create a random pattern using the smallest Style and Detail tool.

- Add the Peacock Pearl strip and trim as necessary. Add slices of the cane and bake as directed by manufacturer. Allow to cool and remove bracelet blank.
Your Recently Viewed Projects
Thanks for your comment. Don't forget to share!
annheineck
Jul 20, 2013
love it!! Again the photos are really a HUGE plus to the directions, thank you!!! Some of us are visual people and just having word directions sends us into the outer zone of nowhere land..lol
Report Inappropriate Comment
Are you sure you would like to report this comment? It will be flagged for our moderators to take action.
Thank you for taking the time to improve the content on our site.