Milk Jug First Aid Kit
Do you have an old milk jug taking up room in your recycling bin? Turn it into a handy first aid kit with this Milk Jug First Aid Kit tutorial. Great for college kids and traveling, this kit can hold everything you need so you're always prepared. And it's environmentally friendly, so it's nice to Mother Earth, as well. Create a couple of these first aid kits and keep one in the car and one in your suitcase so you're always prepared no matter what happens. This kit also makes a great gift for someone living on their own for the first time.
Primary TechniqueGreen Crafting
Materials:
- Plastic milk jug/juice container
- 1 snap closure and a snap setting tool
- Small scrap of colored vinyl or contact paper
Instructions:
- Wash out a milk jug and remove the labels. Use some white spirits to remove any sticky residue that is left behind from the label.
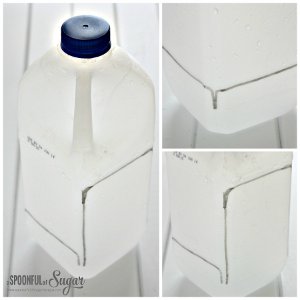
- Using the photo as a guide, cut the milk jug so that you have three short sides with small flaps, and one longer side which will form the top flap/lid of the First Aid kit.

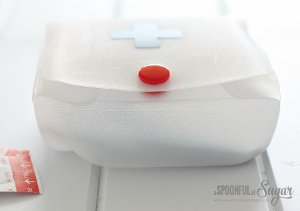
- Fold the flaps down, checking to make sure that the longer flap is the correct size to cover the top of the container.
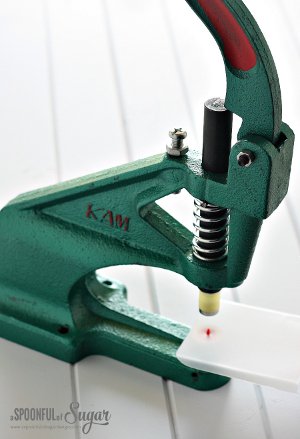
- Using a sewing stiletto or a metal skewer, pierce a small hole in the plastic near the bottom edge of the top flap and position the snap in the hole. Use a snap setting tool or snap press to fix the snap to the lid following manufacturers instructions. Place the corresponding snap on the inside flap and fix in place.

- Cut a small cross out of vinyl and adhere the cross to the top of the first aid kit.

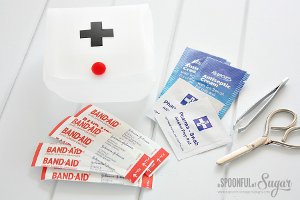
- Fill the kit with supplies.
