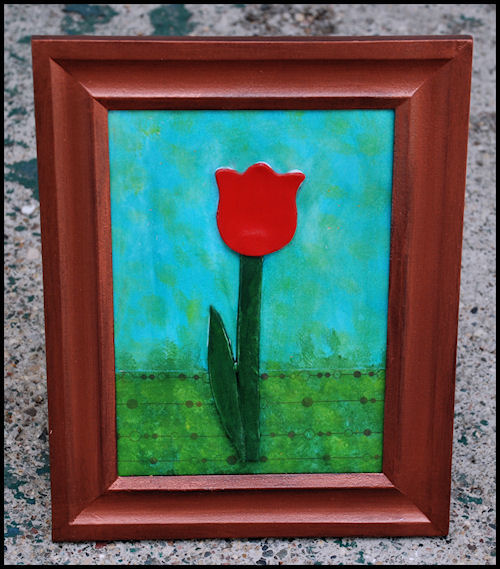
Tulip in a Frame
Have you ever broken the glass in a frame then saved the frame thinking you'd find a purpose for it but never did? Then today is your lucky day. Put those old, glassless frames to use in this simple craft tutorial from Alyice Edrich of The Dabbling Mum.
Materials:
- White Polymer clay
- Blank 5x7 cardstock, white
- 2""x5" strip of scrapbook paper
- White gesso paint
- Acrylic paints: blue, green, golden yellow, copper
- 5"x7" wood frame
- Black foam risers
Tools:
- Pasta machine
- Plastic knife
- Tulip-shaped cookie cutter
- Thin tipped paint brush
- Wide tipped paint brush
- Spray adhesive
- Acrylic sealer
- Cookie sheet
- Oven
Instructions:
- Run clay through pasta machine on the thickest setting.
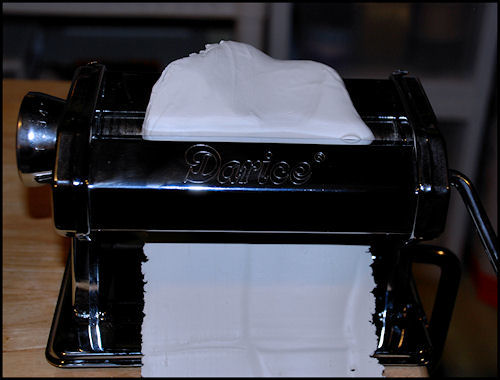
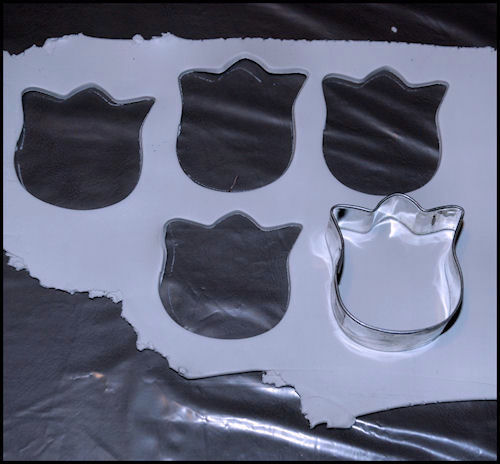
- When the clay runs through the pasta machine without any rips or tears, lay on a flat surface, smooth out, and cut out tulips using the tulip-shaped cookie cutter.
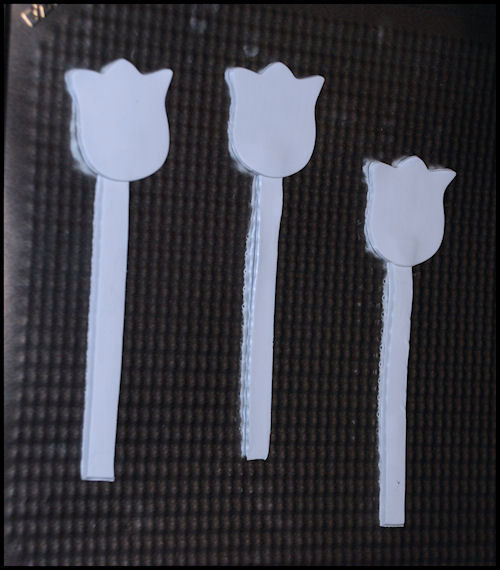
- Cut 1/4" wide by 4" tall strips of clay for stems.
- Place stems on cookie sheet, then top with tulips.
- Cut 3" leaves out of remaining clay.
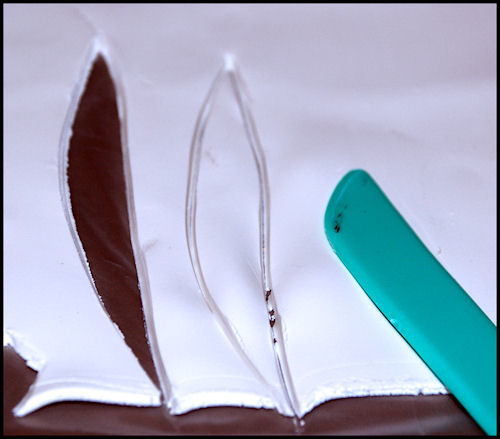
- Place bottom part of leaves onto stems.
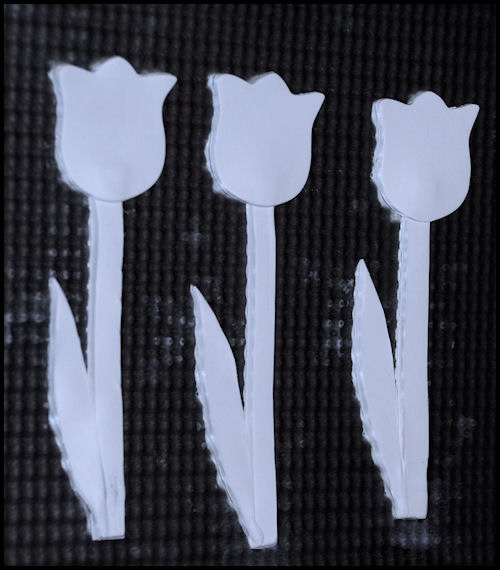
- Bake clay in oven, per package instructions.
- Once tulips are cool, paint with gesso. Let dry.
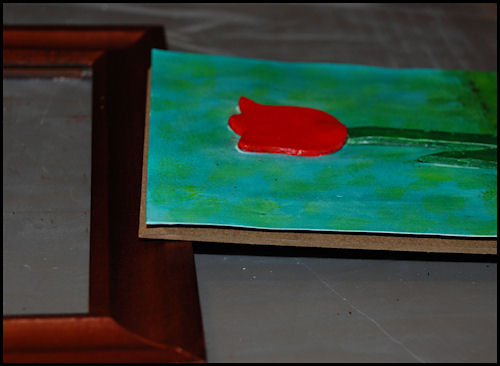
- Paint tulips red and stems green. Let dry.
- Remove glass from frame and paint the frame copper. Let dry.
- Spray back of 2x5 strip of paper with adhesive and press onto bottom of 5x7 cardstock.
- Paint the cardstock. Let dry. (I mixed blue paint with water and did a wash over entire cardstock and let dry. Then I did the same thing with the green and the golden yellow, making sure to allow the blue and green to show through.
- Trim 1/8 to 1/4 inch off all four sides of the cardstock, depending on the edge of your frame. (You may not have to do this if your frame has room for the thickness of the risers. If your frame won't allow for the risers, you'll need to trim the cardstock so that when you place risers on the cardstock, the cardstock goes through the frame's opening.)
- Turn painted tulip over, squeeze E-6000 onto the tulip, turn back over, and place the tulip in the center of the painted cardstock. Press down gently. Let dry. (You may need to use a Q-tip to remove any glue that may have seeped out.)
- Place risers along the edges and in the center of the cardstock.
- Adhere cardstock to the backing of the frame.
- Remove glass from frame and put the cardstock/backing back onto frame.
- Spray the frame and image with acrylic sealer. Let dry.
Congratulations! You've just created a fun, simple folk-artsy tulip in a frame.
FTC Disclosure:
Pasta Machine (Item 97340) and Sculpey Modeling Clay (Item PFMS2) was provided, free of charge, by Consumer Crafts.