This project was submitted by one of our readers, just like you.
Seaside Wall Decor
Learn to decorate your walls in a new way

Seaside Wall Decor
In the Designer's Words: "A change of seasons calls for a change of decor starting with this Seaside Faux Palette Wall Decor. I created a weathered beach themed wall hanging that is full of color and texture. I used Design Master spray paints to give a weathered wood coloring. After spraying each of the starfish with a couple layers of the Sno Blast, I added a bit of color and shimmer with the Design Master Tint It spray paints. Let fully dry, then it's ready to hang."
This beach themed wall decor would be perfect as a Summer decoration. The canvas adds a rustic touch and the star fish will give your wall a cute ocean theme. The colors will have you dreaming of the big blue. Bring the beach indoors with this DIY wall decoration!
Estimated Cost$11-$20
Time to CompleteWeekend project
Primary TechniqueGeneral Crafts

SeasonSummer
Materials List
- Fredrix Canvas Stretcher Bars
- Design Master Tint It spray paints – Jade, Gold Shimmer, and Sepia
- Design Master Über Matte spray paints – Mist
- Design Master Sno Blast Decorating Snow Spray
- Brown Craft Shipping Paper
- Burlap Fabric
- Clear Contact Paper
- Scissors and Utility knife
- Staple Gun and staples
- Permanent marker
Instructions
-
Gather supplies and tools needed.
-
Assemble canvas stretcher bars (this used two 26" and two 36" lengths) and reinforce corners with a couple staples. Attach picture hanging hooks (if desired).
-
Cut brown craft paper slightly larger than frame and wrap around to back, tacking in place using staple gun.
-
Measured and cut strips of burlap fabric to width of canvas, including a bit for overhang on each side. On long sides, fold over edges approx. 1" and iron to press in place.
-
Spray each burlap strip with several colors of Design Master spray paints to give a weathered wood coloring as desired.
-
Staple painted burlap strips to side edges of prepared canvas – forming the wood planks, completing the faux palette background. To add extra dimension, fold over extra burlap overhanging edges before stapling in place.
-
Cover the entire background with clear contact paper to create a custom stencil. Using a permanent marker, sketch in three starfish shapes as desired.
-
Gently cut around starfish shape outlines with a utility knife to expose the starfish, leaving the rest of the canvas covered.
-
Spray each of the starfish with a couple layers of the Design Master Sno Blast Decorating Snow Spray, building up texture as desired. Leave as is -or- add a bit of color and shimmer using the Design Master Tint It Sepia and Gold Shimmer spray paints (as done here).
-
Set aside to let paint fully dry then it's ready to display!

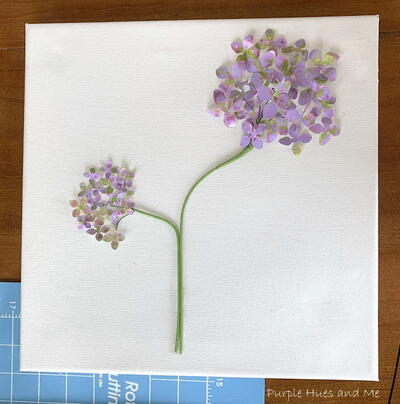
Read NextSoda Can Hydrangea DIY Wall Art
Your Recently Viewed Projects

Thanks for your comment. Don't forget to share!
Report Inappropriate Comment
Are you sure you would like to report this comment? It will be flagged for our moderators to take action.
Thank you for taking the time to improve the content on our site.