Nifty Nautical Pallet Wall Art
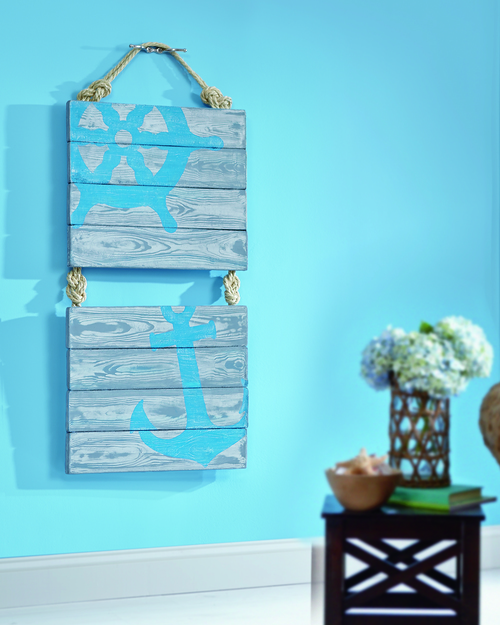
Jack Sparrow would certainly approve of this Nifty Nautical Pallet Wall Art. If you want to change the look of your space but don't have a ton of money to spend on one-of-a-kind portraits, make your own DIY wall art instead. Cheap DIY wall art is a great alternative to store-bought items and will surely save you a ton of money. Use repurposed wooden pallets and paint to create this delightful home decor craft. Give your piece a fun touch and use real rope to hang it on the wall. Ditch your swimsuit and enjoy the best aspects of the sea from your very own home.
Primary TechniquePainting

Materials:
- FloraCraft Foam Sheets: 1" X 12" X 18” (3)
- FloraCraft Smooth Finish
- Acrylic Paint: white, black and bright blue
- Rope: 1/2” diameter
- T-Pins
- Make It: Fun Foam Cutter
- Low-Temp Glue Gun
- Wood Graining Tool
- Flat Paint Brush: 1”
- Ruler
- Black Marker
- Craft Spatula
- Fine Grit Sanding Block
Instructions:
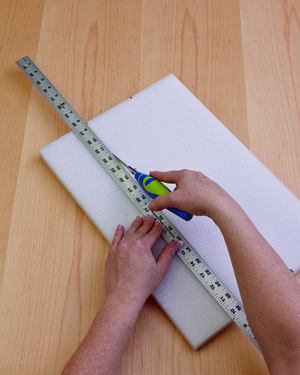
- Lay the ruler across the 12” end of the foam sheet. Make a mark every 4” with the black marker to create the boards. Do this at both ends of all three foam sheets. Lay the ruler even with the marks at the top and bottom of the foam sheet. Hold the ruler tightly to the foam and use it as a guide as you cut the boards from the sheets. You will only need eight 4x18” foam boards, save the remaining foam for a future project. Lightly rub the cut edges together side by side to remove the loose foam particles and lightly sand the edges smooth.
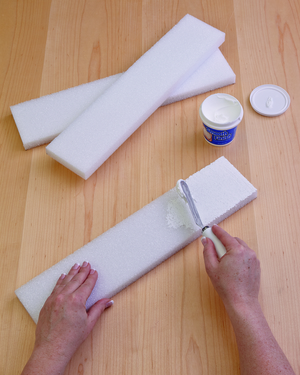
- Wear protective gloves while working with Smooth Finish. Apply one coat Smooth Finish to the top and sides of all the foam boards. Apply the Smooth Finish in all directions being sure to completely fill the cells of the foam. Let dry.
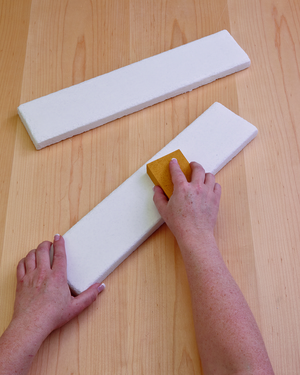
- Sand the boards lightly with the sanding block until smooth. Apply a second coat of Smooth Finish to the tops and sides of all the boards. Let Dry. Sand boards for a completely smooth surface.
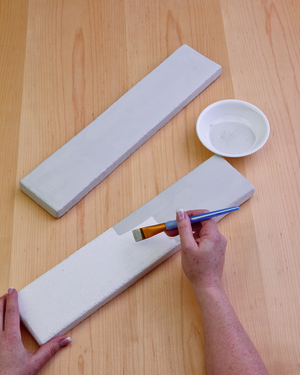
- Base Coat: Mix a very small amount of black paint to some white paint to create a very light grey. Cover all the boards with light grey paint and let dry.
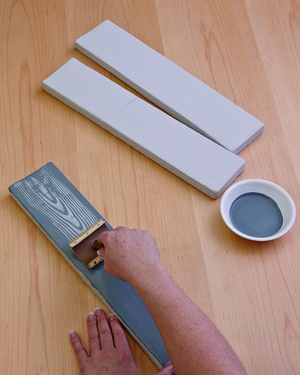
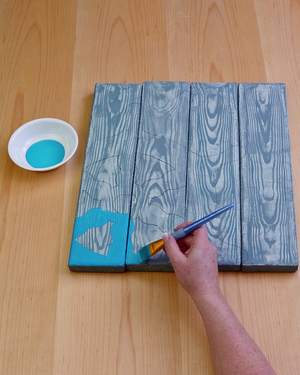
- Graining Coat: Mix the black and white paint to get a medium/dark grey. Add just enough of the bright blue paint in with the medium/dark grey to give it a slight blue hue. Add a little water to thin the paint slightly, this will make it easier to work with and give you a little longer dry time. Be sure to mix enough of this color so that you will have enough for all the boards. Working with one board at a time, apply a generous coat of the medium grey paint.
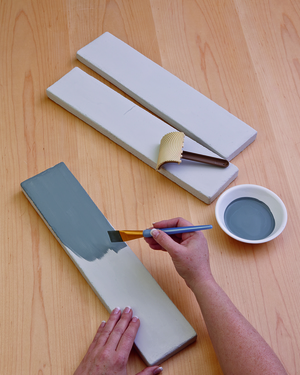
- While the paint is still freshly wet, place the graining tool centered at the end of the board. With slight pressure begin pulling the tool towards you slowly. Rock the tool gently up and down as you pull. It is best not to stop while using the graining tool, pull from one end of the board to the other end in one smooth motion. Do not panic if you mess up or you don’t like the way it turned out. While the paint is still wet, wipe the dark grey paint from the board with a wet paper towel. Let the board dry completely and try again. Let all boards dry completely.
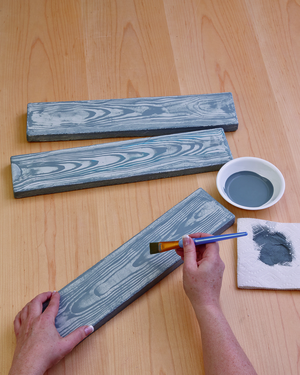
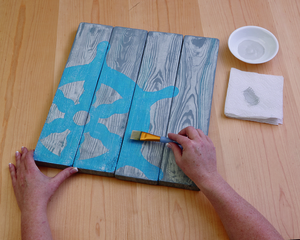
- Using a dry brush technique, lightly brush the boards using the light grey color paint that was used to base coat the boards. Load a small amount of paint on your brush and then wipe off excess on a paper towel. Hold the brush horizontal to the board and lightly brush across just the raised areas of the board. You will notice that the graining tool left texture in the paint. This technique will bring out that texture and give a nice weathered appearance to the boards.
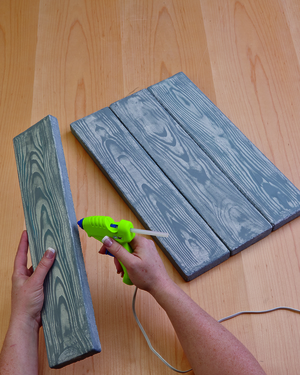
- Glue the boards together with the glue gun. Glue them in sets of four side by side as shown.
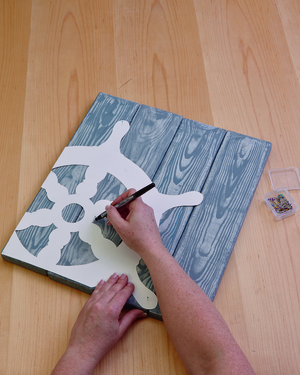
- Trace the templates onto the boards. Paint the traced ships wheel and the anchor with the bright blue paint. Let dry completely.
- Use the dry brush technique again, with the light gray paint that was used to base coat the boards to add a weathered appearance.
- Using two 18” pieces of rope for each knot, tie an infinity knot (or figure eight knot) as shown to connect the two pieces of pallet together. Lay the rope pieces together side by side and tie the knot. Trim the tails of the rope to about 4” on either side of the knot. Glue and t-pin the rope tails to the back of the pallets. Pin at the bottom of the top pallet section and at the top of the bottom pallet section to connect them together.
- To create the hanger, use two 36” pieces of rope. Lay the rope pieces together and tie an infinity knot in either end. The distance between the two knots should be about 18”. Trim the tails at either end to about 4”. Secure the hanger to the back of the top pallet section using glue gun and t-pins.
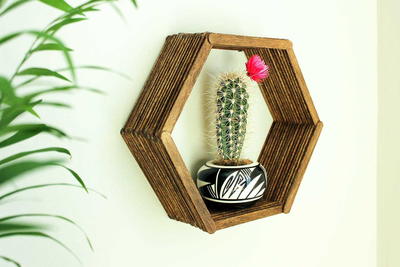
Read NextPopsicle Stick Hexagon Shelf